Hey all!
Decided to post these pictures of my work. I did some top end maintenance on my 1998 Camry LE V6 1MZFE engine. I wouldn't consider this a full DIY as I'm just going to go over the brief stuff I did according to the pictures. Guess you could use this more of a reference.
Regardless, disclaimer...
I still need to do my 4 motor mounts....maybe next week?..?..???..?
Have fun and hope this can help someone.
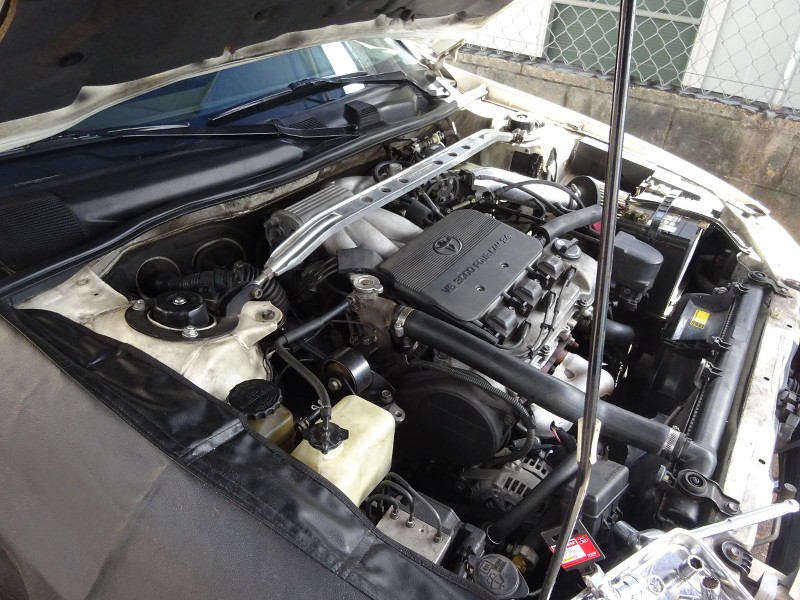
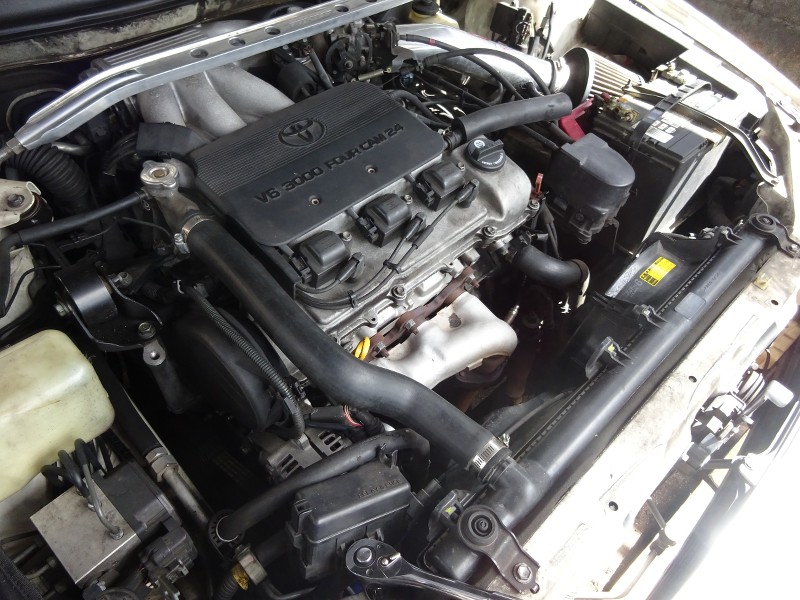
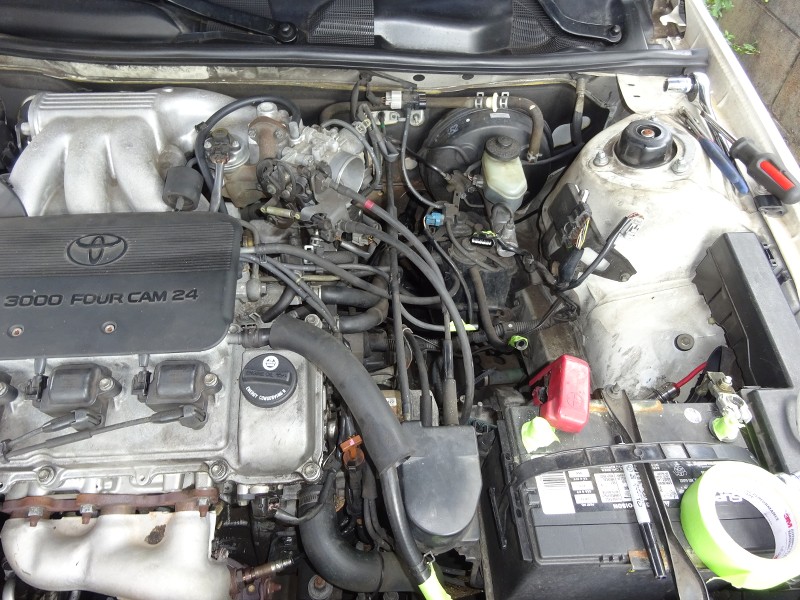
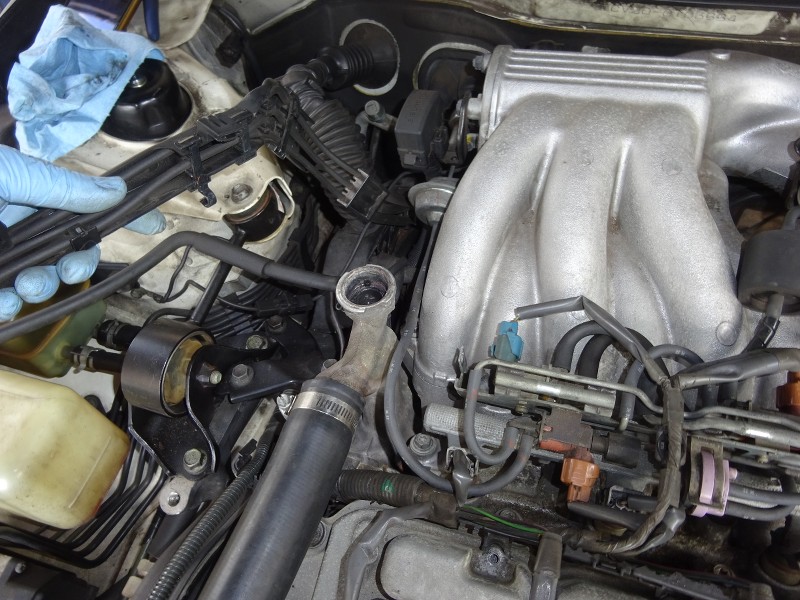
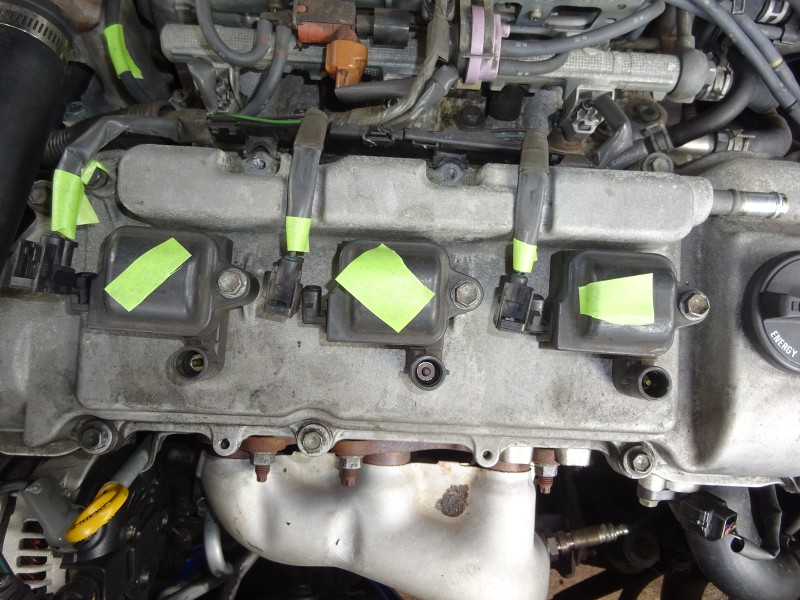
Engine shot prior to removal of stuff
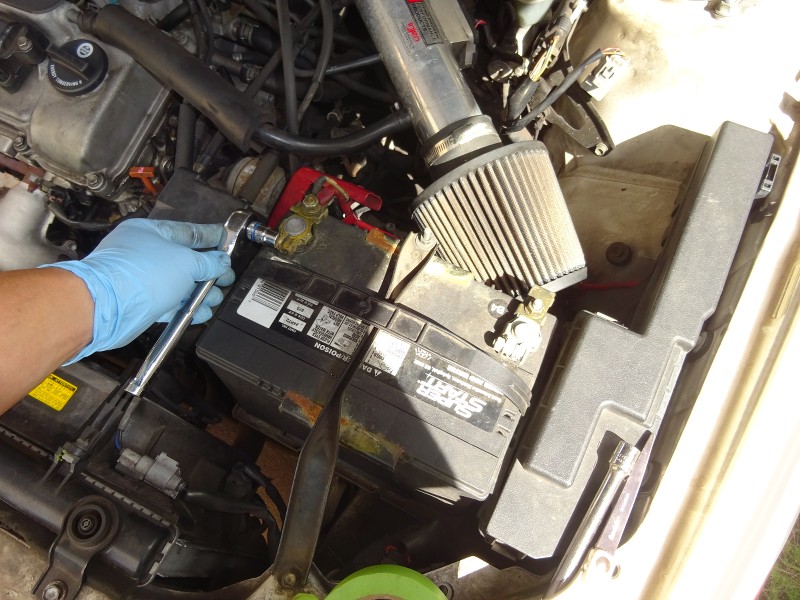
Disconnect the battery. I tape the terminals so they don't accidentally touch (ask me how I know)
Remove all the factory (or aftermarket) :grin: intake
Remove the throttle body Cables. Label them.

Intake removed")

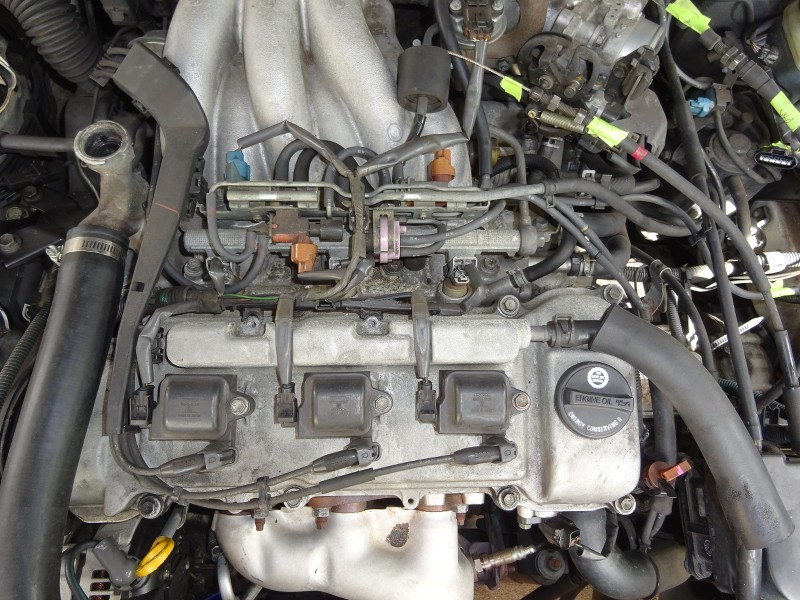
Remove cover

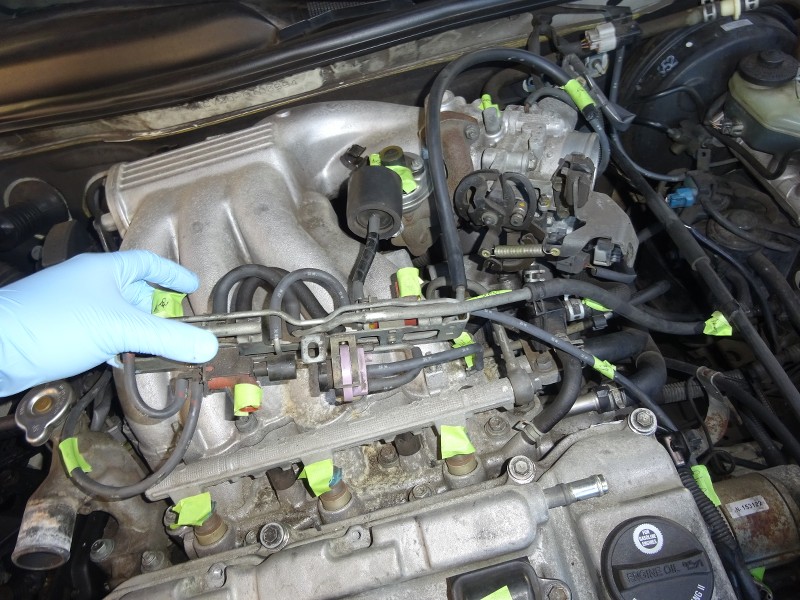
Another shot of the hose layout from above
Several backside shot of the intake with all the connectors.


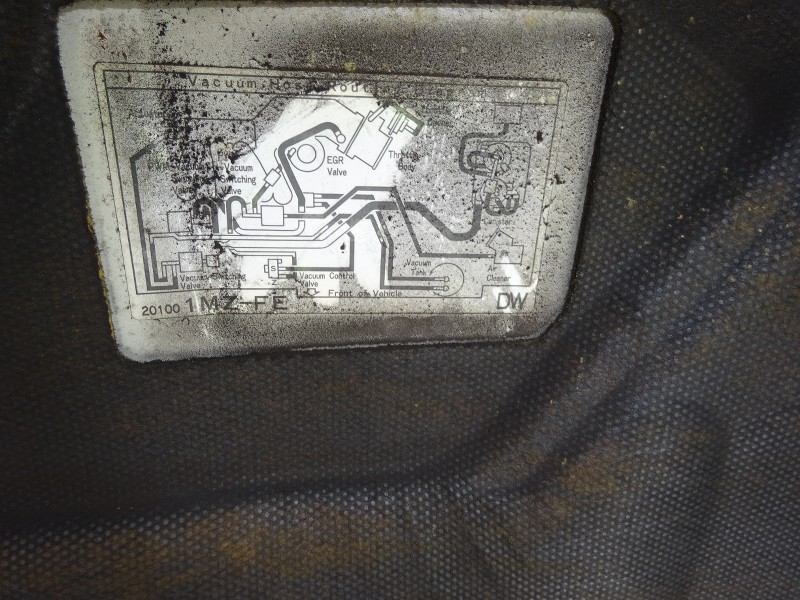
Factory Vacuum diagram for the 1998 FED.
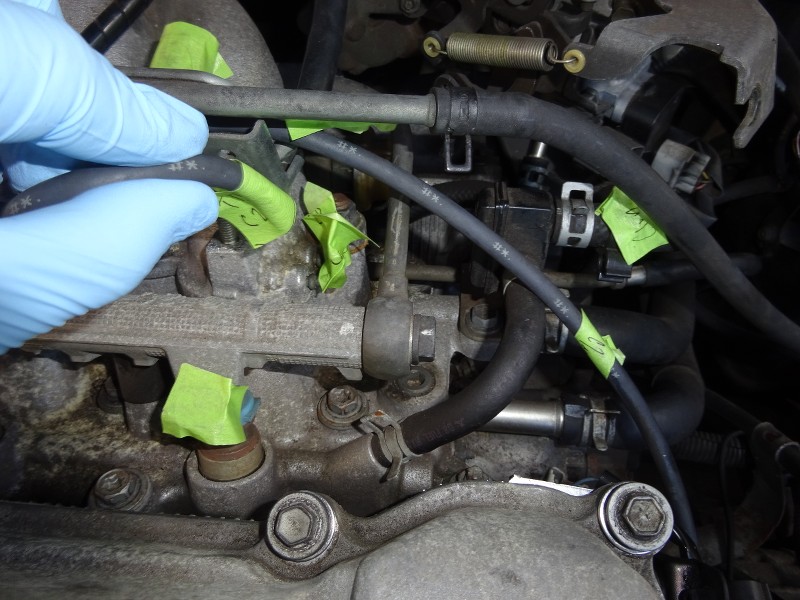
Remove this hose. This should go to the intake

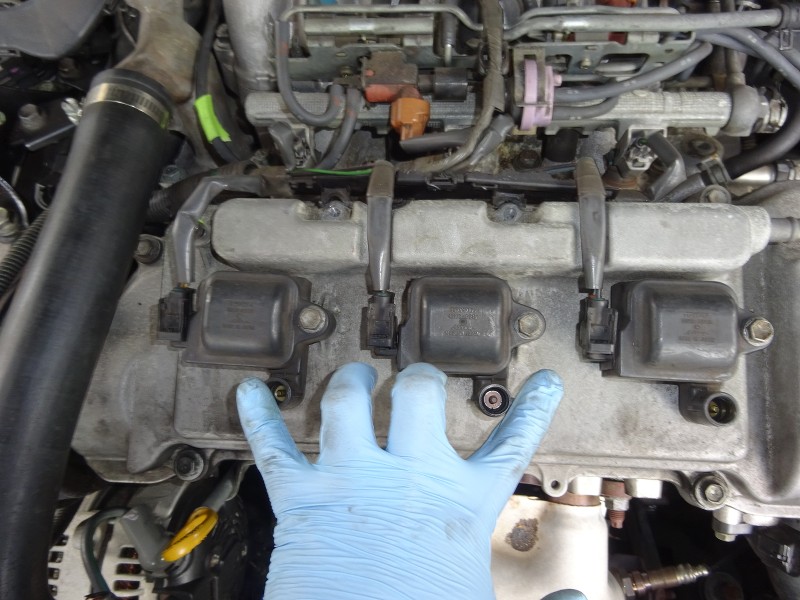
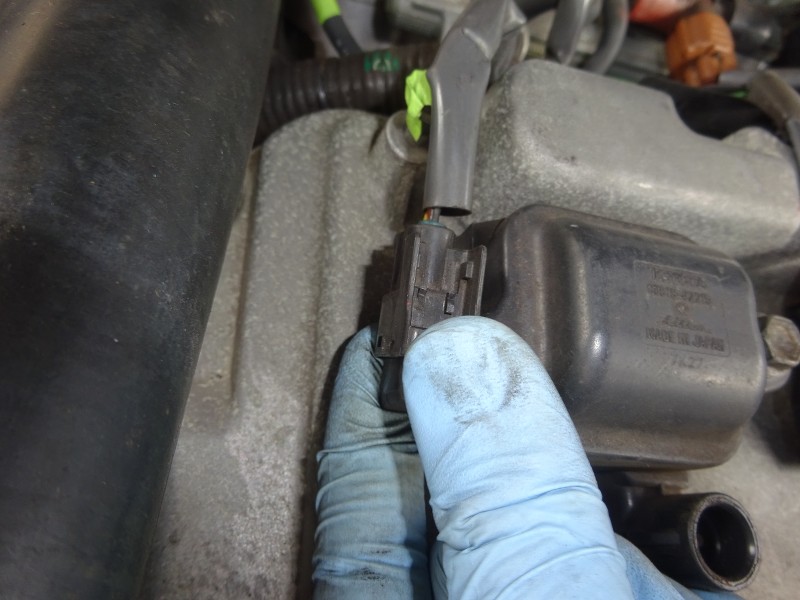
Start disconnecting the COP connectors.

Remove the nut holding down the spark plug wire harness

Clip holding the harness down. By this time, have the coolant drained by lower radiator valve AND engine block (front side)

Another place where the vacuum hose goes

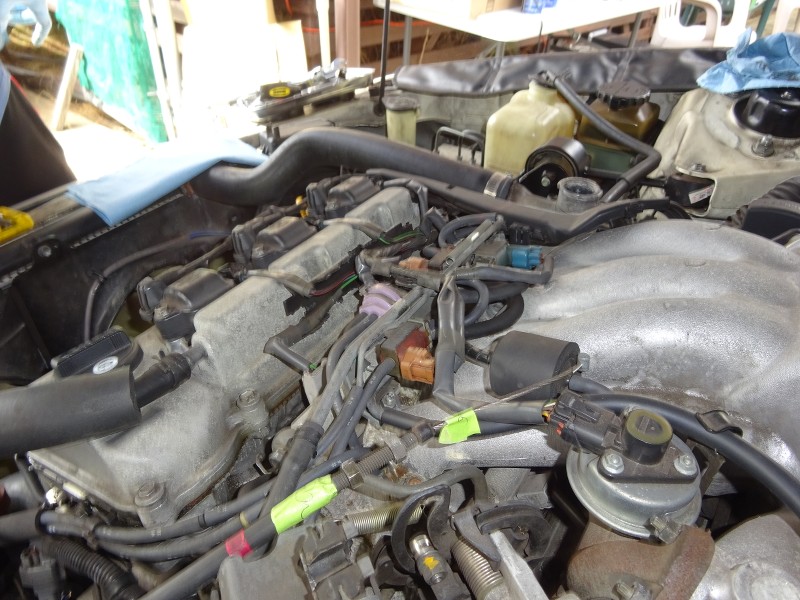
Move the harness out of the way
Remove, Label.

Another shot of where it goes.

Remove the COP.
Start diconnecting the wire harness. Label. Mines has no clips. Just push gently while wiggling from the base of the connector

Label them
Start removing these connectors. They will snap, but as long as they somewhat have a connector, they should be okay.

Disconnect all the connector, label. Also, Shaka!
Another shot of the harness an d this clip that holds down the harness
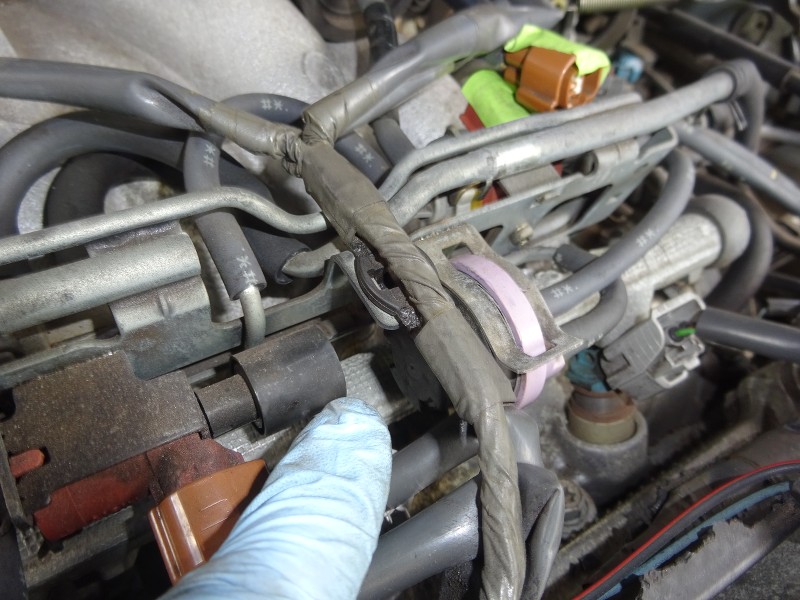
Disconnect harness by releasing the clip.

Decided to post these pictures of my work. I did some top end maintenance on my 1998 Camry LE V6 1MZFE engine. I wouldn't consider this a full DIY as I'm just going to go over the brief stuff I did according to the pictures. Guess you could use this more of a reference.
Regardless, disclaimer...
My car had a pretty noticable oil leak and I had one of my knock sensor being bad. It was running like a pig, but still getting decent mileage at 21MPG. Also, my top radiator hose was leaking too. Figure I should do things 'while i'm there' because the 1MZ isn't a walk in the park. Everything is do-able as long as you have a good manual, torque specs, and a lot of tape (this will save you).
I still need to do my 4 motor mounts....maybe next week?..?..???..?
Have fun and hope this can help someone.
Engine shot prior to removal of stuff
Disconnect the battery. I tape the terminals so they don't accidentally touch (ask me how I know)
Remove all the factory (or aftermarket) :grin: intake
Remove the throttle body Cables. Label them.
Intake removed
Remove cover
Another shot of the hose layout from above
Several backside shot of the intake with all the connectors.
Factory Vacuum diagram for the 1998 FED.
Remove this hose. This should go to the intake
Start disconnecting the COP connectors.
Remove the nut holding down the spark plug wire harness
Clip holding the harness down. By this time, have the coolant drained by lower radiator valve AND engine block (front side)
Another place where the vacuum hose goes
Move the harness out of the way
Remove, Label.
Another shot of where it goes.
Remove the COP.
Start diconnecting the wire harness. Label. Mines has no clips. Just push gently while wiggling from the base of the connector
Label them
Start removing these connectors. They will snap, but as long as they somewhat have a connector, they should be okay.
Disconnect all the connector, label. Also, Shaka!
Another shot of the harness an d this clip that holds down the harness
Disconnect harness by releasing the clip.