Hi Folks
I have a 2004 Camry. Daughter slide on ice and slide into the curb. The front driver side rim hit hard. I jacked up the car and checked the rim for runout. Amazingly the rim spins true.
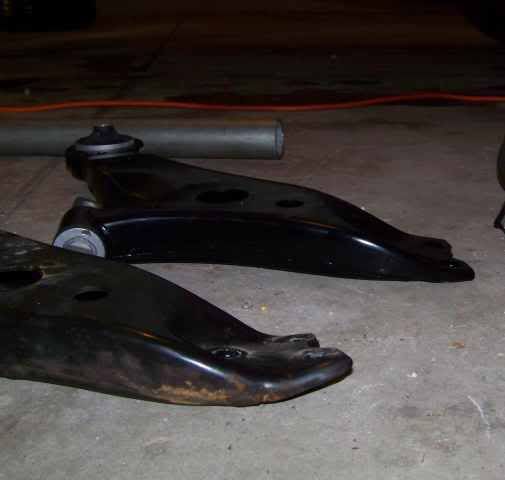
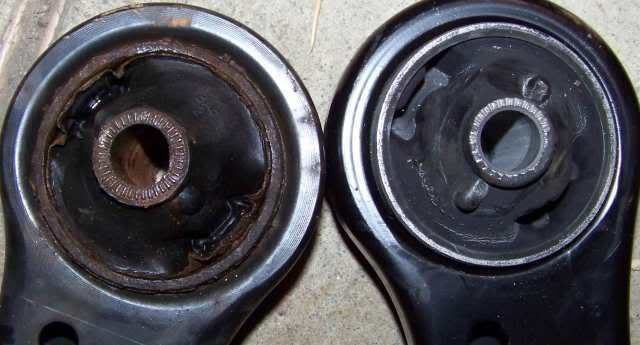
However the lower control arm took the brunt of the hit. It bent the end where the lower ball joint attaches. This is the driver side control arm.
I have a new control arm here to put on but then I noticed there is one bolt, uses a 22mm hex that is buried under the motor mount.
Oh boy, that one is really hidden in there. Looking at the motor mount there is a stud on top, I loosened it and a stud on the bottom, I loosened it too. I jacked the motor up slightly and it lifted about 1/8" then I stopped to see what else is moving or not. I feel around this motor mount bracket and it looks like it is riveted to the frame.
OK anyone know how to get that motor mount up enough to get the last bolt out of the control arm mount? Or a cross section view of the motor mount to see what is in side?
Any help greatly appreciated.
Thanks
John
Here are some pic's
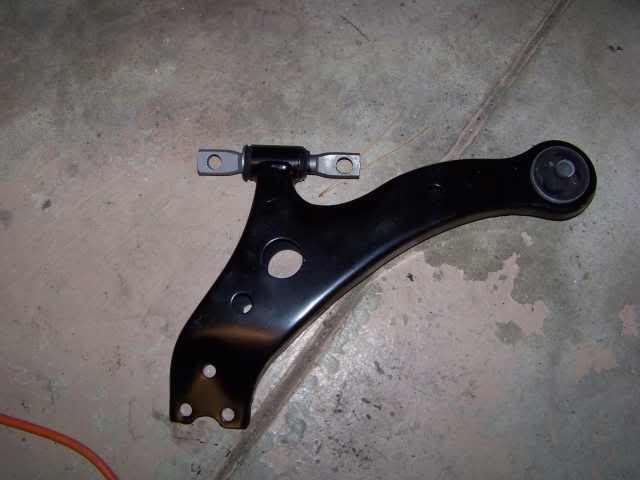
The new control arm
![Image]()
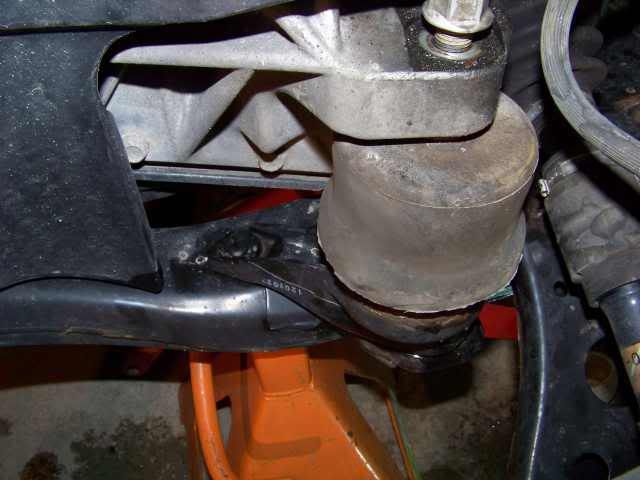
The 1 bolt out in the open. No problem getting to this one. but the one on the left is under the motor mount. The hex is exposed but no room to get the bolt out. That is if I can even break it loose. Can use impact on the others
![Image]()
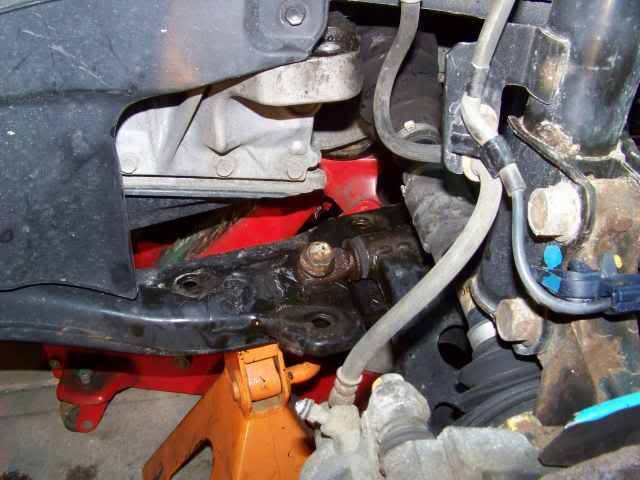
Then the one buried under the motor mount
![Image]()
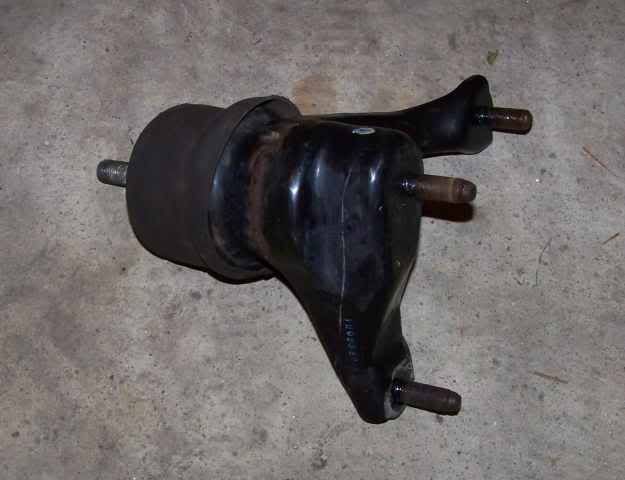
Top view of motor mount shwoign frame rivots
![Image]()
I have a 2004 Camry. Daughter slide on ice and slide into the curb. The front driver side rim hit hard. I jacked up the car and checked the rim for runout. Amazingly the rim spins true.
However the lower control arm took the brunt of the hit. It bent the end where the lower ball joint attaches. This is the driver side control arm.
I have a new control arm here to put on but then I noticed there is one bolt, uses a 22mm hex that is buried under the motor mount.
Oh boy, that one is really hidden in there. Looking at the motor mount there is a stud on top, I loosened it and a stud on the bottom, I loosened it too. I jacked the motor up slightly and it lifted about 1/8" then I stopped to see what else is moving or not. I feel around this motor mount bracket and it looks like it is riveted to the frame.
OK anyone know how to get that motor mount up enough to get the last bolt out of the control arm mount? Or a cross section view of the motor mount to see what is in side?
Any help greatly appreciated.
Thanks
John
Here are some pic's
The new control arm
The 1 bolt out in the open. No problem getting to this one. but the one on the left is under the motor mount. The hex is exposed but no room to get the bolt out. That is if I can even break it loose. Can use impact on the others
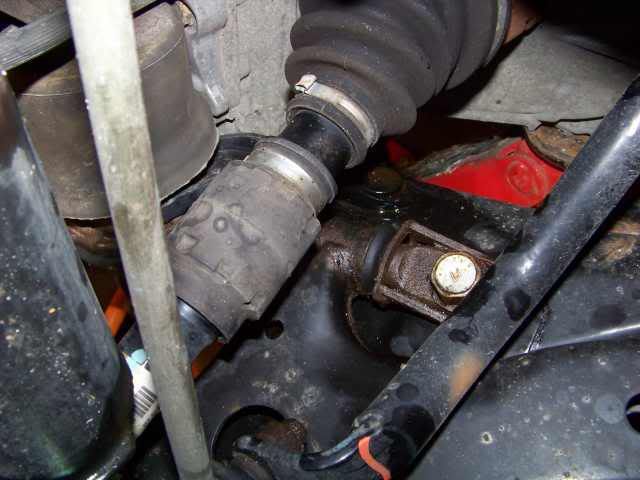
Then the one buried under the motor mount
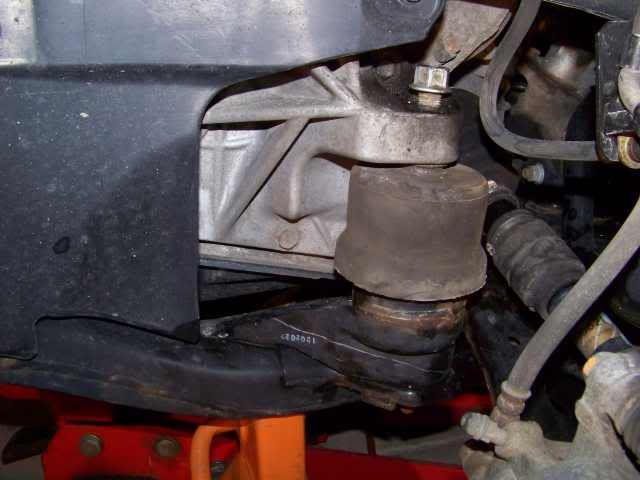
Top view of motor mount shwoign frame rivots