Hey everyone,
I'm fairly new and I thought I'd start a thread since I intend to start doing some work on our old car and may as well keep it mostly confined to one thread.
We bought our Prizm in the Fall of 1995. We were in no rush while car shopping and looked at a bunch of different car models before deciding on the Prizm. We wanted a Corolla, but the Prizm was $1k cheaper for basically the same car, so we chose it. Nobody had the options we wanted, so we ordered ours from the factory, made a $1K deposit, and waited a month or two for it to arrive. It was awesome to get this car, and I've absolutely loved it all these years. When we drive around town in it, people recognize us. It's not like every other gray metallic car on the road. It a nice green, and so much fun to drive.
We got the smaller 1.6 liter engine with the manual transmission. It's the LSI trim level, which meant it had a bunch of extras like the split fold rear seats, tilt steering wheel, power steering, and air conditioning. I remember we had to pay extra to get the ABS and to get the rear defroster, but figured they were both safety items so we got them. ABS was very new then.
Things I wanted, but we didn't get, because they were a little extravagant and cost so much more, were a tachometer, alloy wheels, and leather seats.
This car has served us extremely well, but hasn't been maintained as well as it should have been, although the mileage is low for its age. I'm not sure exactly what the mileage is, probably around 130K.
Things I want to fix include:
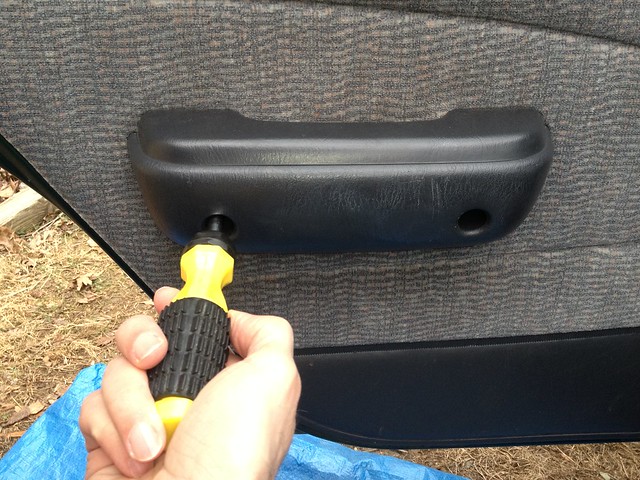
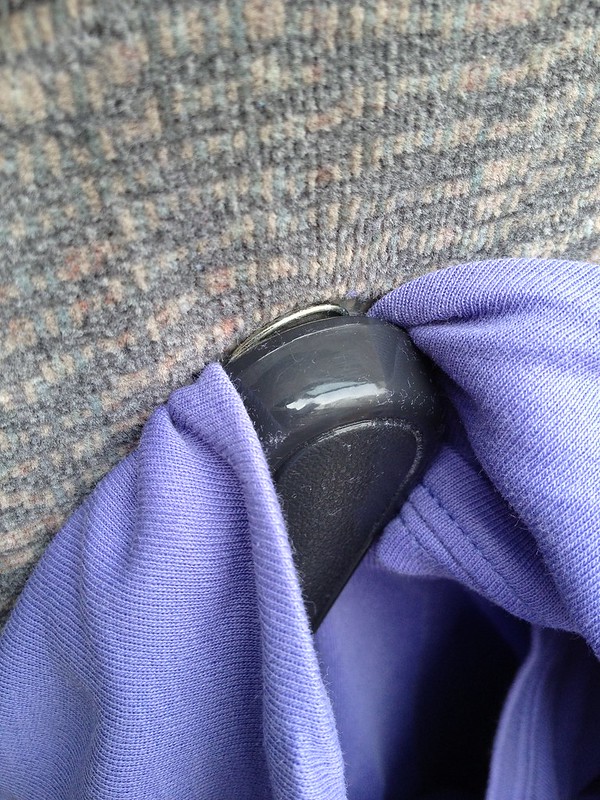
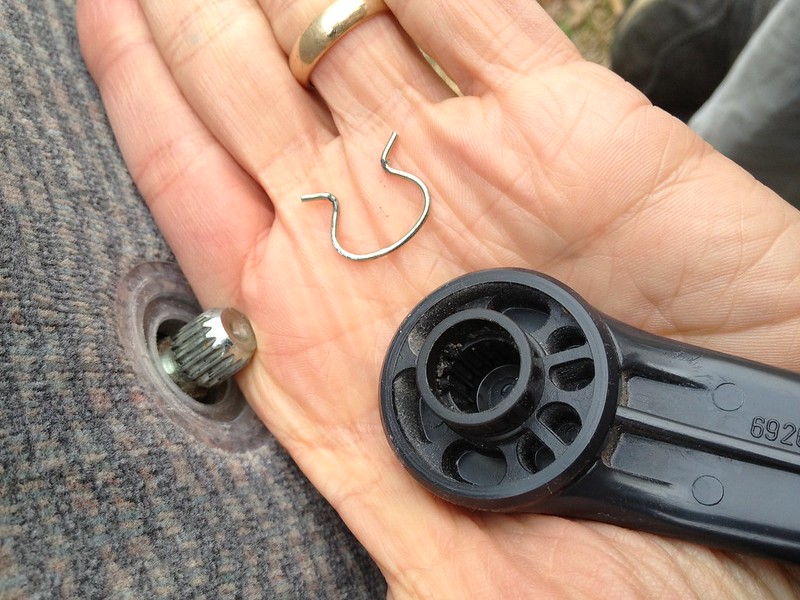
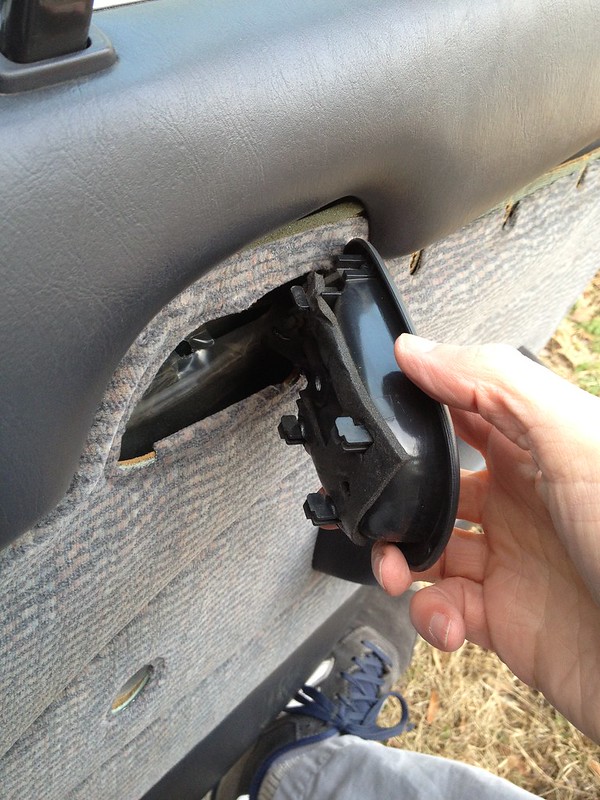
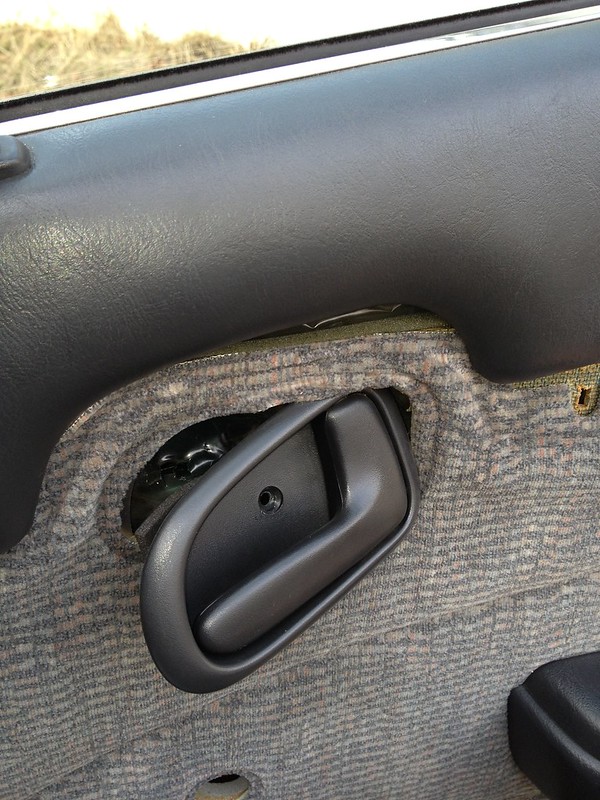
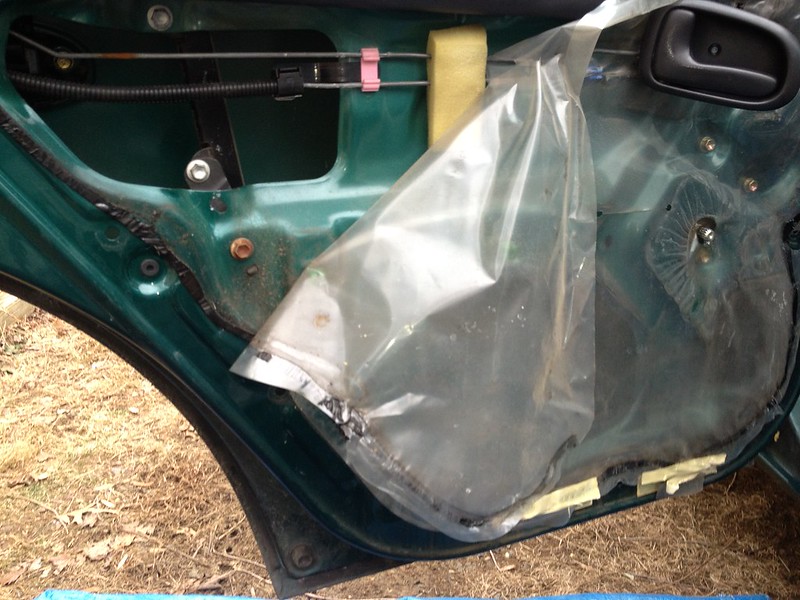
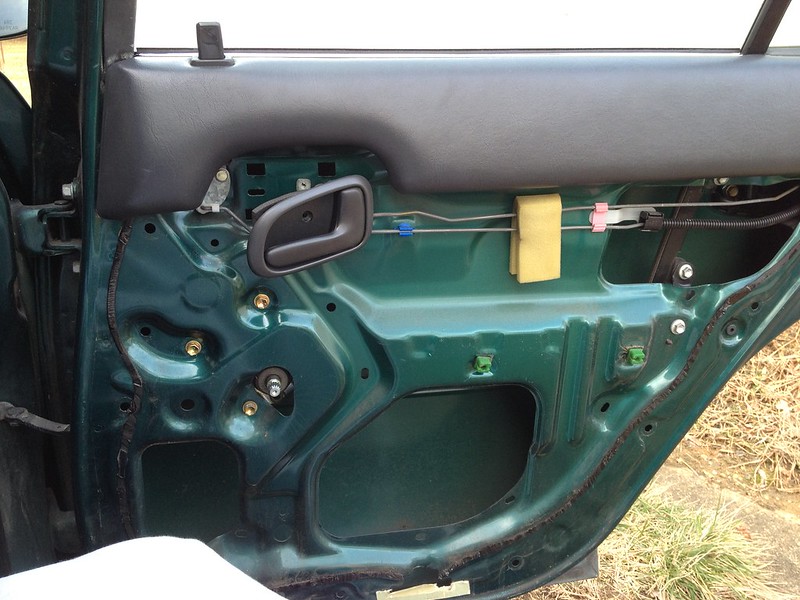
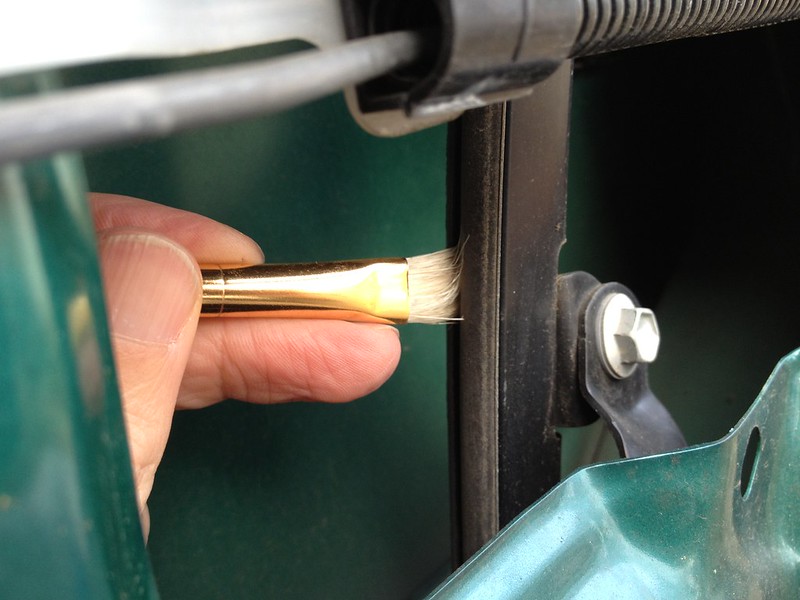
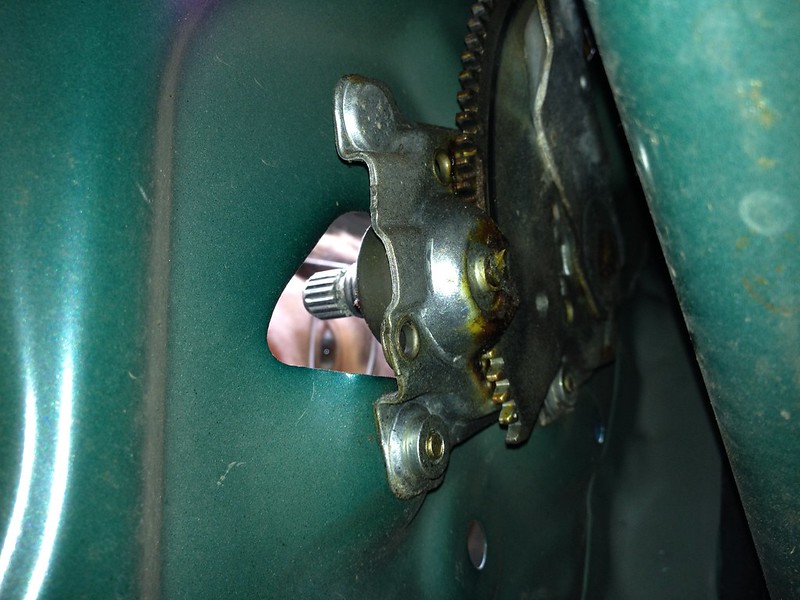
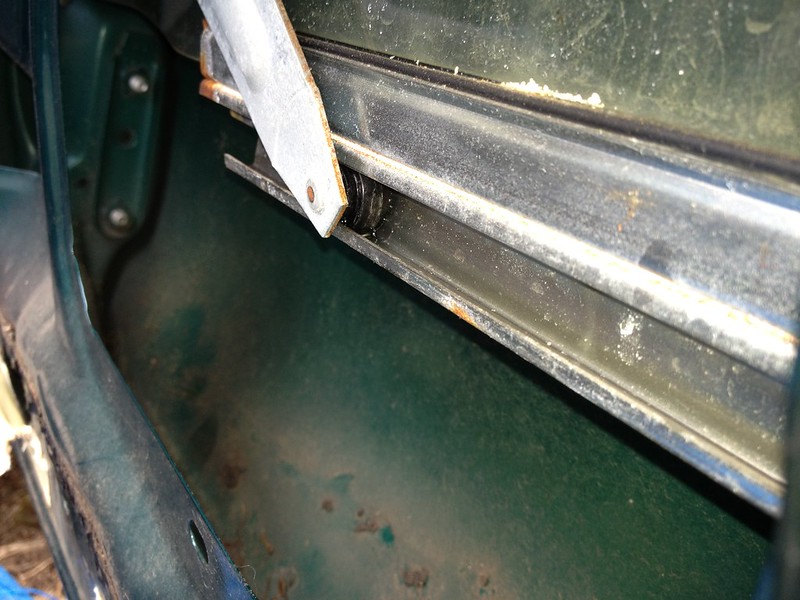
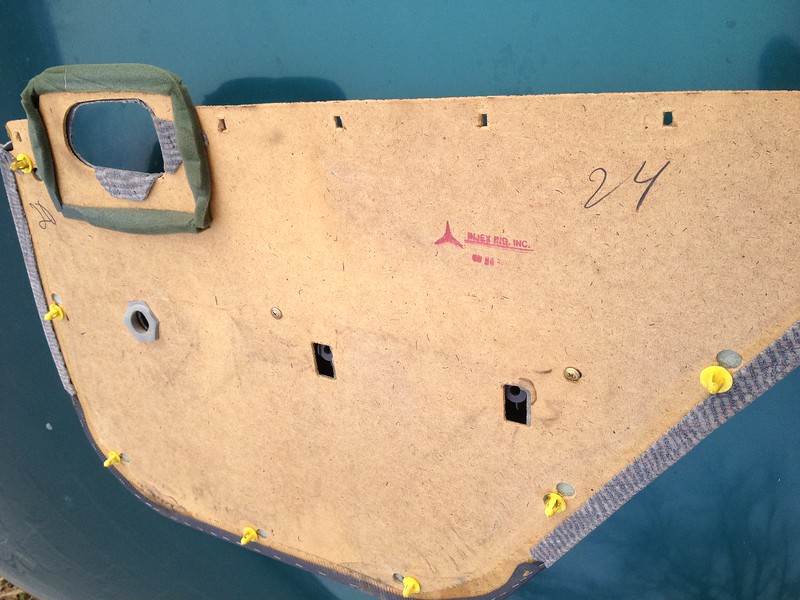
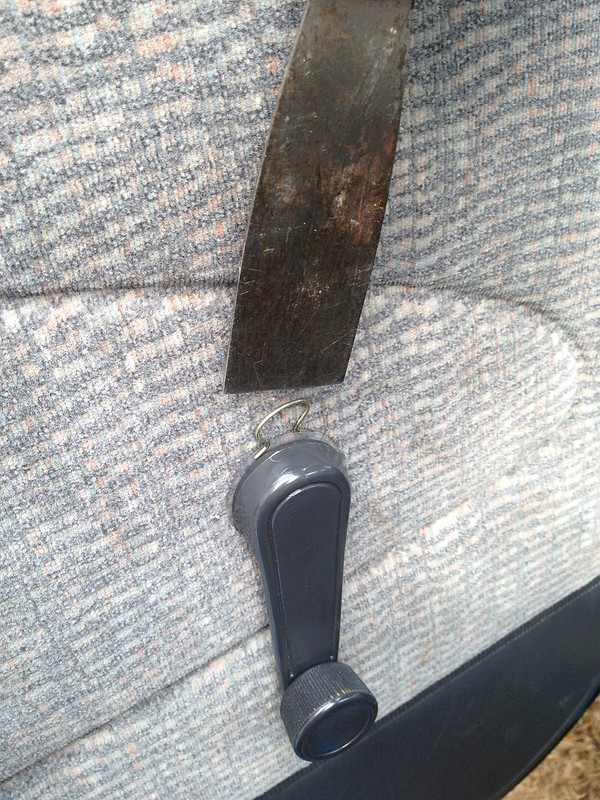
-Both manual crank rear windows have gone from being a little stiff and squeaky to being seized in place. Fortunately, they are both fully rolled up.
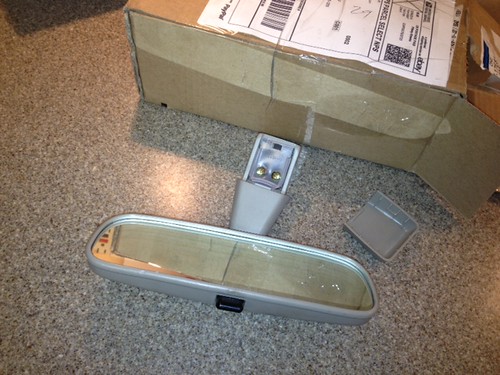
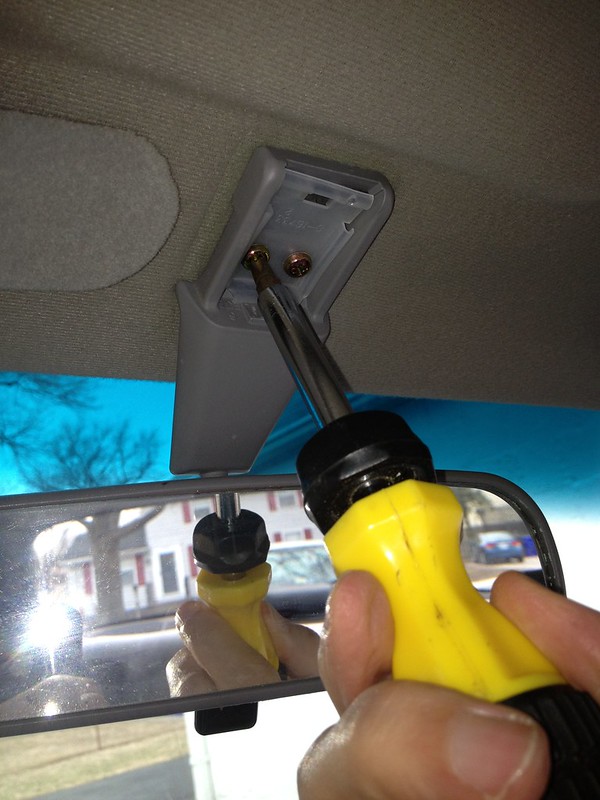
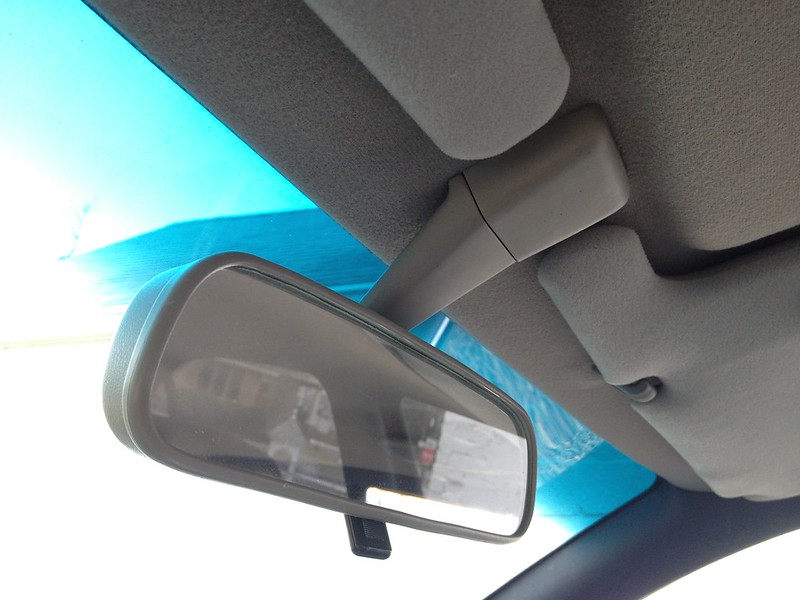
-The rear view mirror day/night switch mechanism has stopped working and the mirror is very wobbly.
-the car is really loud inside the cabin and the headliner buzzes from vibrations at idle stopped at a light
- muffler has a small rust hole in it along the bottom seam.
-I always wanted that tachometer (and I just ordered an instrument cluster with a tach off eBay!)
-the clear coat on the roof is starting to really wear away and is ugly. It's not peeling, it just looks like it's wearing off. All other areas of the car look great. I want to try to spot repair the clear coat on the roof.
-There's a very slight grinding noise coming from one of the front wheels when taking a corner at high speed, like when turning onto a highway on-ramp and flooring it to get up to speed.
- the whole back end creaks and groans when going over speed humps
- the driver's floor mat has a big ugly bare spot on it from the driver's gas pedal heel.
We've been good about oil and fluid changes, and did a timing belt change when it was due. We're probably coming up on a timing belt job again in the not too distant future.
It's still a really good car under there. It just needs some attention. And now that we bought a second (used) car, I can tinker with this one without the pressure of having it roadworthy again in an hour for the next kid's soccer game or whatever.
I'm fairly new and I thought I'd start a thread since I intend to start doing some work on our old car and may as well keep it mostly confined to one thread.
We bought our Prizm in the Fall of 1995. We were in no rush while car shopping and looked at a bunch of different car models before deciding on the Prizm. We wanted a Corolla, but the Prizm was $1k cheaper for basically the same car, so we chose it. Nobody had the options we wanted, so we ordered ours from the factory, made a $1K deposit, and waited a month or two for it to arrive. It was awesome to get this car, and I've absolutely loved it all these years. When we drive around town in it, people recognize us. It's not like every other gray metallic car on the road. It a nice green, and so much fun to drive.
We got the smaller 1.6 liter engine with the manual transmission. It's the LSI trim level, which meant it had a bunch of extras like the split fold rear seats, tilt steering wheel, power steering, and air conditioning. I remember we had to pay extra to get the ABS and to get the rear defroster, but figured they were both safety items so we got them. ABS was very new then.
Things I wanted, but we didn't get, because they were a little extravagant and cost so much more, were a tachometer, alloy wheels, and leather seats.
This car has served us extremely well, but hasn't been maintained as well as it should have been, although the mileage is low for its age. I'm not sure exactly what the mileage is, probably around 130K.
Things I want to fix include:
-Both manual crank rear windows have gone from being a little stiff and squeaky to being seized in place. Fortunately, they are both fully rolled up.
-The rear view mirror day/night switch mechanism has stopped working and the mirror is very wobbly.
-the car is really loud inside the cabin and the headliner buzzes from vibrations at idle stopped at a light
- muffler has a small rust hole in it along the bottom seam.
-I always wanted that tachometer (and I just ordered an instrument cluster with a tach off eBay!)
-the clear coat on the roof is starting to really wear away and is ugly. It's not peeling, it just looks like it's wearing off. All other areas of the car look great. I want to try to spot repair the clear coat on the roof.
-There's a very slight grinding noise coming from one of the front wheels when taking a corner at high speed, like when turning onto a highway on-ramp and flooring it to get up to speed.
- the whole back end creaks and groans when going over speed humps
- the driver's floor mat has a big ugly bare spot on it from the driver's gas pedal heel.
We've been good about oil and fluid changes, and did a timing belt change when it was due. We're probably coming up on a timing belt job again in the not too distant future.
It's still a really good car under there. It just needs some attention. And now that we bought a second (used) car, I can tinker with this one without the pressure of having it roadworthy again in an hour for the next kid's soccer game or whatever.