The rear diff input seal is the one that goes bad 98% 0f the time. Causing the oil to leak out and the Differential to run dry. Please People, check this every time you change your Motor Oil. It only takes a second to look at it, and will save you money and a huge headache later ...
these pictures are from a guy's van that was brought to me off a Craigslist ad I had posted about some Previa parts. He needed a new rear bumper. While he was here, I quickly glanced under the van and noticed that his rear Diff seal was leaking.. as well as his Valve cover gasket and distributor shaft O ring . We got those ordered, and will get to those this weekend, but this is about the rear diff seal..
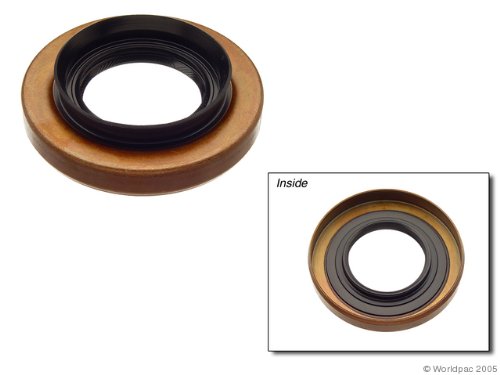
Toyota sells the seal for around $15... the genaric seal from National is part #1177 . The gentleman here didnt want to wait for the toyota one, which does look a little different, it has a "cone" shape added to the front. So we used the National one from O'reilly's since they had it in stock for $9.
Also want to add that the seal is the same for all years of the US previa 91-97
.
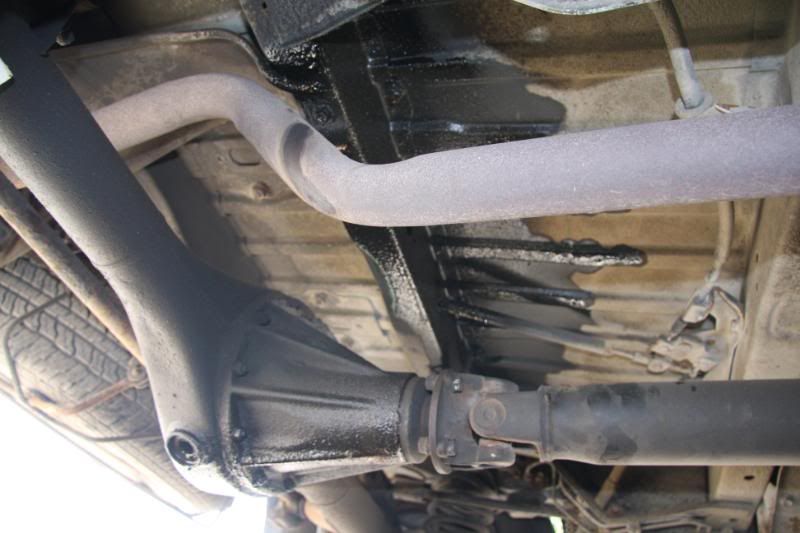
Notice all the OIL flung up at the top ....
First, we drained all the oil out... good idea to replace with fresh stuff anyway. I am a strong supporter of the synthetic stuff. Royal purple is my favorite, but if your budget doesn't allow, get what you can afford Synthetic come in 75w-90. Dinosaur stuff come in 80-90 weight.
![Image]()
![Image]()
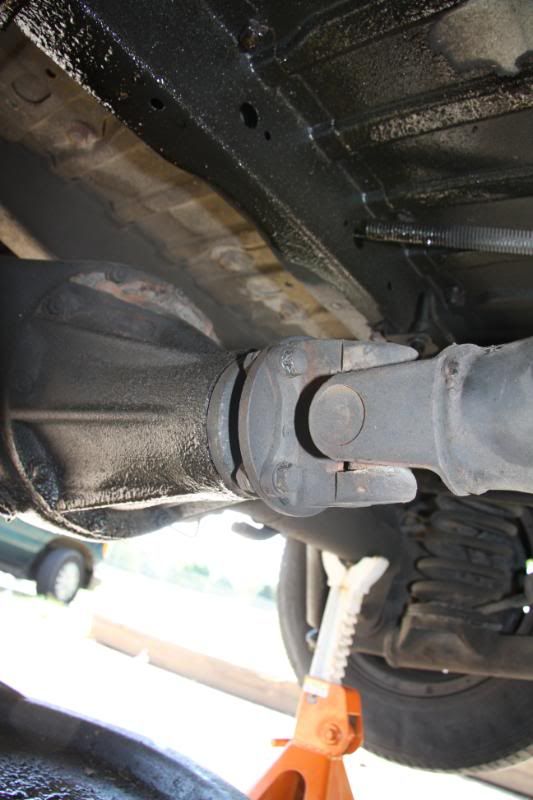
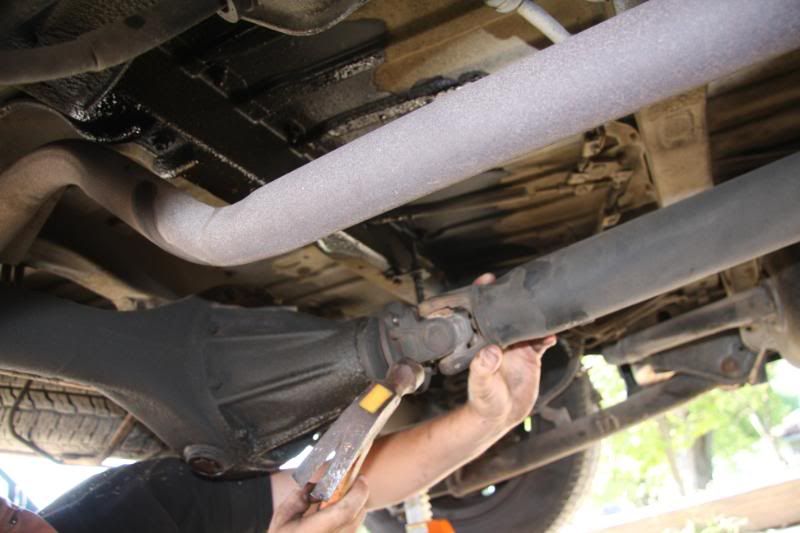
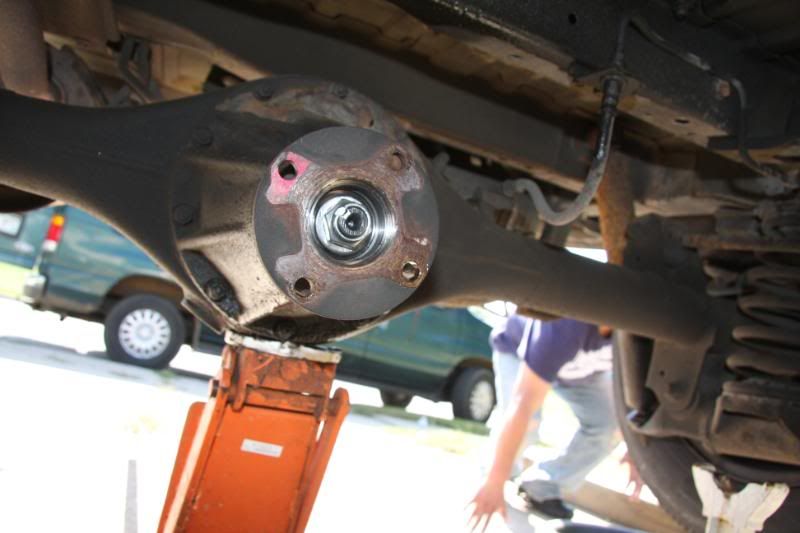
Next is to disconnect the driveshaft... these are 14mm bolts. I use an impact wrench on one side and a box end on the other. If they have never been loosened before, plan on having to use a cheater bar, they will be tight.
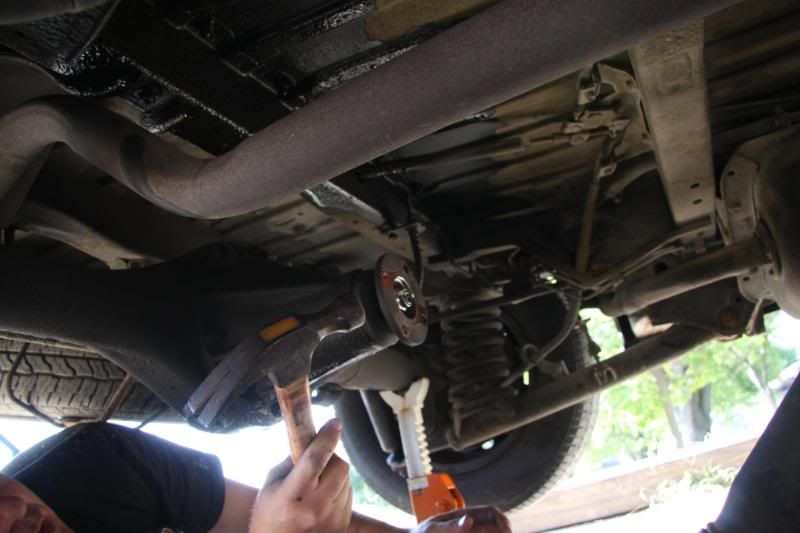
After the 4 driveshaft bolts are removed, I take a hammer and knock it loose...
![Image]()
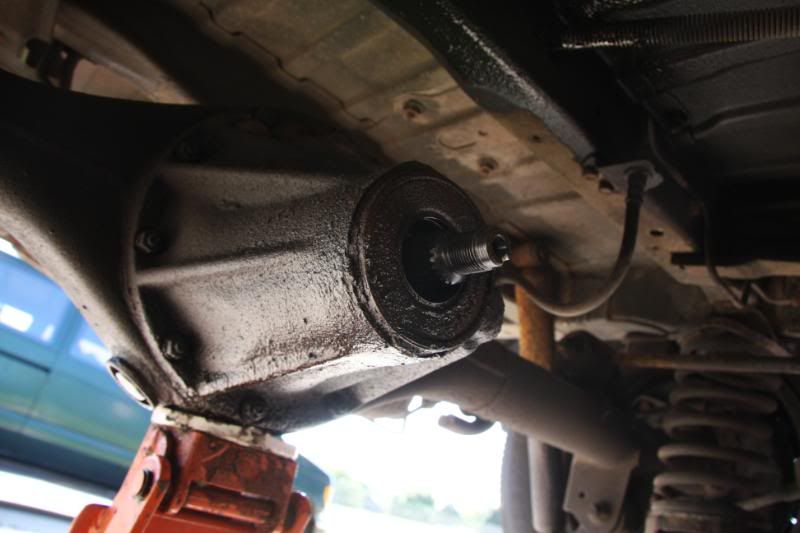
There is a 24mm nut on the input pinion shaft... Some previas it is a little smaller. I have yet to figure out why, but it is what it is... this needs to come off, it has a notch that locks it in place. The impact will buzz it right off without having to mess with it...
![Image]()
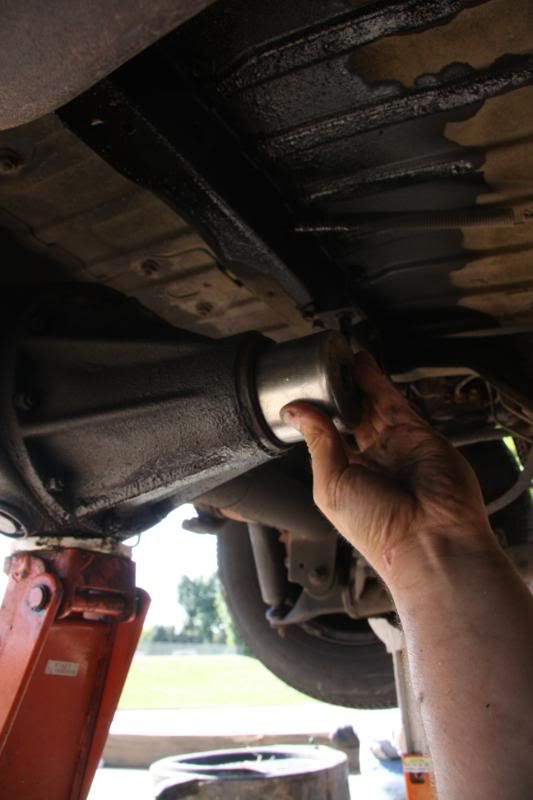
When the nut is off, you need to pull the flange out... sometimes they will pull out with your hands, this one needed a little persuasion with a couple TAPS , not knocks, with the hammer.... A gear puller really would have been the appropriate thing to use, but by the time I would have had to dig for it... tapping it was just as effective and much faster..
![Image]()
Now that the flange is out, the seal is right there... !!!
![Image]()
I have to apologize that i didn't get a picture of actually removing the seal. not sure why, just didn't ...
Anyway, I get w fairly beefy flat head screwdriver and put it in the center of the seal, being careful not to scratch any of the inner metal surfaces. Usu=in the opposite side of the seal as a leverage point, i hit the end of the screwdriver with the palm of my hand to pop out the old seal. it only takes a few seconds, and when it goes, it will splatter oil everywhere, so be prepared...
Seal is now out...
![Image]()
Now is a good time to take a rag and kind of wipe everything off a bit...
Get the new seal, and tap it in. I use a giant socket that i have so that when i hit it with the hammer, the blows are more uniform and will get it in evenly... some people use a block of wood, just be careful not to dent or bend it as you are putting it in...
![Image]()
With the new seal in, put some of that oil that you drained on your finger tip and wipe some around the seal part of the seal. that way there is a little lube for when you put the flange on, AND, so you don't have a "dry" start up...
now, replace the flange. Usually they will slide on pretty easy, this one needed a little persuasion with the taps of a hammer.. DO NOT FORCE it if it isn't going. Pull it out and try it again. those splines need to line up ....
OK, this is SUPER IMPORTANT !!!!! When tightening the bolt back on, do not use the impact !!! snug the bolt down till it is firm. chances are it will be where the factory had it. do not go beyond firm or you will crush the crush sleeve inside and then you will have play at the pinion gear and eventually noise and possibly failure.... ( trust me, i know this first hand...)
Take your beefy flathead and a hammer and tap the bend on the nut back to lock it in place
![Image]()
Re connect driveshaft, fill with your choice of oil and you are back on the road. After driving for a bit check it ... and keep checking it....
Good luck, and enjoy
these pictures are from a guy's van that was brought to me off a Craigslist ad I had posted about some Previa parts. He needed a new rear bumper. While he was here, I quickly glanced under the van and noticed that his rear Diff seal was leaking.. as well as his Valve cover gasket and distributor shaft O ring . We got those ordered, and will get to those this weekend, but this is about the rear diff seal..
Toyota sells the seal for around $15... the genaric seal from National is part #1177 . The gentleman here didnt want to wait for the toyota one, which does look a little different, it has a "cone" shape added to the front. So we used the National one from O'reilly's since they had it in stock for $9.
Also want to add that the seal is the same for all years of the US previa 91-97
.
Notice all the OIL flung up at the top ....
First, we drained all the oil out... good idea to replace with fresh stuff anyway. I am a strong supporter of the synthetic stuff. Royal purple is my favorite, but if your budget doesn't allow, get what you can afford Synthetic come in 75w-90. Dinosaur stuff come in 80-90 weight.
Next is to disconnect the driveshaft... these are 14mm bolts. I use an impact wrench on one side and a box end on the other. If they have never been loosened before, plan on having to use a cheater bar, they will be tight.
After the 4 driveshaft bolts are removed, I take a hammer and knock it loose...
There is a 24mm nut on the input pinion shaft... Some previas it is a little smaller. I have yet to figure out why, but it is what it is... this needs to come off, it has a notch that locks it in place. The impact will buzz it right off without having to mess with it...
When the nut is off, you need to pull the flange out... sometimes they will pull out with your hands, this one needed a little persuasion with a couple TAPS , not knocks, with the hammer.... A gear puller really would have been the appropriate thing to use, but by the time I would have had to dig for it... tapping it was just as effective and much faster..
Now that the flange is out, the seal is right there... !!!
I have to apologize that i didn't get a picture of actually removing the seal. not sure why, just didn't ...
Anyway, I get w fairly beefy flat head screwdriver and put it in the center of the seal, being careful not to scratch any of the inner metal surfaces. Usu=in the opposite side of the seal as a leverage point, i hit the end of the screwdriver with the palm of my hand to pop out the old seal. it only takes a few seconds, and when it goes, it will splatter oil everywhere, so be prepared...
Seal is now out...

Now is a good time to take a rag and kind of wipe everything off a bit...
Get the new seal, and tap it in. I use a giant socket that i have so that when i hit it with the hammer, the blows are more uniform and will get it in evenly... some people use a block of wood, just be careful not to dent or bend it as you are putting it in...
With the new seal in, put some of that oil that you drained on your finger tip and wipe some around the seal part of the seal. that way there is a little lube for when you put the flange on, AND, so you don't have a "dry" start up...
now, replace the flange. Usually they will slide on pretty easy, this one needed a little persuasion with the taps of a hammer.. DO NOT FORCE it if it isn't going. Pull it out and try it again. those splines need to line up ....
OK, this is SUPER IMPORTANT !!!!! When tightening the bolt back on, do not use the impact !!! snug the bolt down till it is firm. chances are it will be where the factory had it. do not go beyond firm or you will crush the crush sleeve inside and then you will have play at the pinion gear and eventually noise and possibly failure.... ( trust me, i know this first hand...)
Take your beefy flathead and a hammer and tap the bend on the nut back to lock it in place
Re connect driveshaft, fill with your choice of oil and you are back on the road. After driving for a bit check it ... and keep checking it....
Good luck, and enjoy