

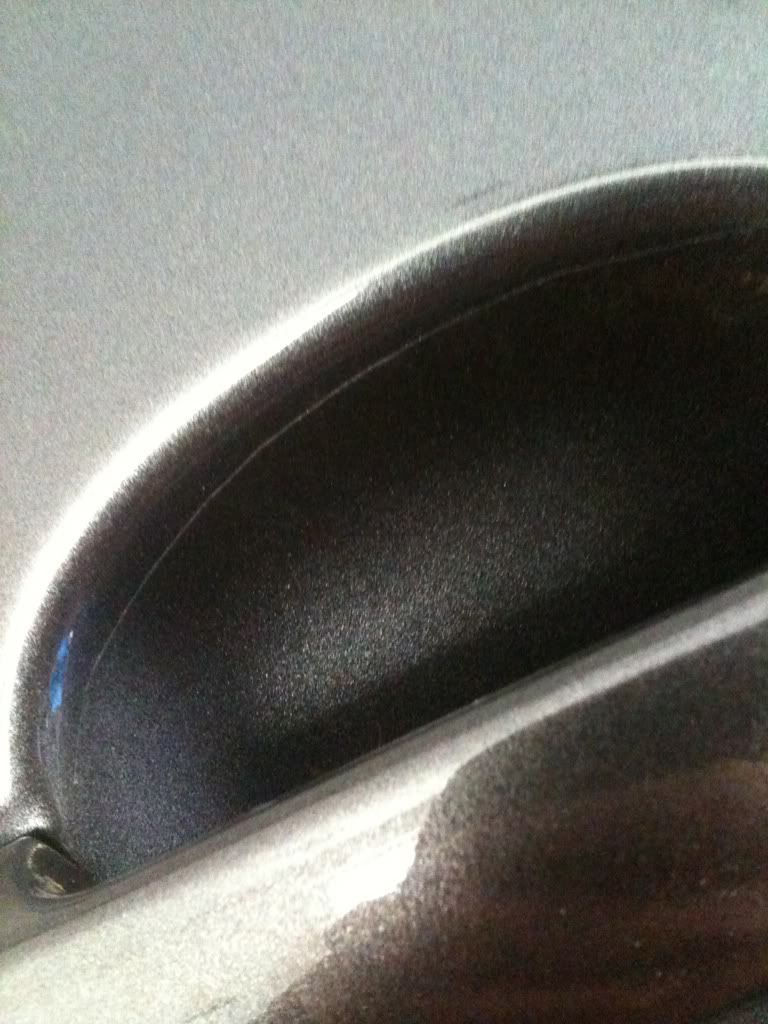
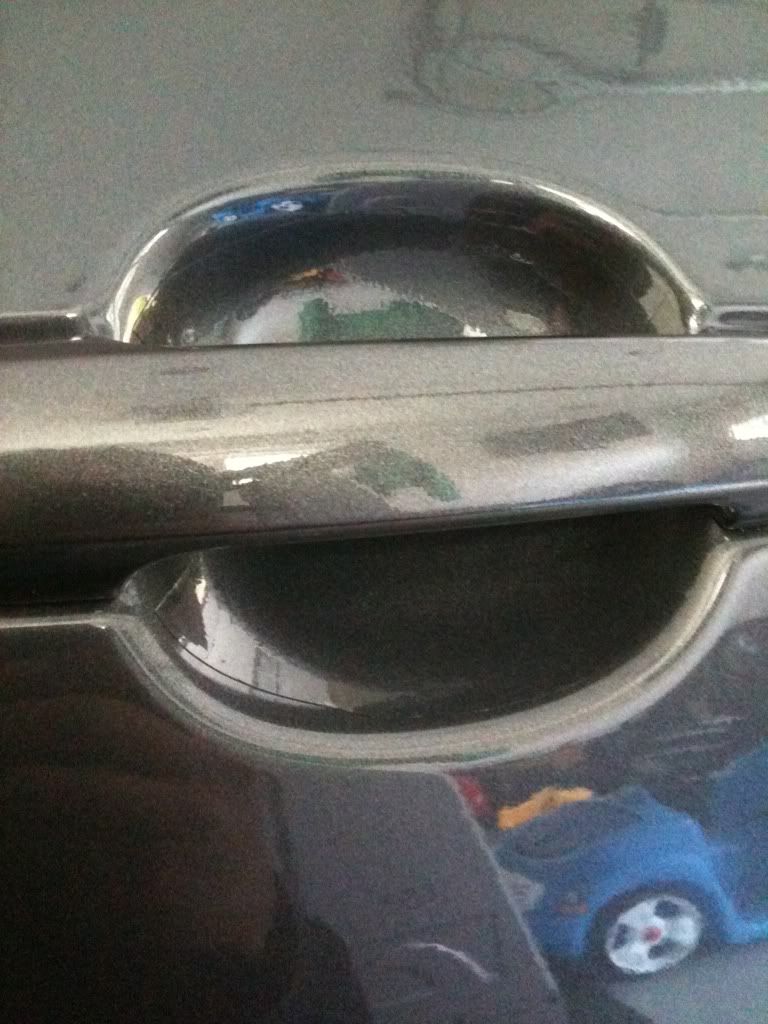
I started to notice fine scratches on my door cups, especially on the passenger side coz of my wife's long fingernails. So I decided to protect them from further abuse. Here's how:
Materials:
12x12 Clear Bra film (search Ebay)
Soap Solution Spray bottle (3 drops baby shampoo to water)
Microfiber cloth
Small squeegee (or simply use your thumb wrapped in the microfiber cloth)
Heat Gun/Hair Dryer
Household Aluminum Foil
Scissors
Sharpie Marker
Cardboard
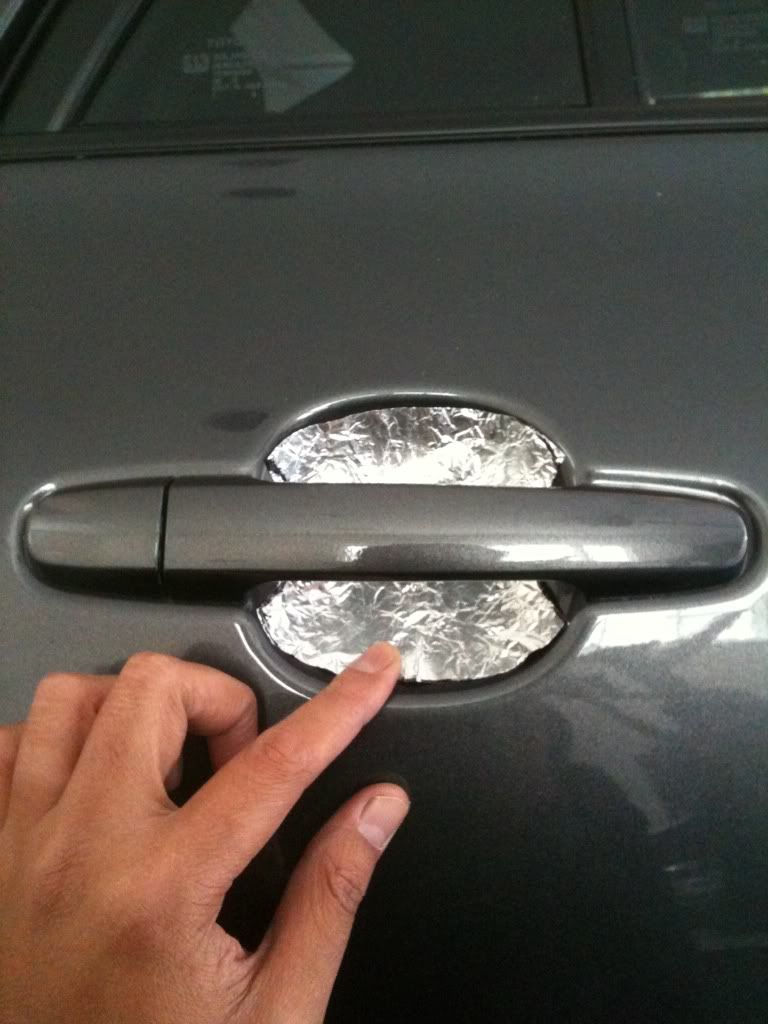
STEP 1
Take a large enough size of foil and place it in the door cups. Shape the foil to the contours of the door cup and with the sharpie, draw the outline of the door cup and cut it to shape. It doesn't have to be a perfect cut out, only enough to protect most of the area.
![Image]()
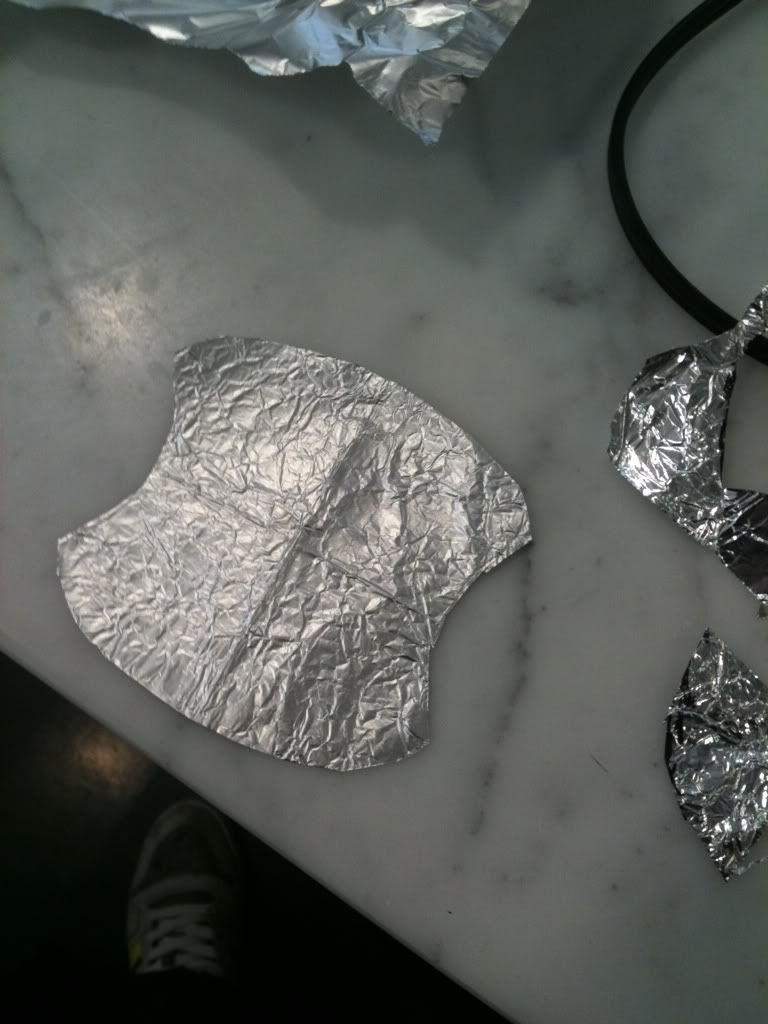
You may want to fold the foil in both directions and cut along both edges to ensure you have a uniform shape. See the crease lines on the foil for reference.
![Image]()
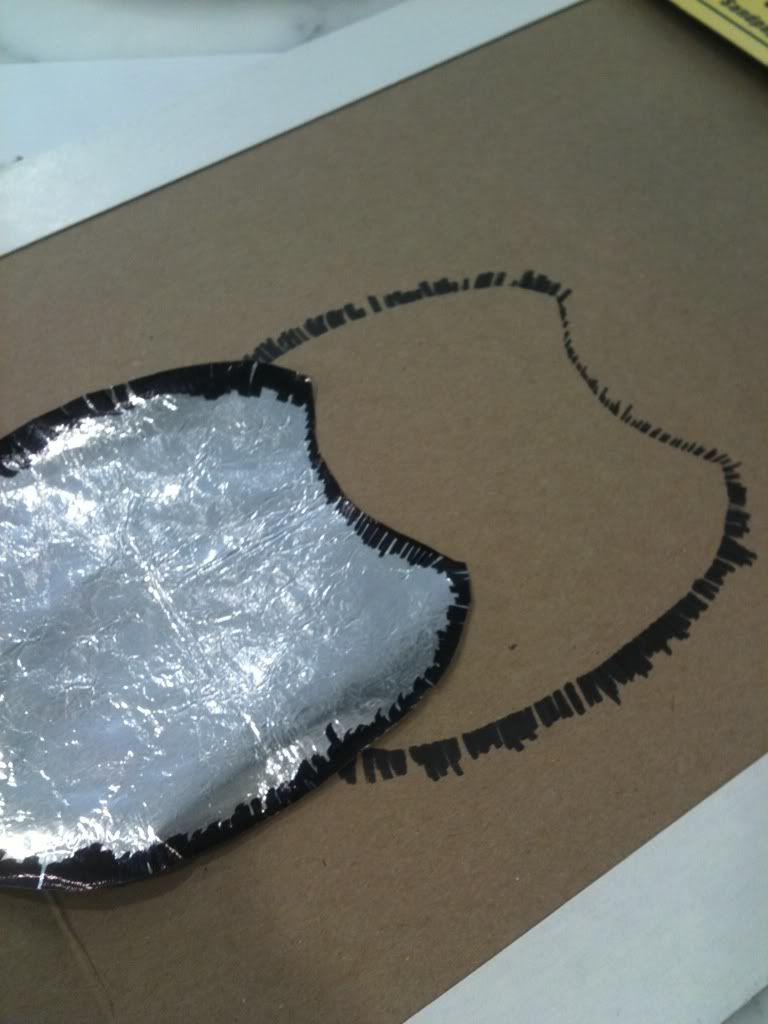
STEP 2
Trace the cutout foil onto a piece of cardboard and cut it. This will be your template for the rest of the doors.
![Image]()
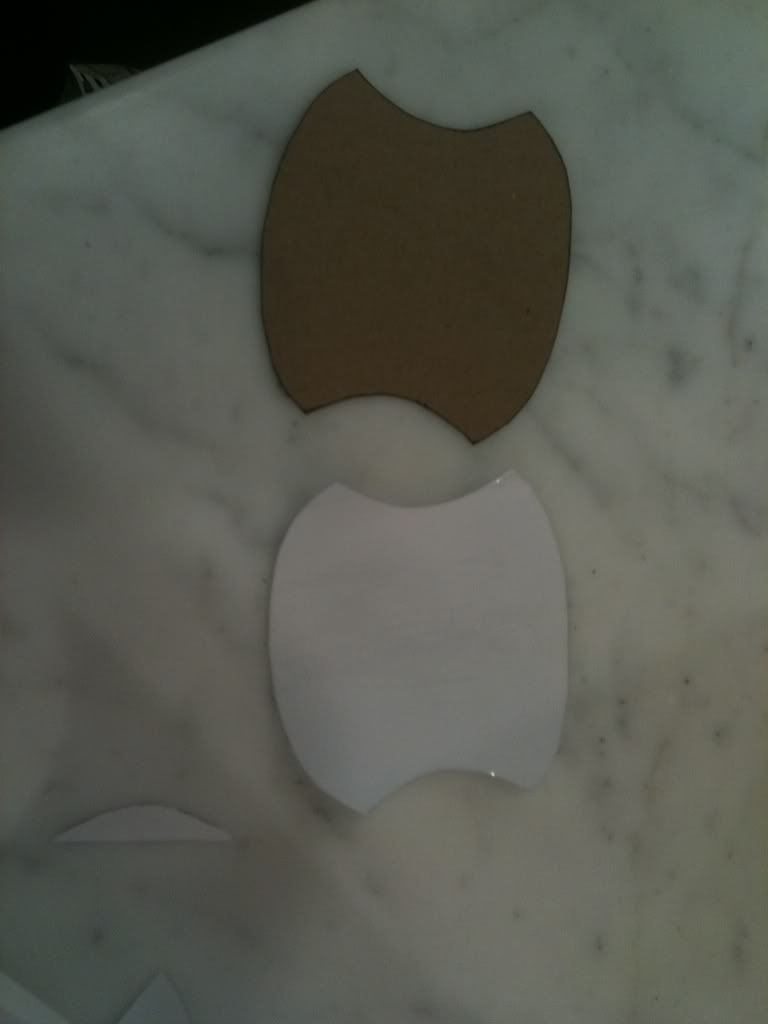
STEP 3
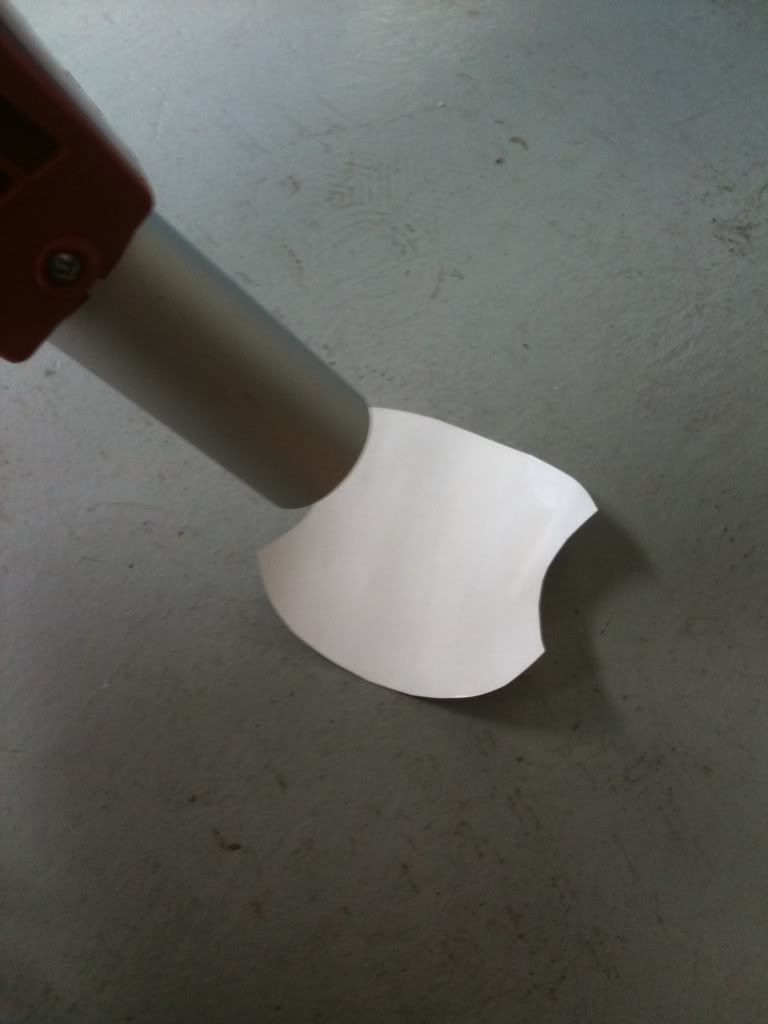
Take the cardboard template and trace it 4 times (for all 4 doors) to the reverse side of your clear bra film and cut out the clear bra film to shape
![Image]()
STEP 4
Spray the soap solution onto your door cup and wipe clean with the microfiber cloth. This will remove dirt and grime from the cup. Respray the door cup again to prepare for the clear bra installation.
![Image]()
STEP 5
With the backing paper still attached, take your head gun and heat the clear bra cutout. This enables the film to be soft and workable.
![Image]()
STEP 6
Remove the backing paper from the clear bra film and spray the sticky side with soap solution.
![Image]()
STEP 7
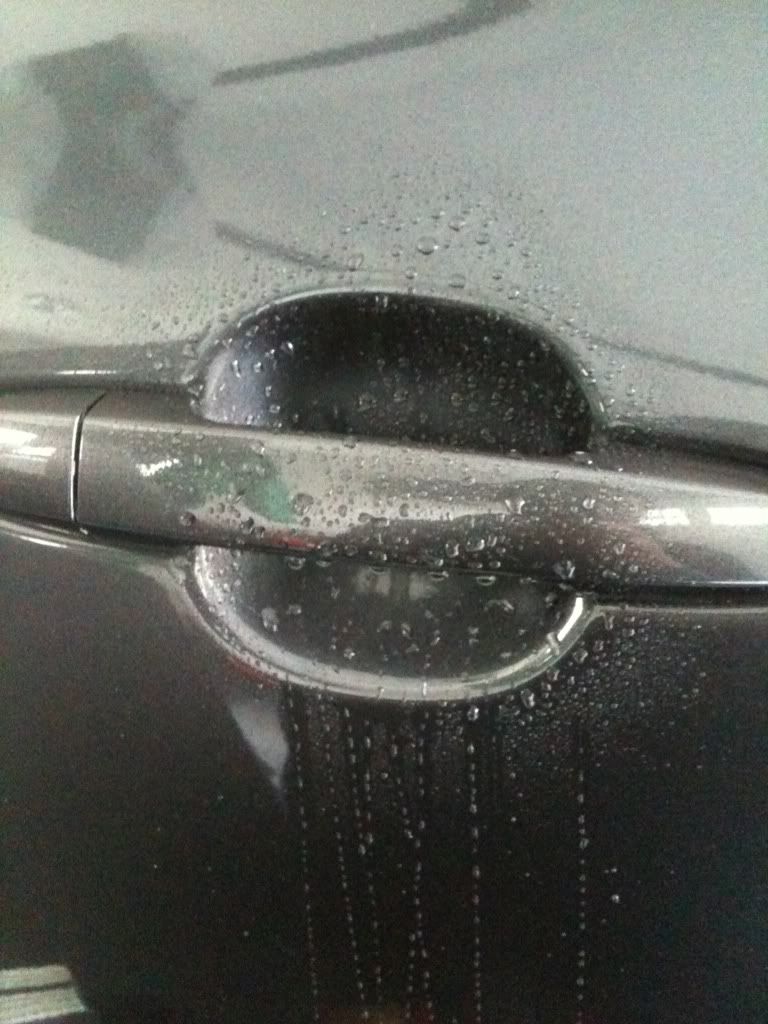
Apply the clear bra to the door cup by sliding it under the handle carefully
![Image]()
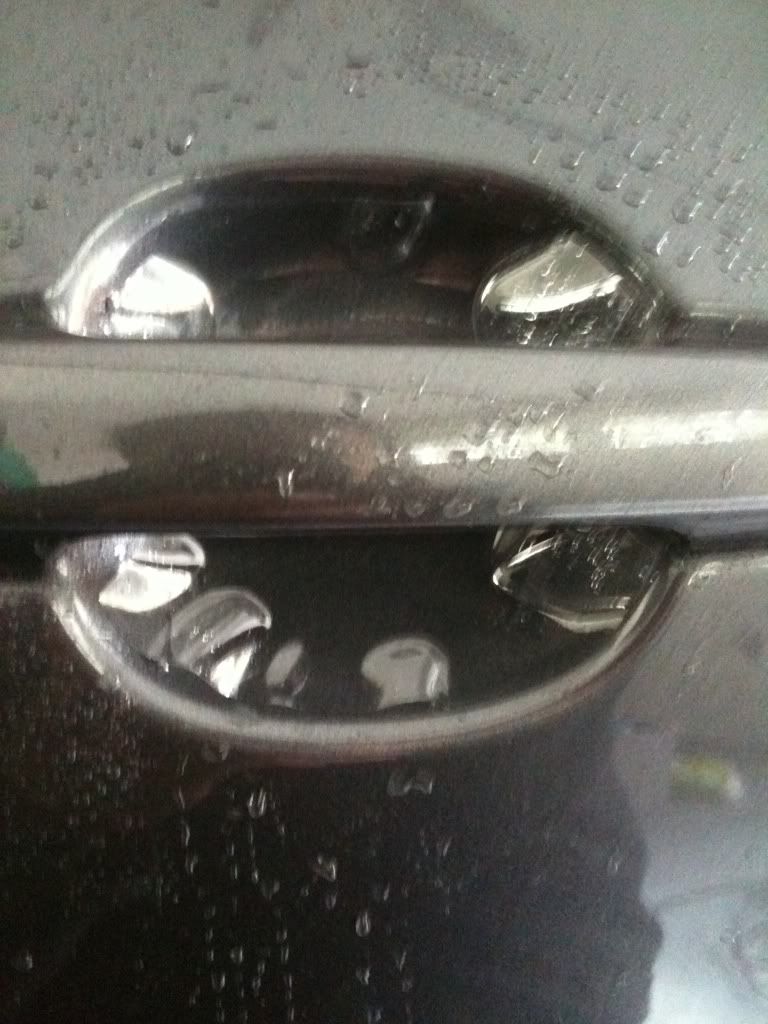
STEP 8
From the center of the door cup, squeegee outward towards the edges to remove the soap solution and allow the clear bra to adhere. When you get to the edge's, you'll notice that it'll start to wrinkle. Simply apply heat from the heat gun and smooth it out. It will come back up a couple times but just be patient and keep working it. Stretching the bra from the corners helps a lot in minimizing the wrinkles coming back up, or preventing it altogether.
![Image]()
STEP 9
Repeat steps 4-8 for the other three doors.
![Image]()
Congratulations. You are now protected. :thumbsup:
Materials:
12x12 Clear Bra film (search Ebay)
Soap Solution Spray bottle (3 drops baby shampoo to water)
Microfiber cloth
Small squeegee (or simply use your thumb wrapped in the microfiber cloth)
Heat Gun/Hair Dryer
Household Aluminum Foil
Scissors
Sharpie Marker
Cardboard
STEP 1
Take a large enough size of foil and place it in the door cups. Shape the foil to the contours of the door cup and with the sharpie, draw the outline of the door cup and cut it to shape. It doesn't have to be a perfect cut out, only enough to protect most of the area.
You may want to fold the foil in both directions and cut along both edges to ensure you have a uniform shape. See the crease lines on the foil for reference.
STEP 2
Trace the cutout foil onto a piece of cardboard and cut it. This will be your template for the rest of the doors.
STEP 3
Take the cardboard template and trace it 4 times (for all 4 doors) to the reverse side of your clear bra film and cut out the clear bra film to shape
STEP 4
Spray the soap solution onto your door cup and wipe clean with the microfiber cloth. This will remove dirt and grime from the cup. Respray the door cup again to prepare for the clear bra installation.
STEP 5
With the backing paper still attached, take your head gun and heat the clear bra cutout. This enables the film to be soft and workable.
STEP 6
Remove the backing paper from the clear bra film and spray the sticky side with soap solution.

STEP 7
Apply the clear bra to the door cup by sliding it under the handle carefully
STEP 8
From the center of the door cup, squeegee outward towards the edges to remove the soap solution and allow the clear bra to adhere. When you get to the edge's, you'll notice that it'll start to wrinkle. Simply apply heat from the heat gun and smooth it out. It will come back up a couple times but just be patient and keep working it. Stretching the bra from the corners helps a lot in minimizing the wrinkles coming back up, or preventing it altogether.
STEP 9
Repeat steps 4-8 for the other three doors.
Congratulations. You are now protected. :thumbsup:
")


