

Pics are here for now
http://mysoarer.com/misc/camry/valve cover/
Alright there have been a few people who been IM'ing me and PM'ing me on how I painted my valve cover. Since I am changing my engine bay color scheme I might as well kill 2 birds with one stone.
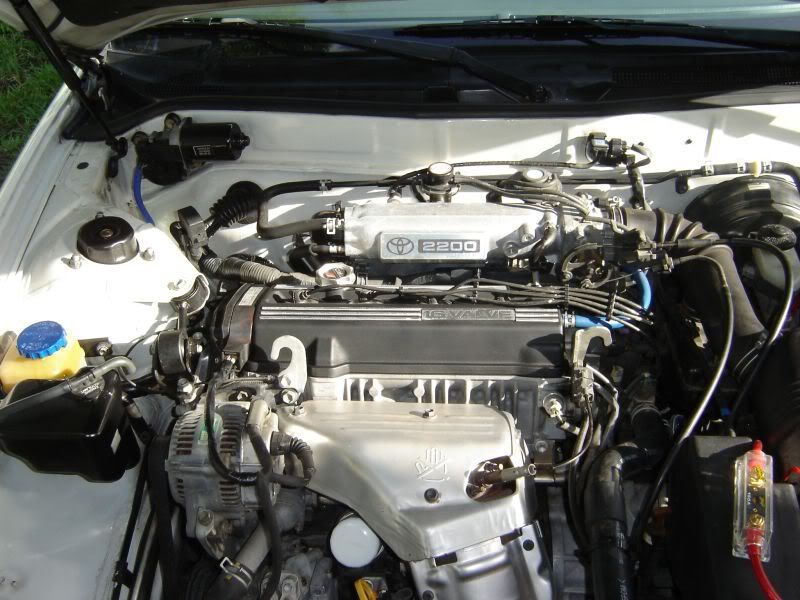
Engne: 5SFE - I4 - 95 Camry - Will work with other years.
Requirements:
10mm Rachet or wrench. Socket will work for one bolt the other wont fit.
Adjustable Wrench
5SFE Gasket - Only if your replacing them
PCV Valve and Gasket - Only if your replacing them
Spark Plug Wire Gasket - Only if your replacing them
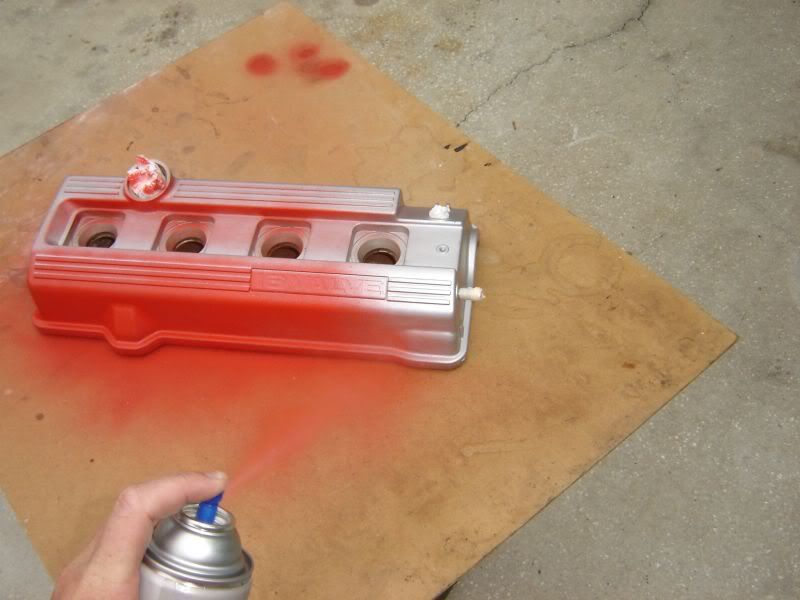
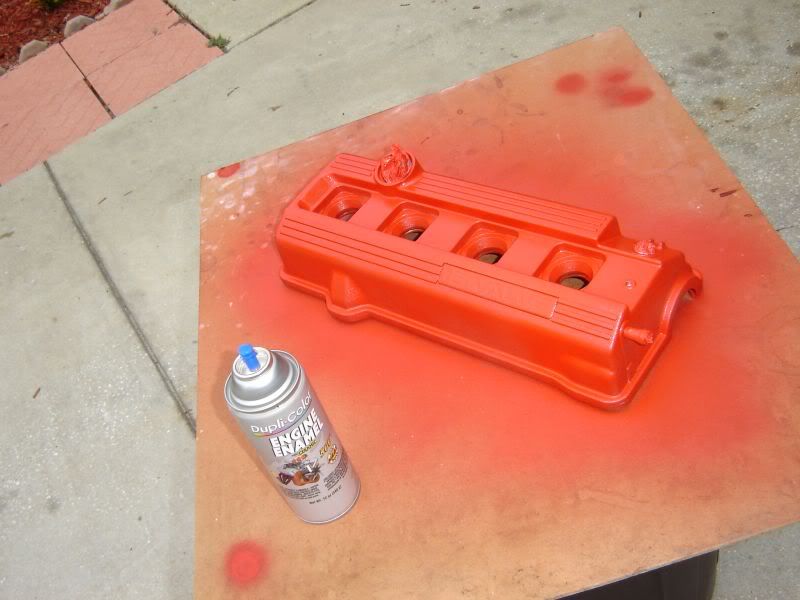
Paint - 500* Paint, - Only if you are painting
Assorted Sand Paper - 600 - 1000 1500- 2000 - Rubbing Compound - Polishing Compound (This is excessive, you dont need to do ALL this for the valve cover, the first time I didnt, but I am now, will look good without that done though)
-------------------------------
Warning: I am NOT responsible for any damage that may occur or any problems.
Let your engine cool down. If you dont feel safe, wait overnight. In most cases you can remove the car about 30 min after the car stops running. The oil will drain to the pan.
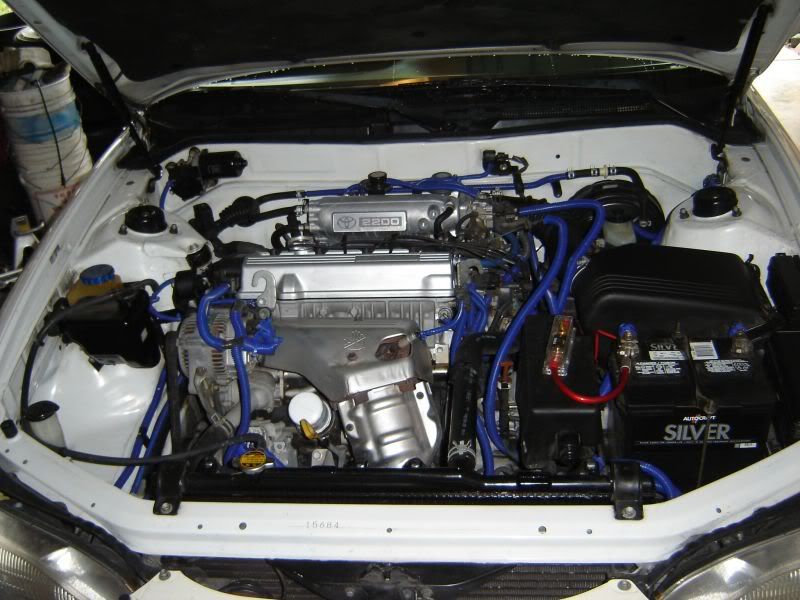
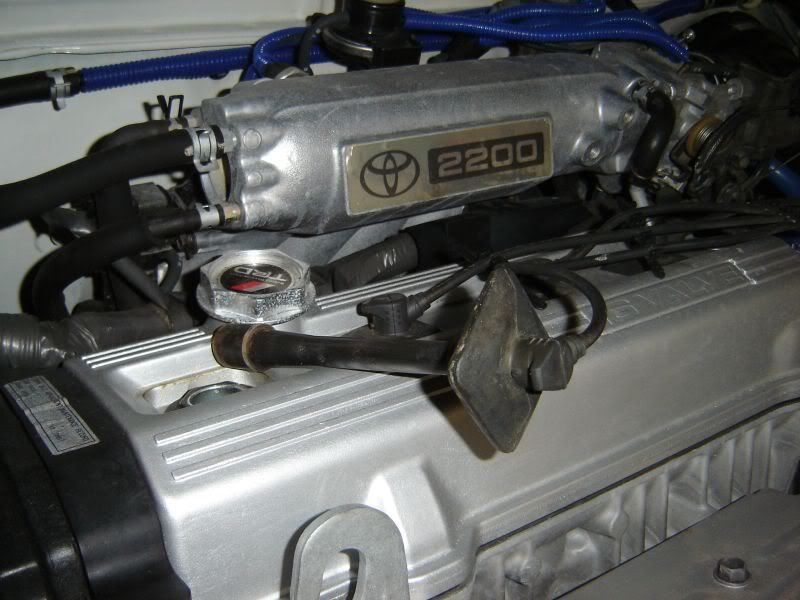
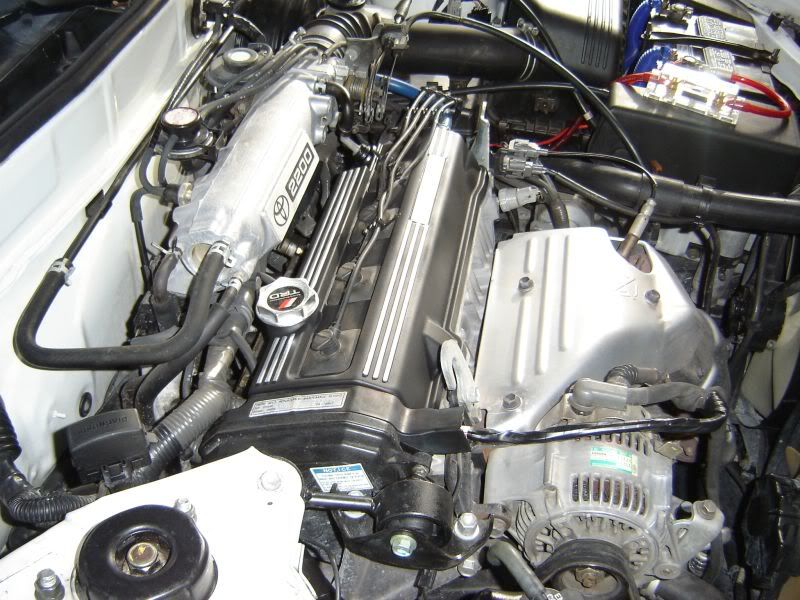
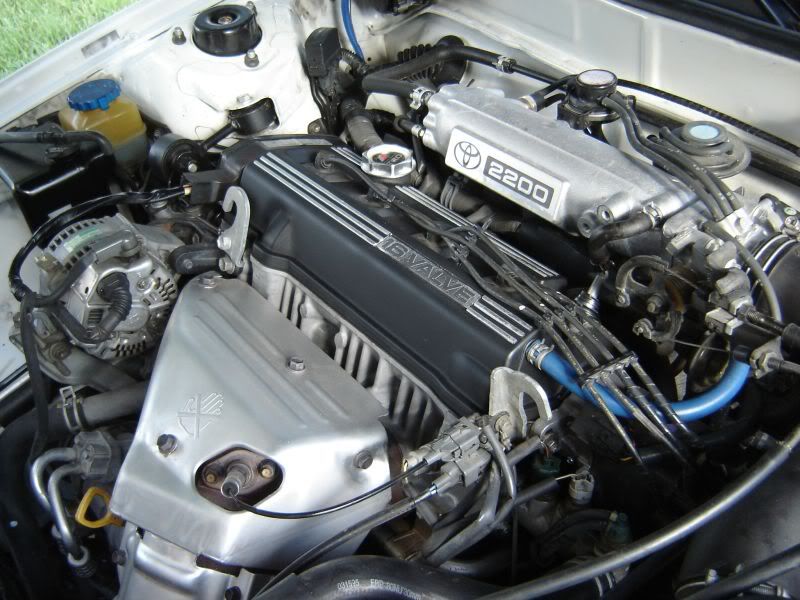
First Locate your Valve Cover
![Image]()
![Image]()
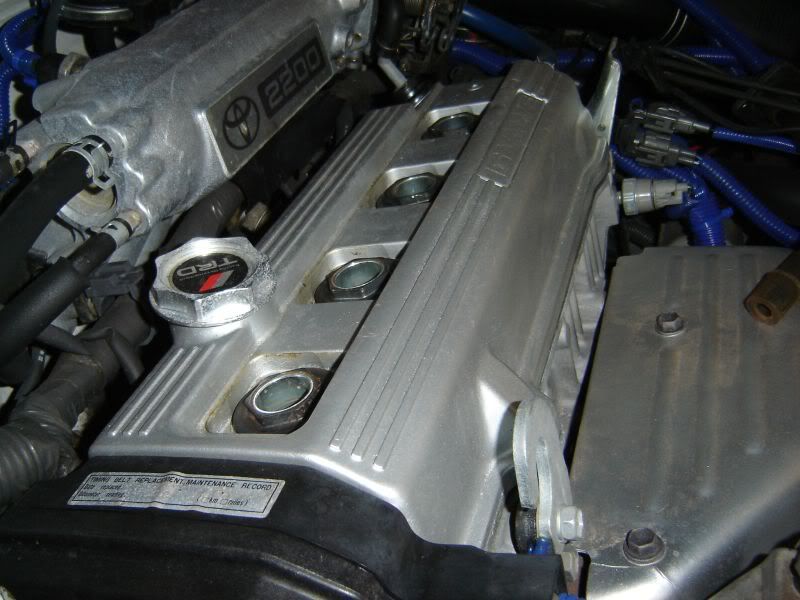
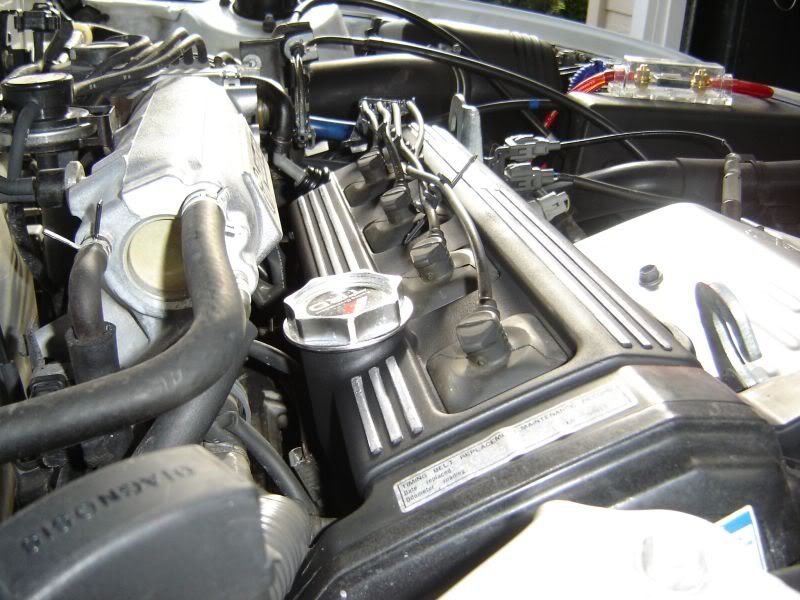
Pop out your Spark Plug Wires
![Image]()
![Image]()
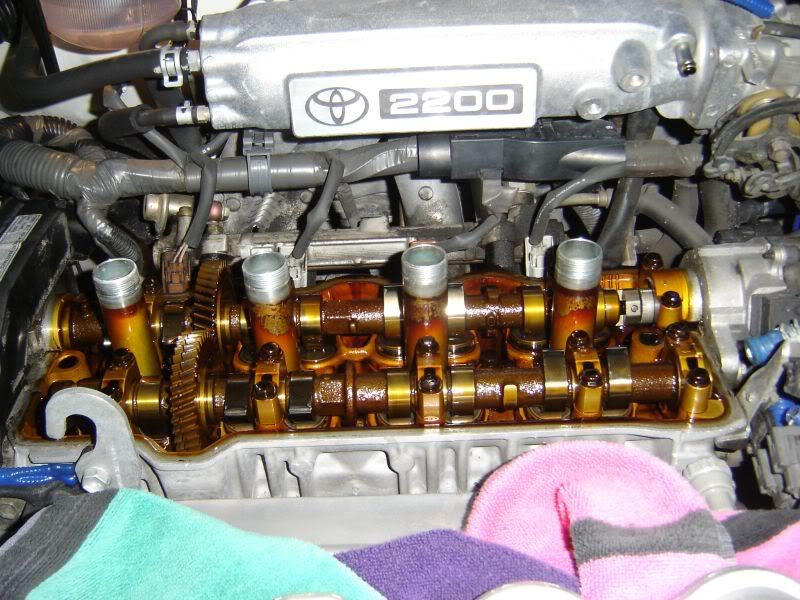
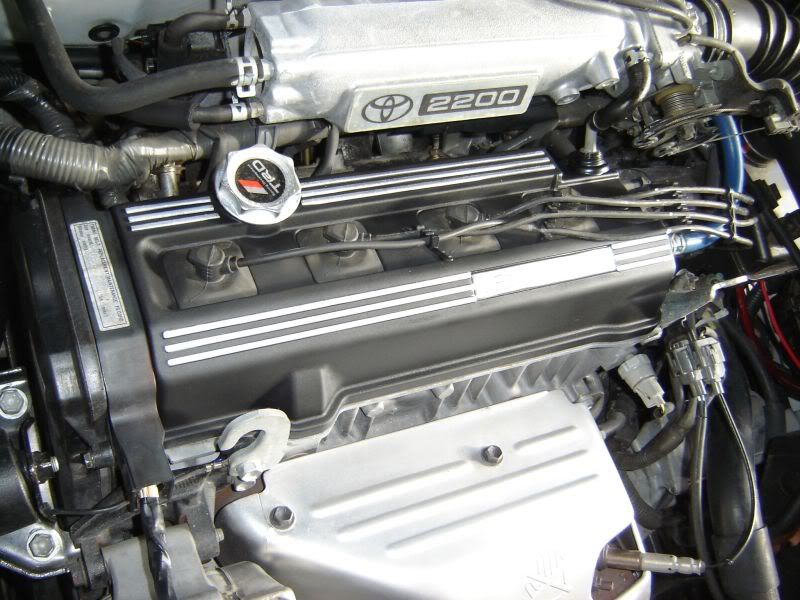
This is what you will see
![Image]()
![Image]()
Pop off the vacuum hose and the PCV valve hose
![Image]()
![Image]()
![Image]()
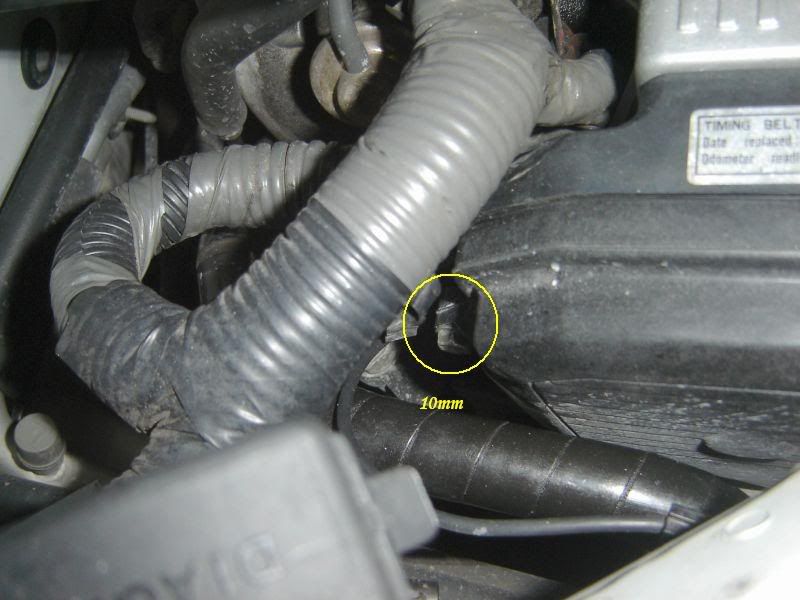
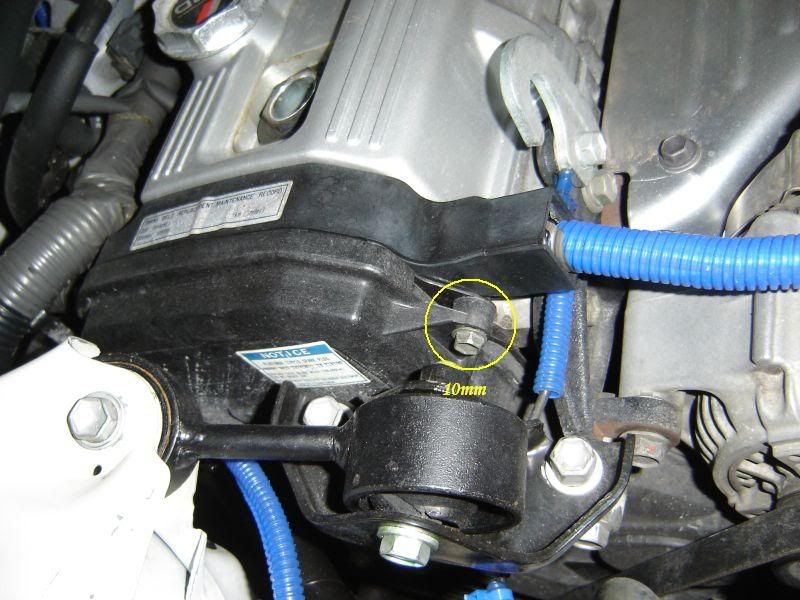
Locate these 2 screws, you need to unscrew them.
![Image]()
![Image]()
![Image]()
Unscrew them. Do not pull on them, you only need to unscrew it for it to come out. It wont move much once you pull it up but thats okay, doesnt need to move a lot.
![Image]()
![Image]()
![Image]()
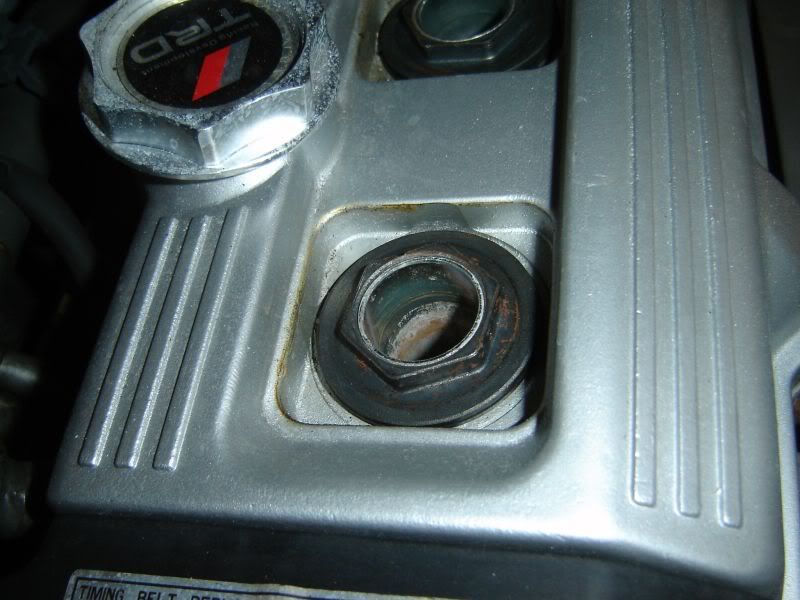
Locate the 4 big nuts on the valve cover.
![Image]()
![Image]()
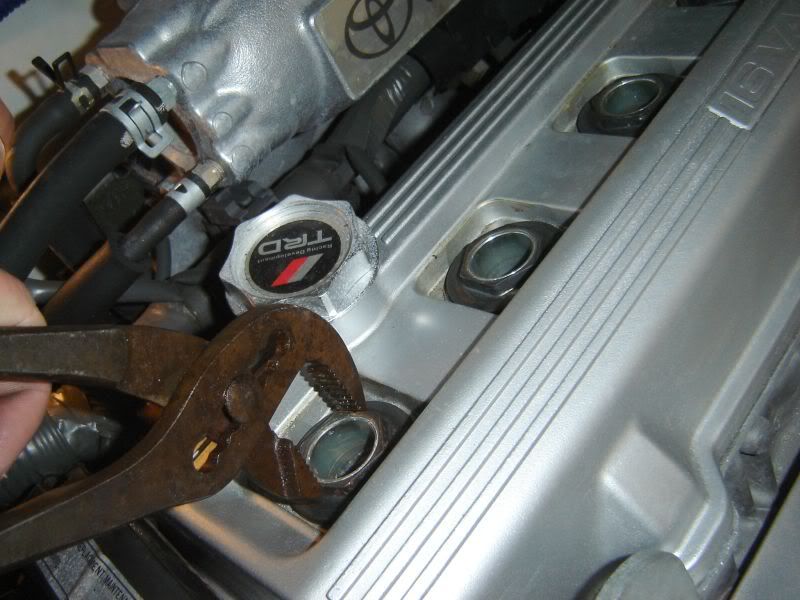
Unscrew them with an adjustable wrench.
![Image]()
![Image]()
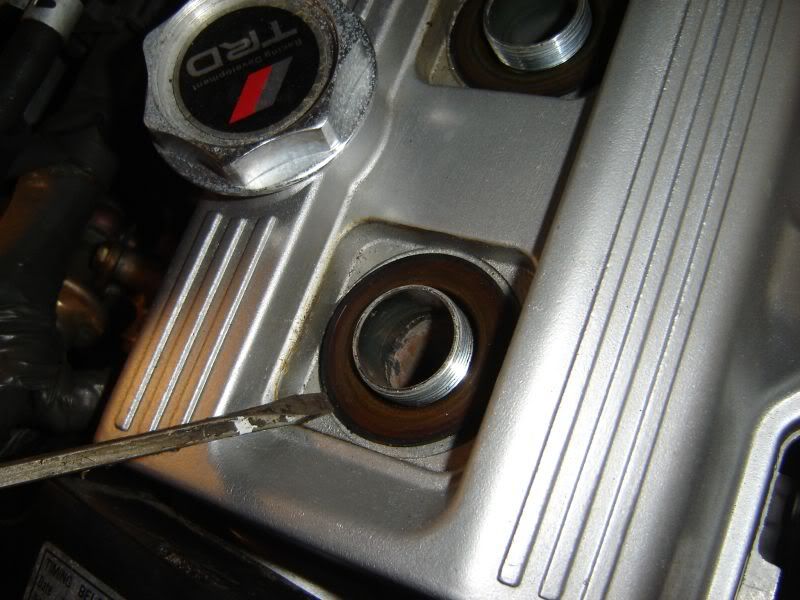
Once those are unscrewed, set them aside. Take a flathead and pop off the gaskets
![Image]()
![Image]()
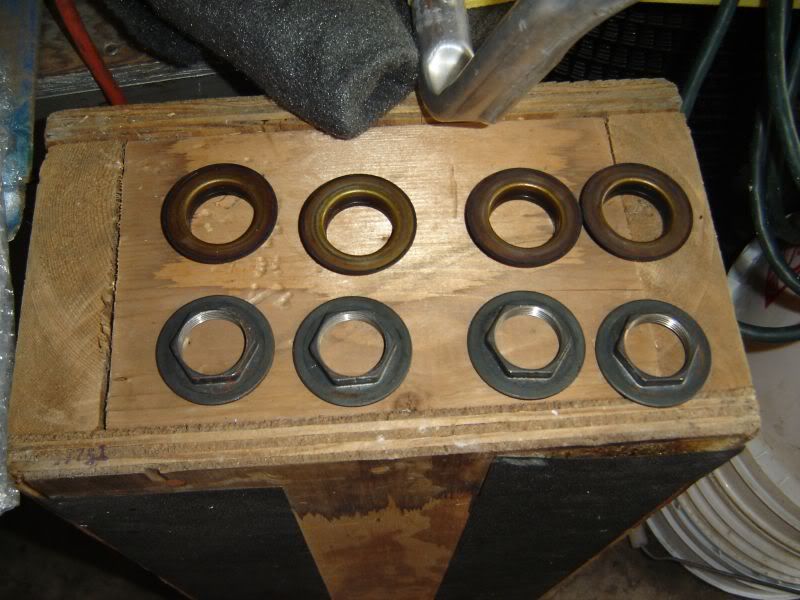
Them set to the side.
![Image]()
![Image]()
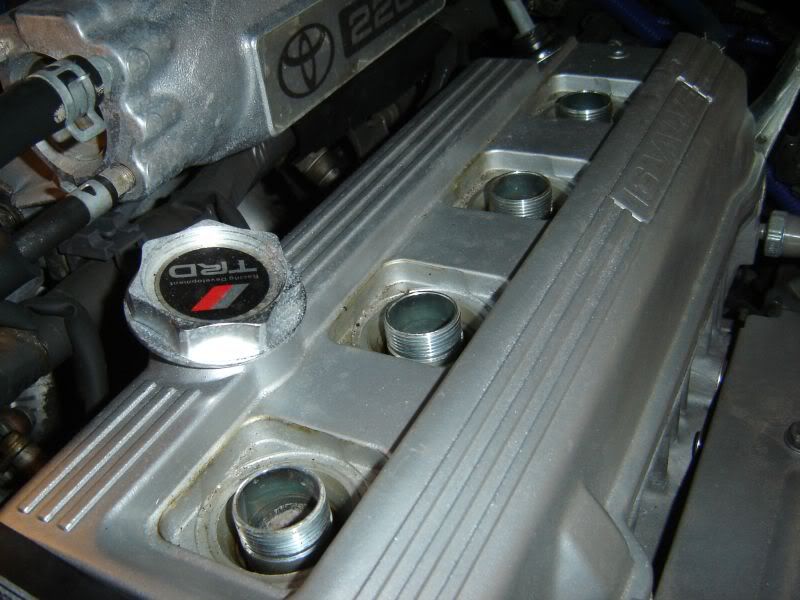
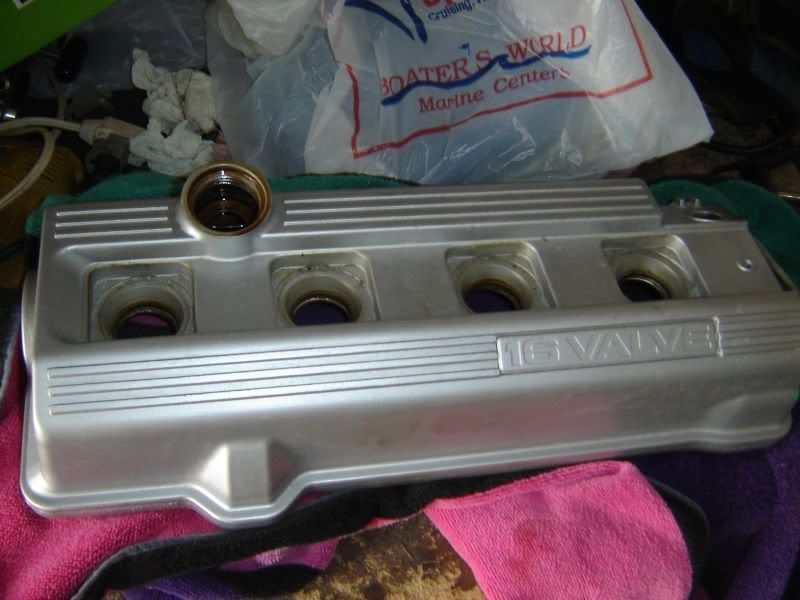
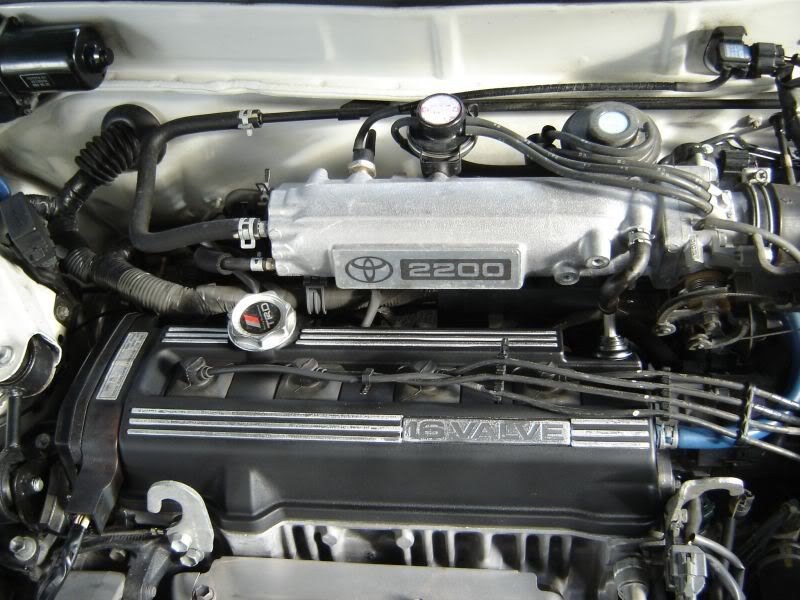
This is what you will have.
![Image]()
![Image]()
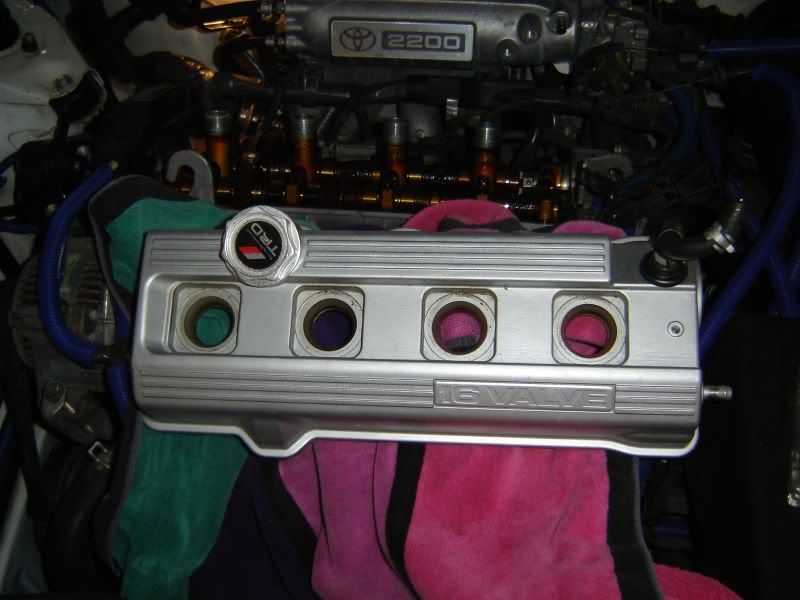
The valve cover is not being held on by anything, should just be able to slide right off, if not, take the flathead and pop up the edges.
![Image]()
![Image]()
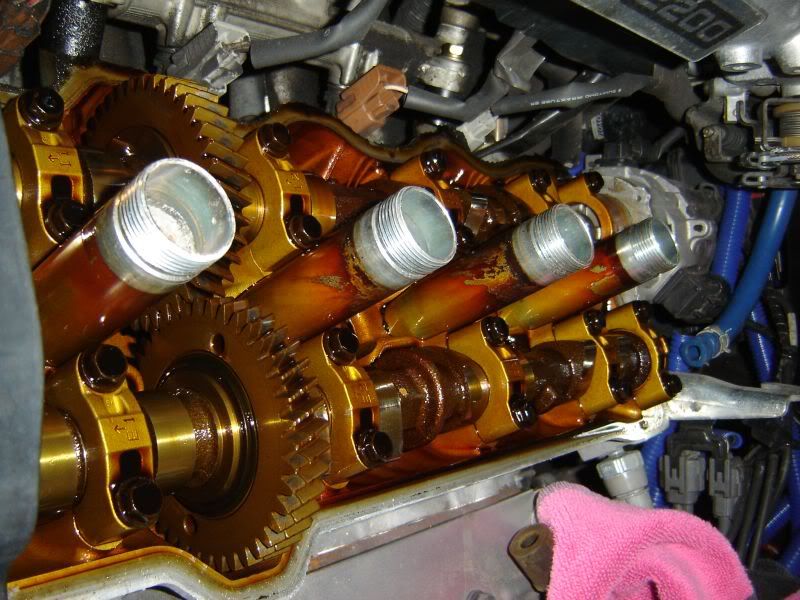
This is what it looks like under there if your curious.
![Image]()
![Image]()
![Image]()
![Image]()
http://mysoarer.com/misc/camry/valve cover/
Alright there have been a few people who been IM'ing me and PM'ing me on how I painted my valve cover. Since I am changing my engine bay color scheme I might as well kill 2 birds with one stone.
Engne: 5SFE - I4 - 95 Camry - Will work with other years.
Requirements:
10mm Rachet or wrench. Socket will work for one bolt the other wont fit.
Adjustable Wrench
5SFE Gasket - Only if your replacing them
PCV Valve and Gasket - Only if your replacing them
Spark Plug Wire Gasket - Only if your replacing them
Paint - 500* Paint, - Only if you are painting
Assorted Sand Paper - 600 - 1000 1500- 2000 - Rubbing Compound - Polishing Compound (This is excessive, you dont need to do ALL this for the valve cover, the first time I didnt, but I am now, will look good without that done though)
-------------------------------
Warning: I am NOT responsible for any damage that may occur or any problems.
Let your engine cool down. If you dont feel safe, wait overnight. In most cases you can remove the car about 30 min after the car stops running. The oil will drain to the pan.
First Locate your Valve Cover

Pop out your Spark Plug Wires

This is what you will see

Pop off the vacuum hose and the PCV valve hose

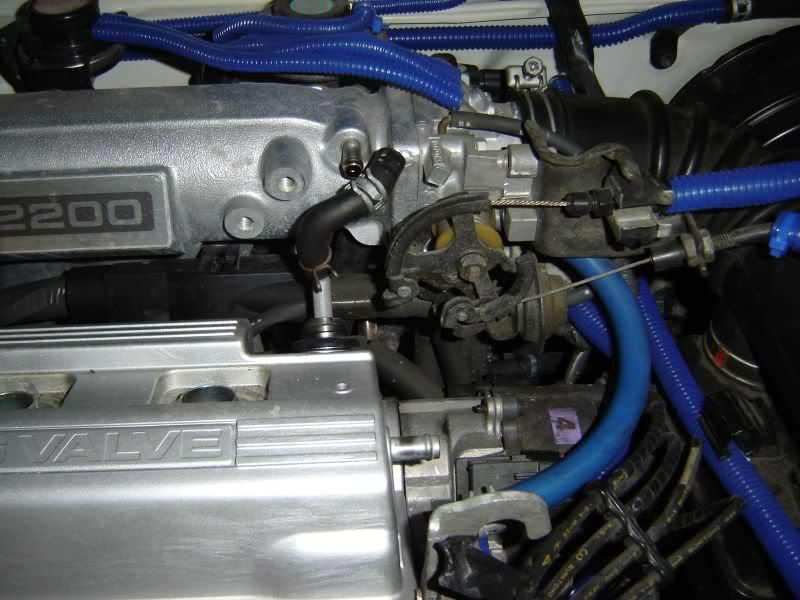

Locate these 2 screws, you need to unscrew them.


Unscrew them. Do not pull on them, you only need to unscrew it for it to come out. It wont move much once you pull it up but thats okay, doesnt need to move a lot.


Locate the 4 big nuts on the valve cover.

Unscrew them with an adjustable wrench.

Once those are unscrewed, set them aside. Take a flathead and pop off the gaskets

Them set to the side.

This is what you will have.

The valve cover is not being held on by anything, should just be able to slide right off, if not, take the flathead and pop up the edges.

This is what it looks like under there if your curious.


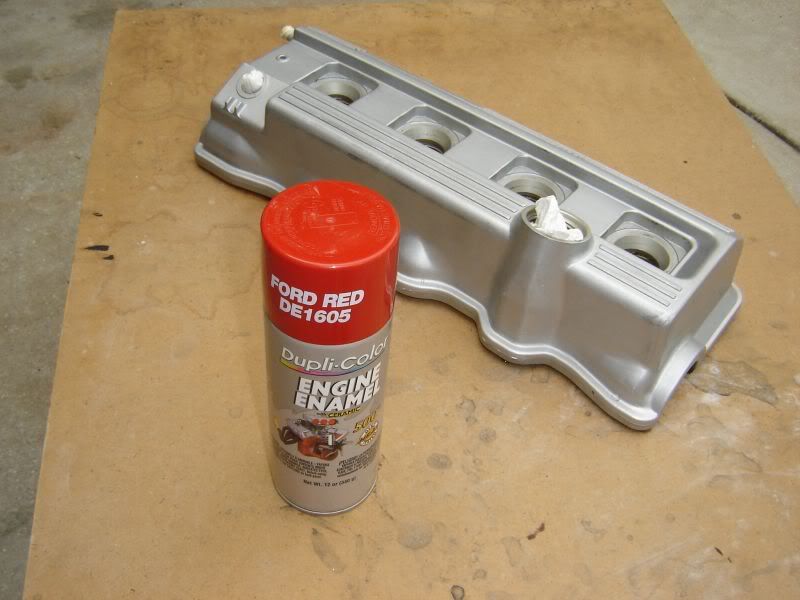


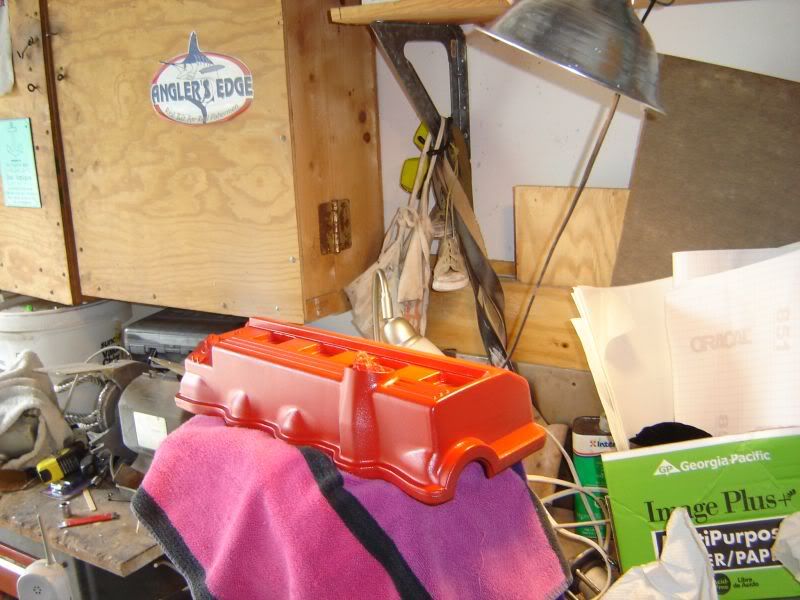


") Although I might change it to black and get red spark plug wires. doesnt matter its going to look great when the whole thing is done. I can only paint a few hours of the day before it rains.
Although I might change it to black and get red spark plug wires. doesnt matter its going to look great when the whole thing is done. I can only paint a few hours of the day before it rains.


