Well in the hope of helping some one else in the future I thought I might make a little crude how to on the fuse change so here goes.....
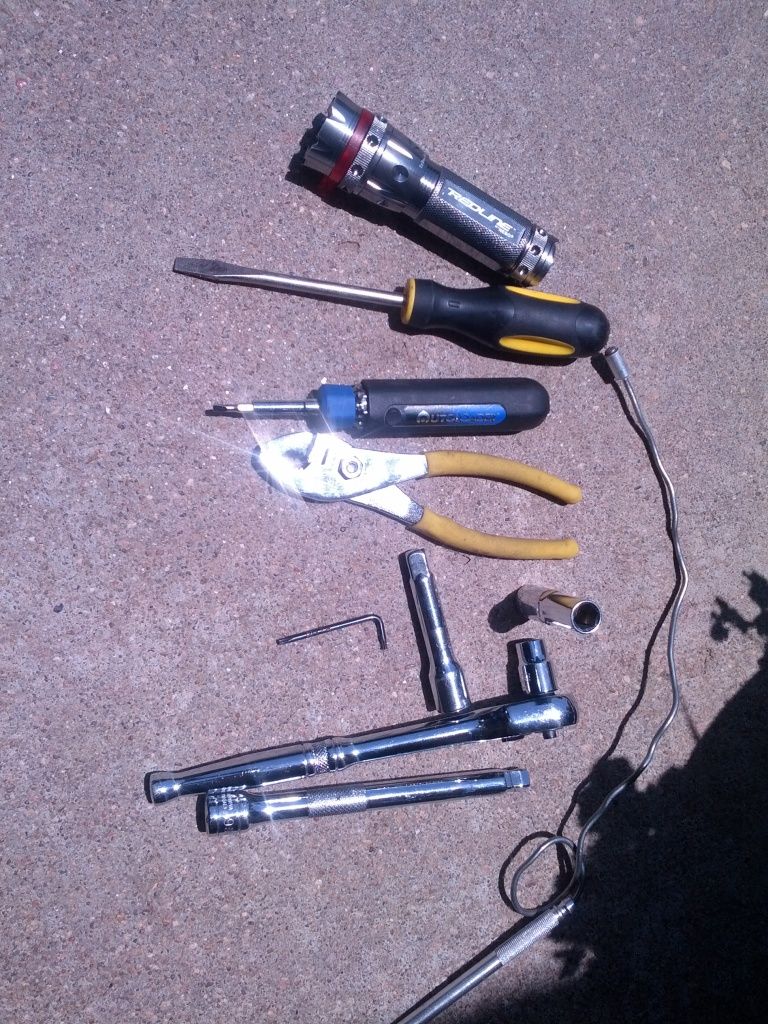
First here are the tools I used. 10mm sockets standard and deep with a couple extensions, a couple of screw drivers to pop off all the little plastic tabs, a very small torx wrench or allen key to push those two pita locks on the corner, small pliers, needle nose might be better for some of it, but I didn't use them, and a flash light and magnet picker upper for the stuff you know you will drop.
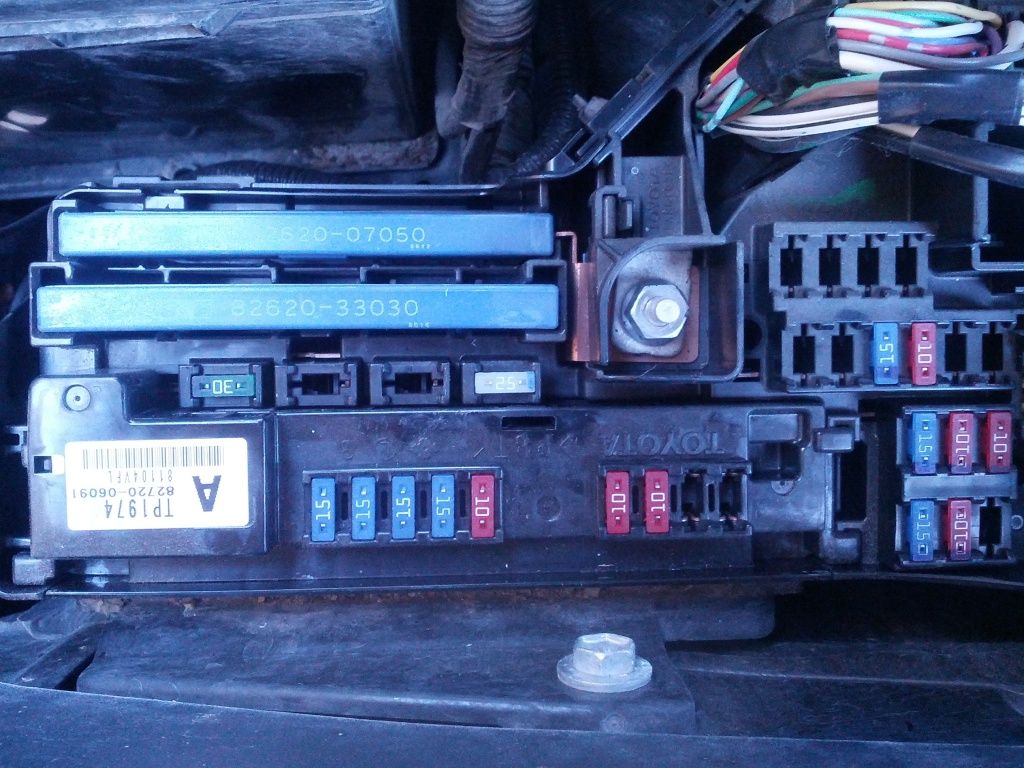
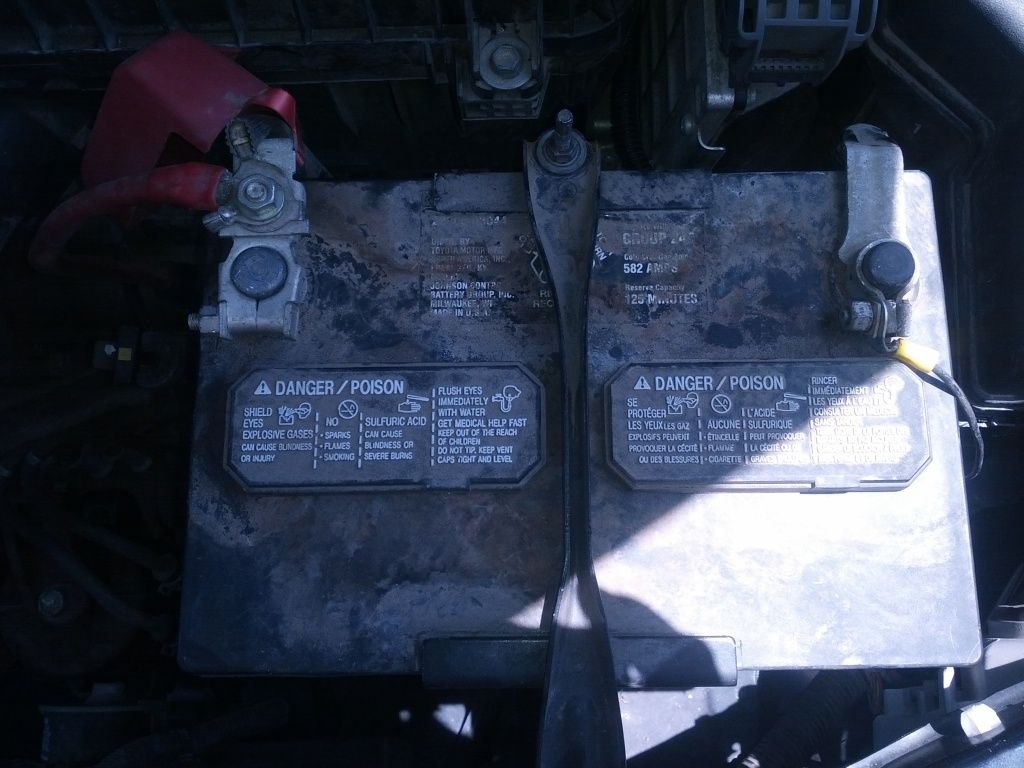
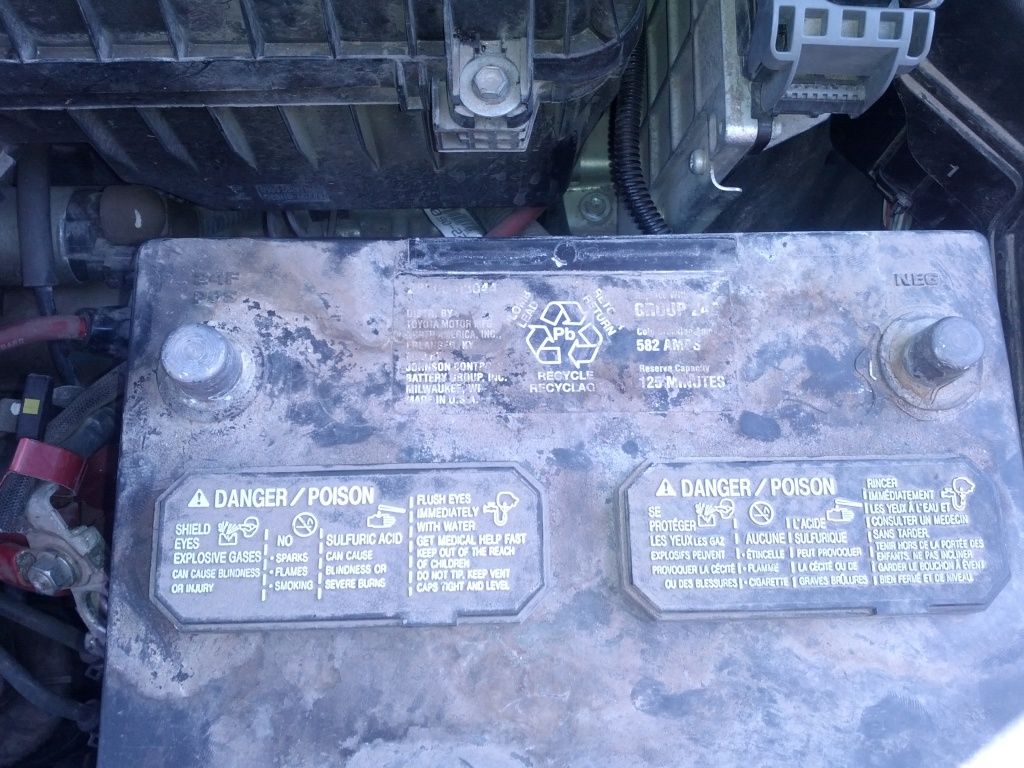
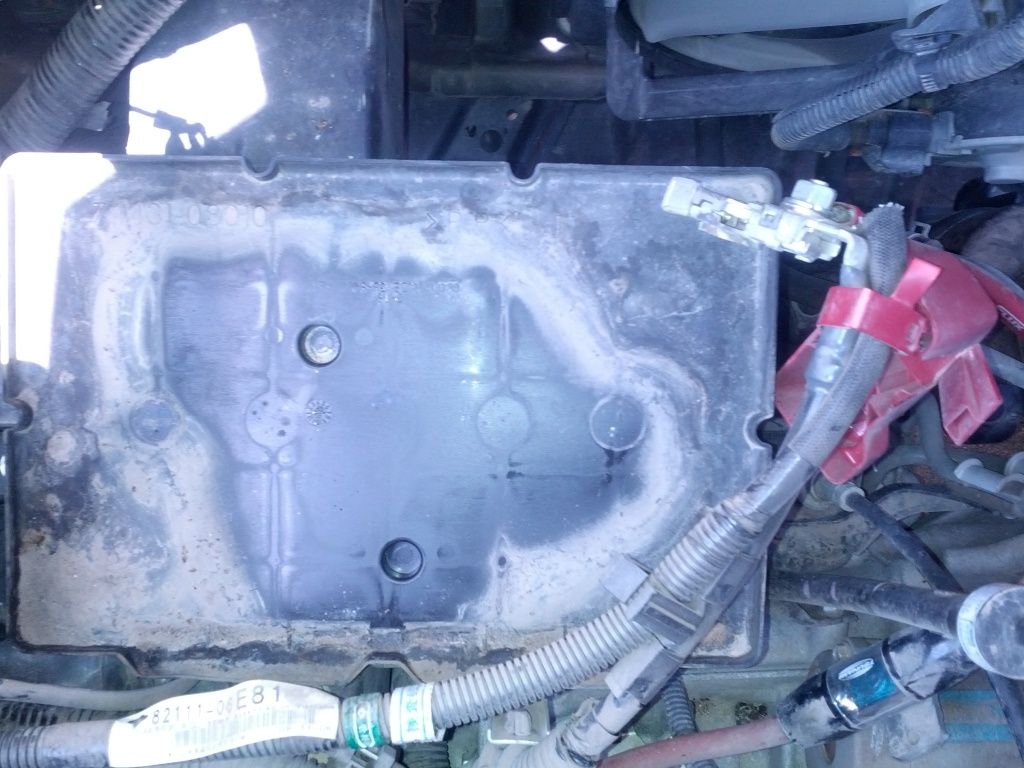
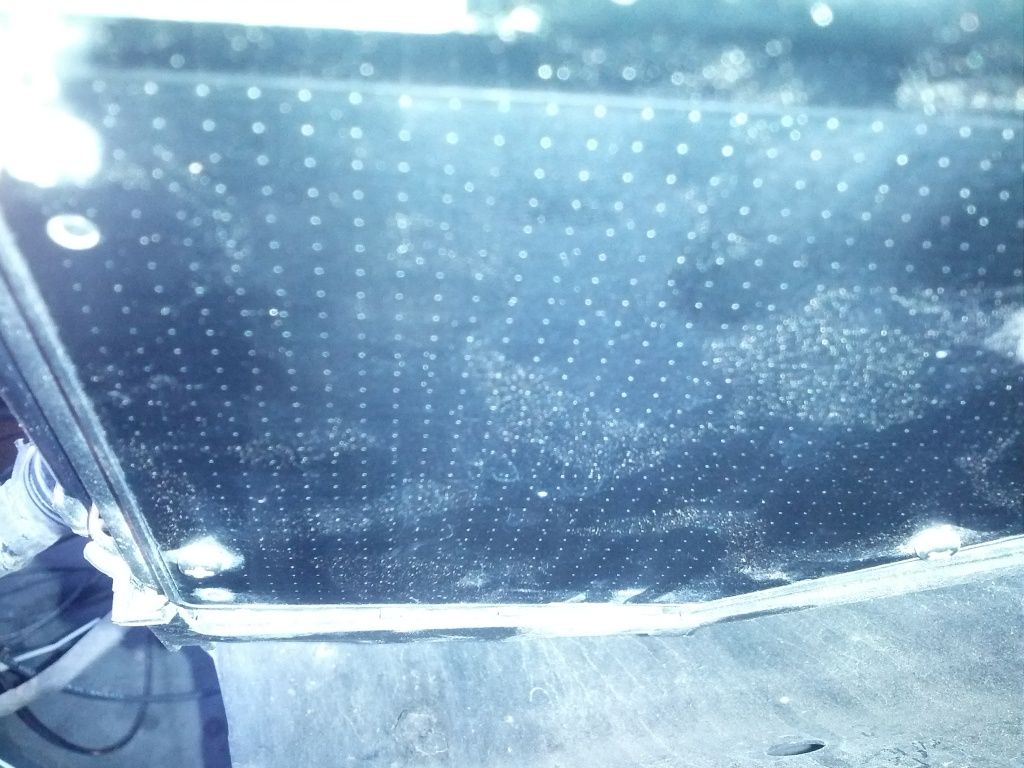
1. Disconnect this nasty thing. 10mm socket, The tray just sits there and will lift right out, no bolts or anything.
2. Take the top off of the fuse block, just push on the little tab and it comes right off.
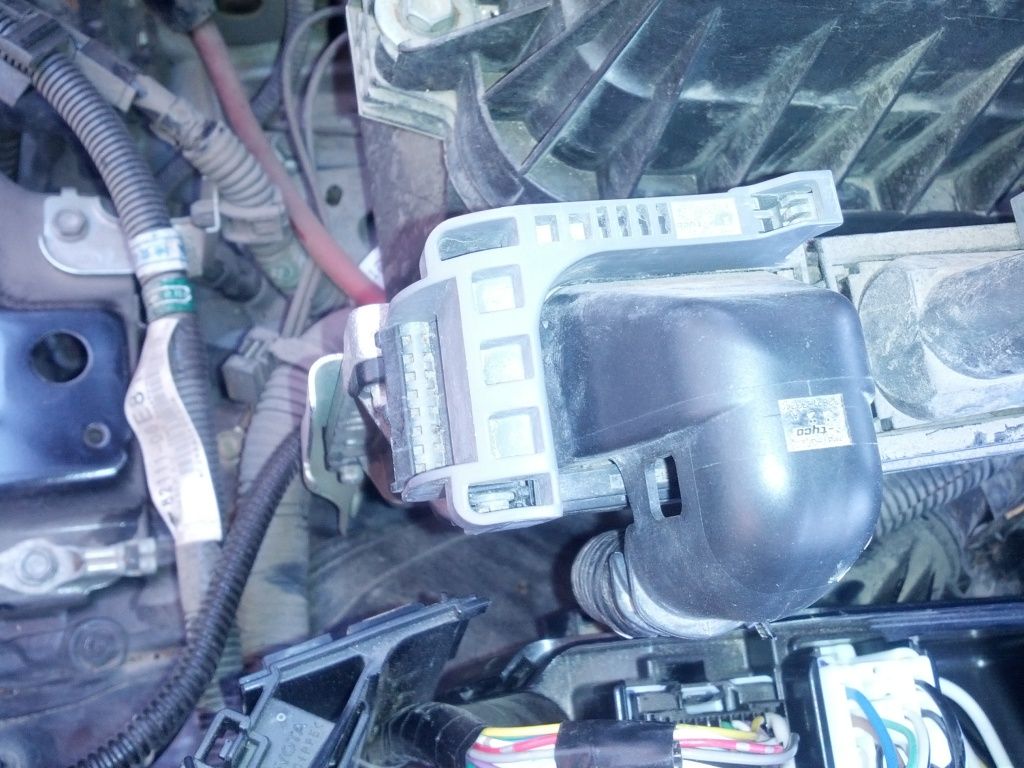
3. First I popped off all of the harness connectors to make it easier to move around and see/get to the little plastic tabs. This first one is how I wish they would have done the fuse block a nice positive lock cam mechanism no tool needed. It is actually on the ecm but It was in the way somewhat so out it came.
The rest just pull right out when you press in on the little tabs with a screw driver.
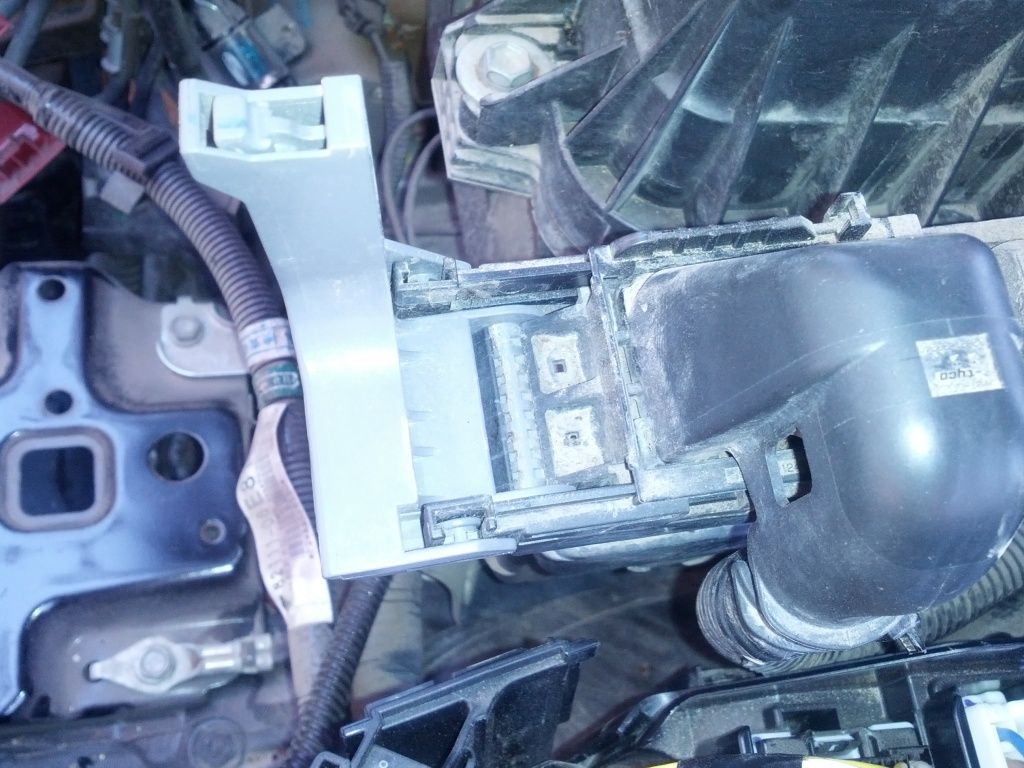
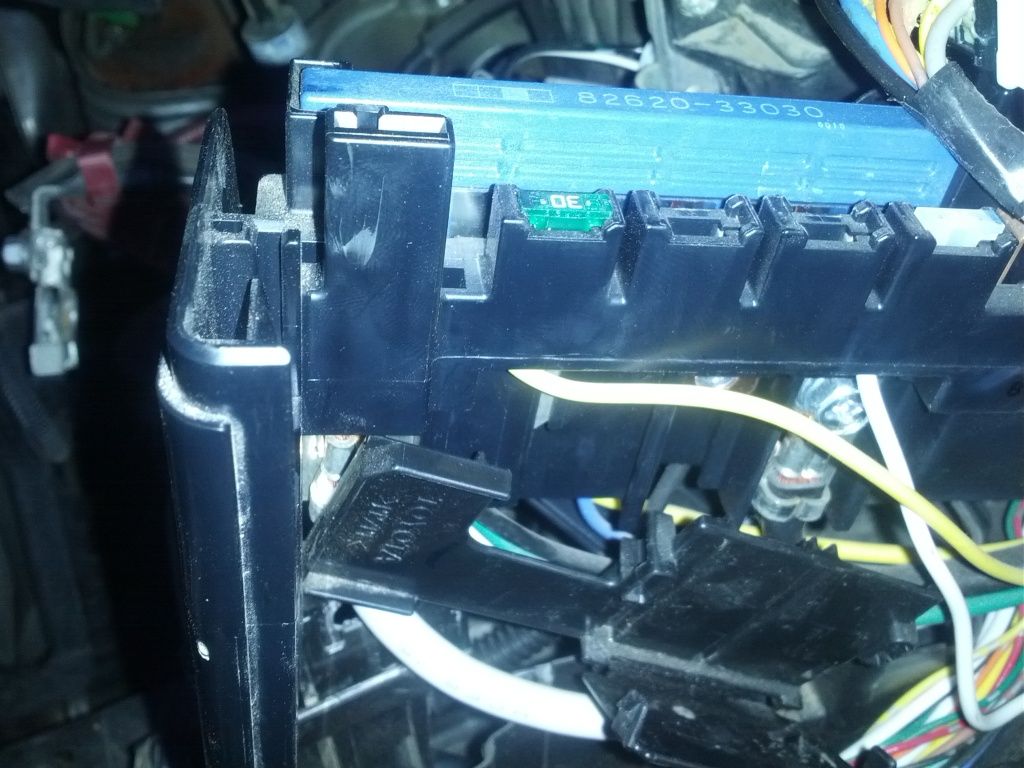
4. This is where we are at now, the next will be to take out the bolt to the top left of the center of these photos, 10mm again.
5. Now the section that the bolt was holding down just slides right up with a little poke down the sides with a screwdriver and a pull.
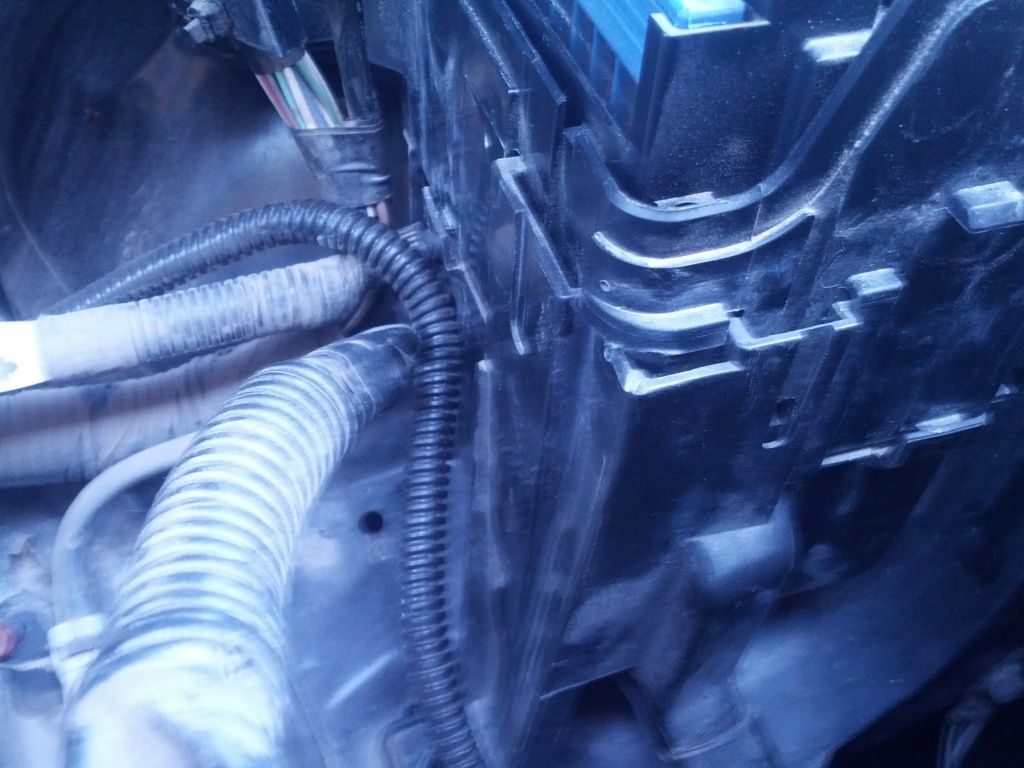
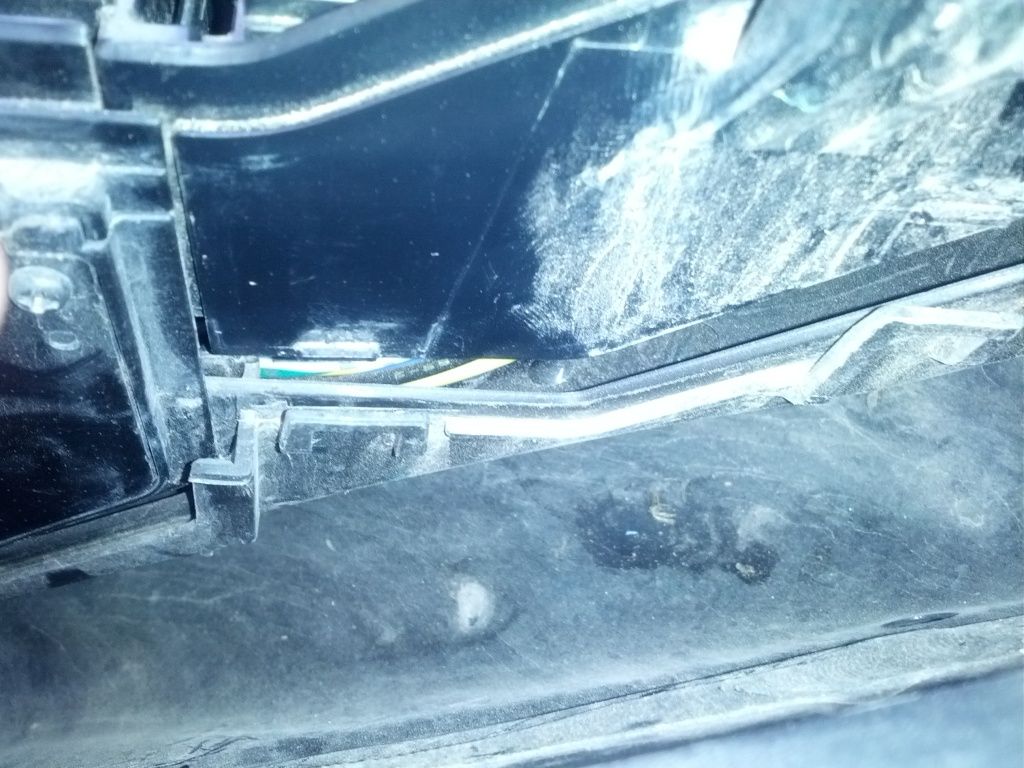
6. There are several of these little tabs on this side and around the corner next to the fire wall and all around it a screw driver with a pull releases them.
7. Same pic as before it has one push pin type connector that just popped out for me along with two more 10mms' bolting it to the fender. There is one more down by the battery tray, wait a bit on it --- it helps to have it somewhat anchored for a little bit more.
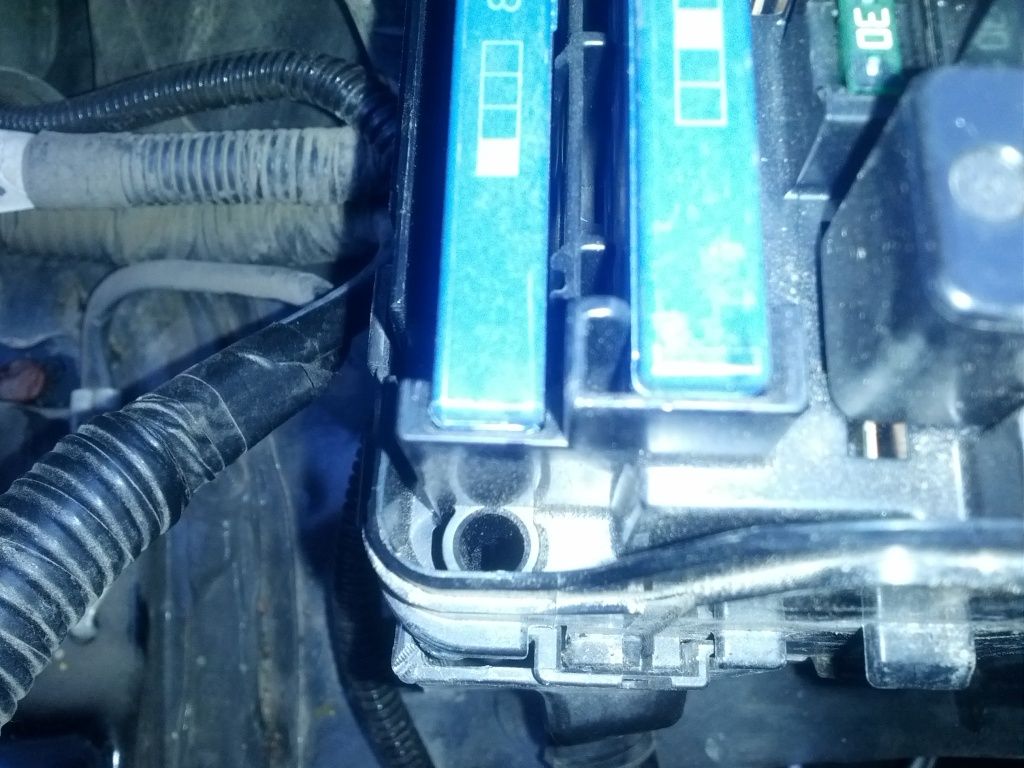
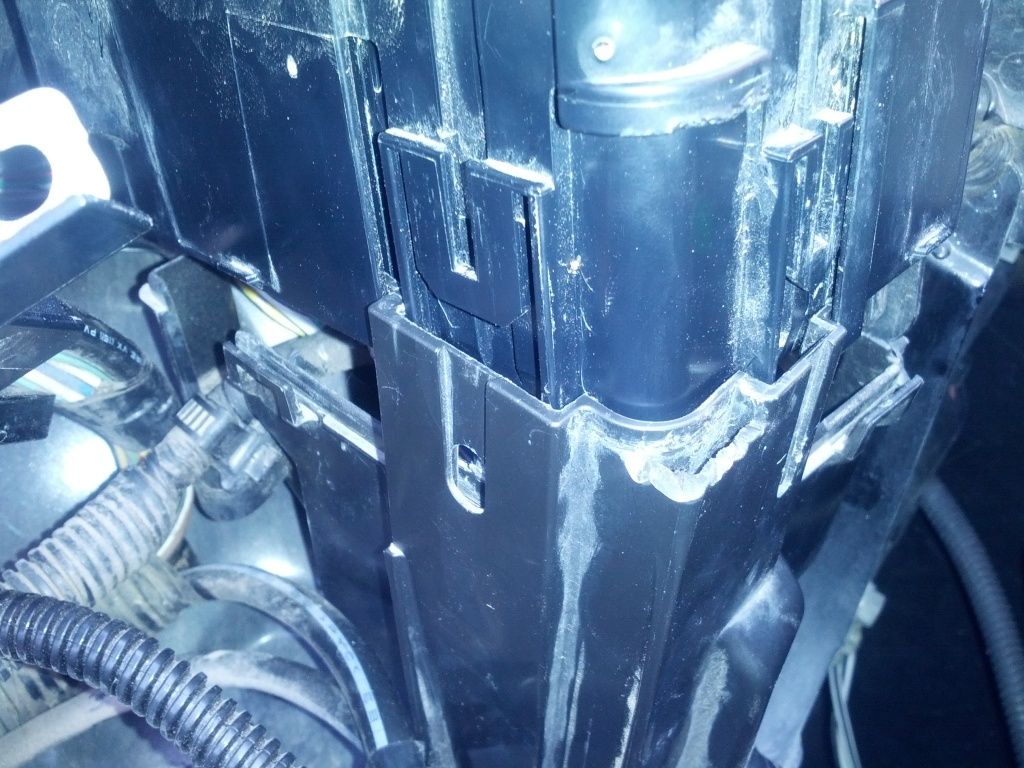
8. Next the small little block right next to the big fuse blocks will come out with a little screwdriver prying on either end and a tug with the pliers. Get one side up a little first and rock it out.
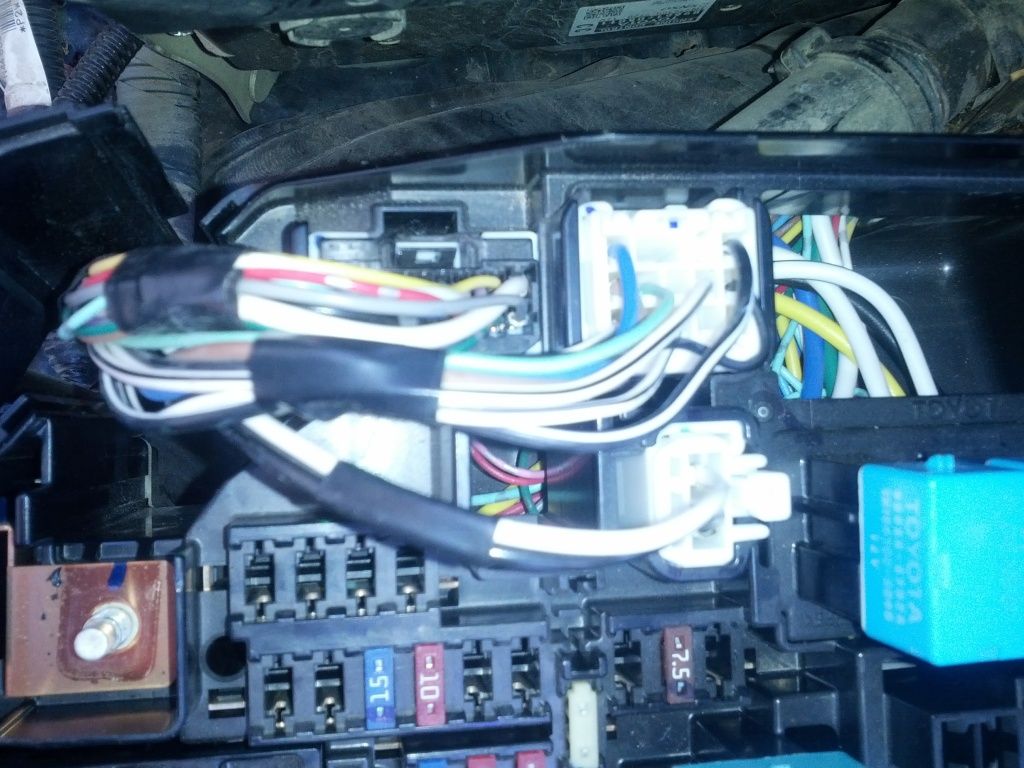
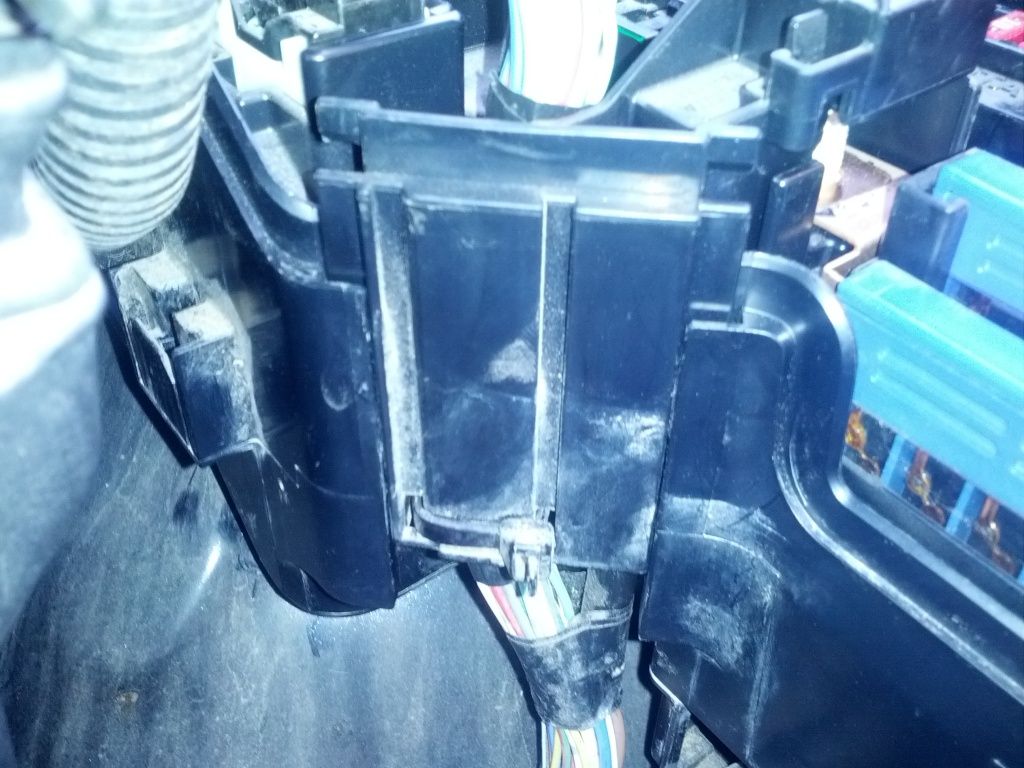
9. The side next to the firewall will slide out of its groove I think it needed a little spread at the top then pull. The second pic show the box to the right of this section, you can see the right edge of the slot in that one. Don't mess with the screws you don't need to take them out.
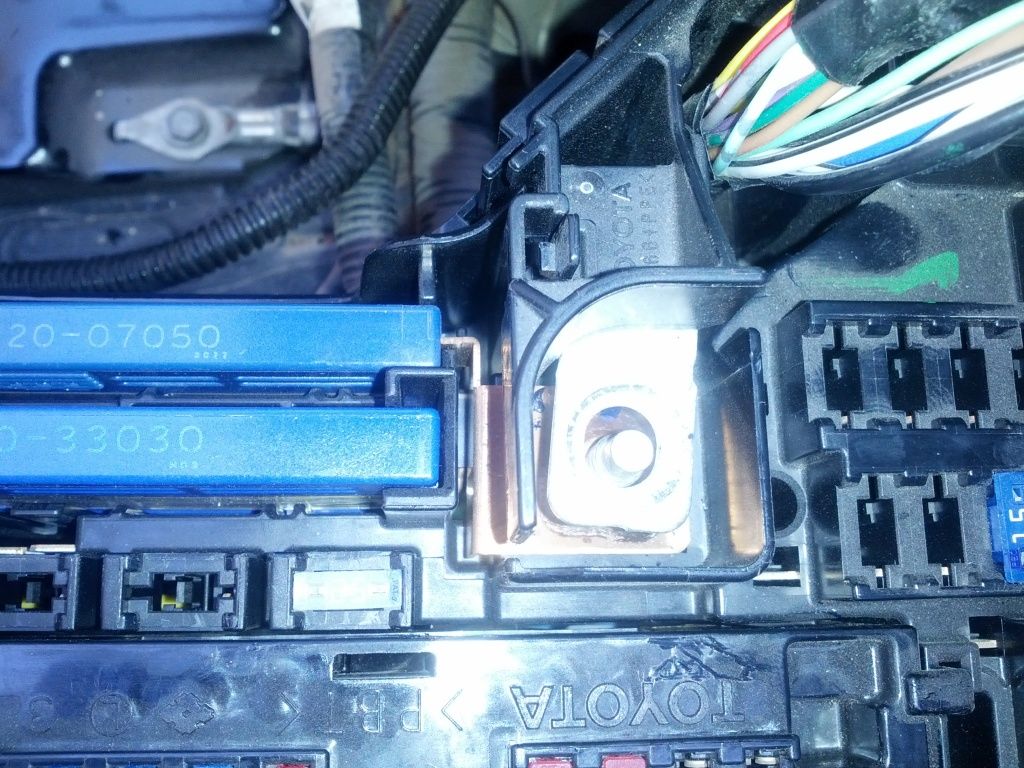
10. Now for the biggest pita part, this corner. It has about midway down on either side small springy catches that are in the slot type holes that must be pressed in hard while pulling/prying up, you just about need to do both at once, It sure looked like it was designed for a small custom tool to me, this is where I poked the heck out of it with the little torx wrench.
Free at last
")
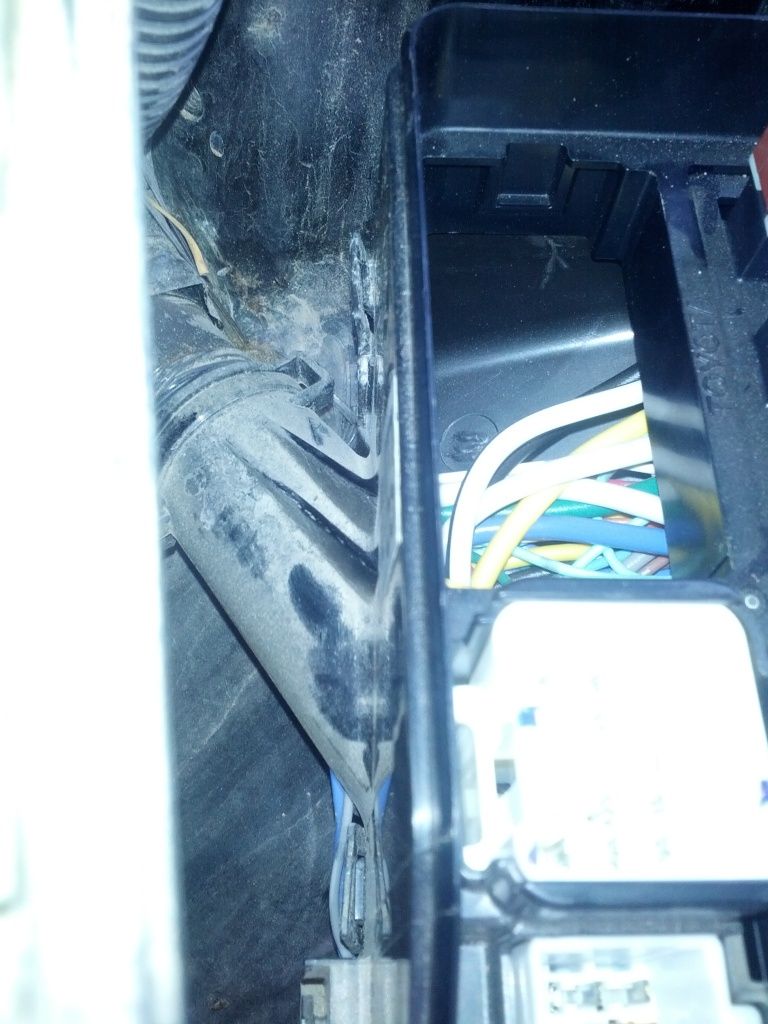
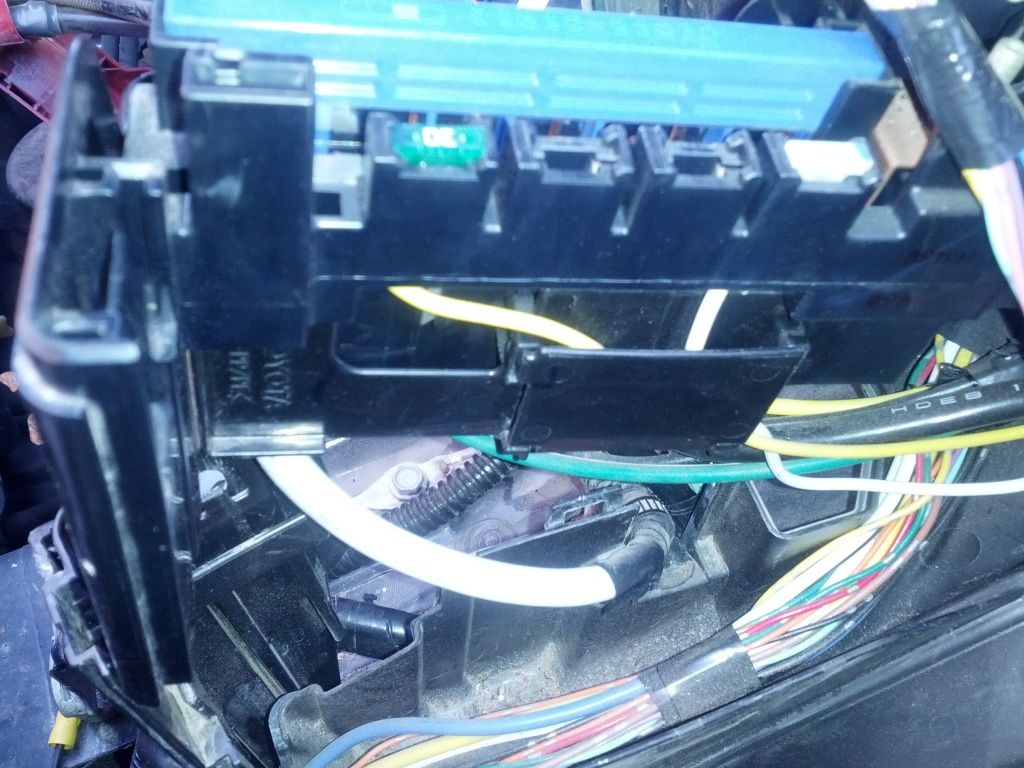
11. This is the last obstacle. this little cover was kind of strange really a little pry and it popped open to reveal the two smaller wires, then pry on the right side it will come out and I just bent it down towards the left side it doesn't need to come out, you will have room if you lift up on the now free section of the fuse box.
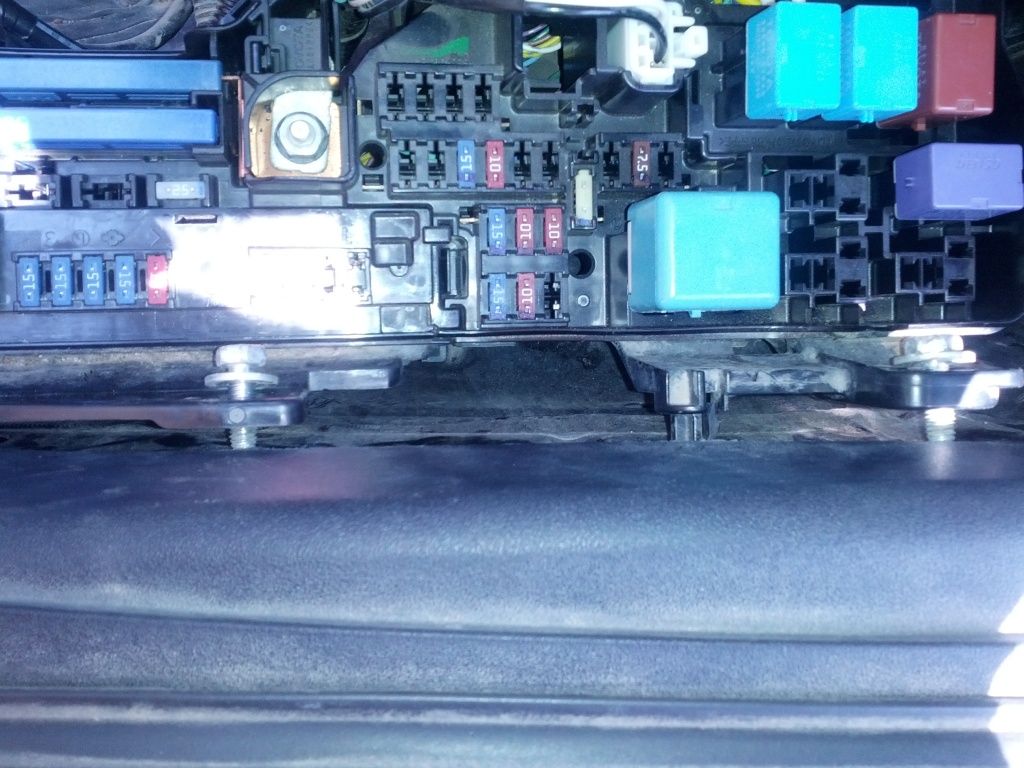
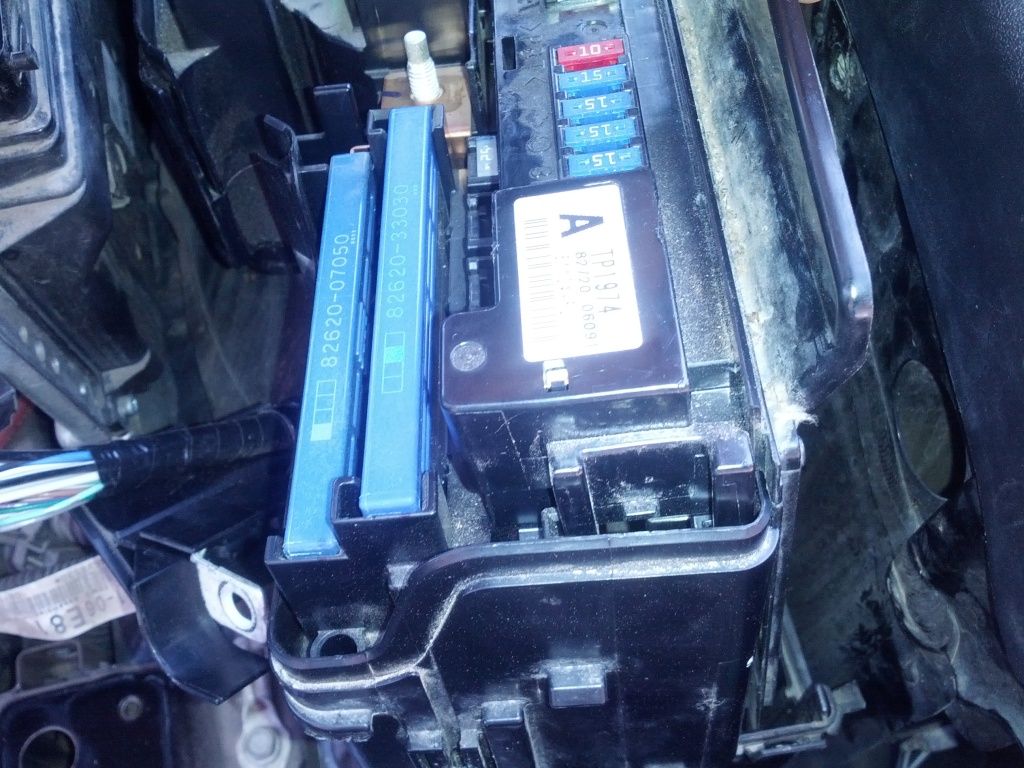
12. And here we have the bolts that hold the 120 amp fuse blocks in. I once again used a 10mm on it.
13. The fuse will come straight up and out with a tug from the pliers after the bolts are out. It has three holes --- the side with the two holes is closer to the firewall and the bolts go on the very end of the fuse, the hole to the inside of the fuse isn't used in this case.
14. Hope and pray that all you did was fry this fuse, I wish I was so lucky I will update when The dealership tells me what else is fried