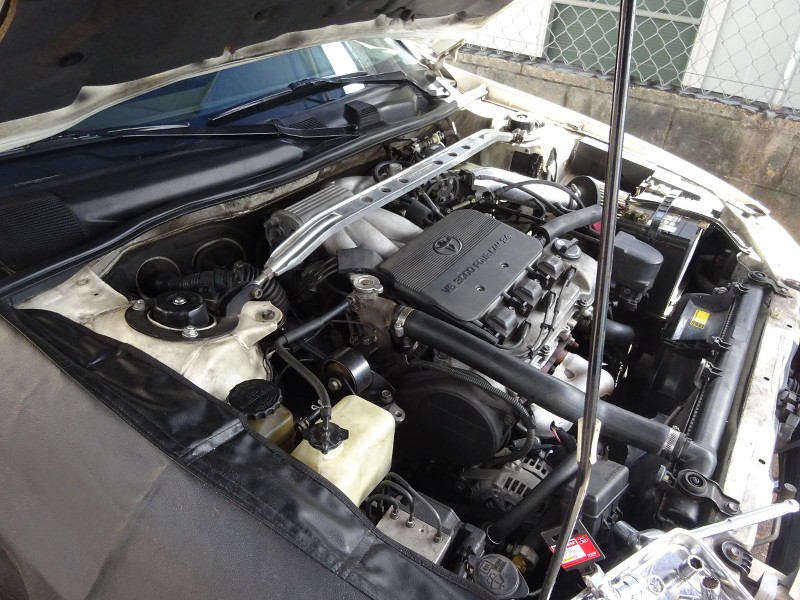
Okay, there's no issue this time haha. This is me wanting to be on top of preventative maintenance. Previous owner was an older lady who would always take this car to the dealership for service. Last time the timing belt was done, it was at 100k miles and my car is approaching 180k (service interval is 90k miles). So, timing belt replacement is coming + water pump + seals (camshafts and crankshafts).
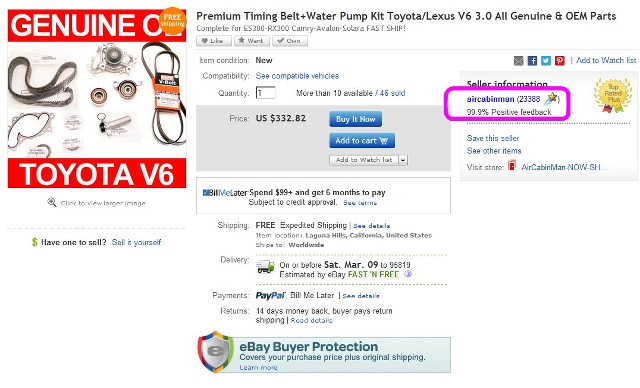
I called a few local mechanics (my family's previous one retired a few years ago) and for the timing belt alone, they're quoting $940-1070. For the water pump + seals, it's an additional $400. This quote is for affordable timing belt kits, not the AISIN one on RockAuto as far as I know. With these quotes in mind, this is definitely pushing me to want to do it myself. I have spring break coming soon, so I will have an entire week to completely focus on doing the timing belt replacement correctly.
When I last went to the junkyard, they had a ton of 1mzfe's available (perks of a living in a major US city). I noticed that some still had their timing belts on and I'm thinking of practicing removal and reinstallation on them before I do my own. Thankfully, the 1MZFE is non-interference so I can't truly destroy anything haha. Plus, there are a ton of guides available: My repair manual, the DIY guide here on toyotanation, and youtube videos from TRQ and the Car Care Nut.
To get to the point, although I am a novice wrencher, I think I can tackle the timing belt job on this car with the resources available to me. Would y'all say that practicing on a junkyard car can give me enough exposure to the job to do it successfully on my own? There's a bit of room for error since it's non-interference which gives me enough confidence to spend a few days trying to do it.
")