As many may know ; I recently purchased a poorly maintained 2007 highlander with 226k miles and have been bringing it up to my standard of operating condition which required major work on the engine and power steering system. Luckily, the transmission and transfer-case seem to be in good condition even if the oil in both units does not appear to have ever been changed. I will fill the transmission with Valvoline MaxLife transmission fluid and the transfer-case with 80w-90 Valvoline gear oil since the fill plug sticker states the transfer-case requires 85w-90 gear oil.
I have now started draining the transmission and transfer-case fluids. Both fluids were black and well used, however the magnets only had fine metals in both units. I also had some very rusty bolts on both units. The good news is that a good long soak(2 days) in Evapo-Rust have the bolts looking new. Next I will tackle the dreaded rear differential with it rusted bolts(fill and drain) that can only be removed with a 10mm hex. I am sure that both hex will strip before breaking the rusted bolts free.
My black transmission fluid(should be red) draining and rusty 10mm pan bolts.
![Image]()
Transmission pan magnets with only fine metals.
![Image]()
The rusty transfer-case and black gear oil (should be amber)draining out.
![Image]()
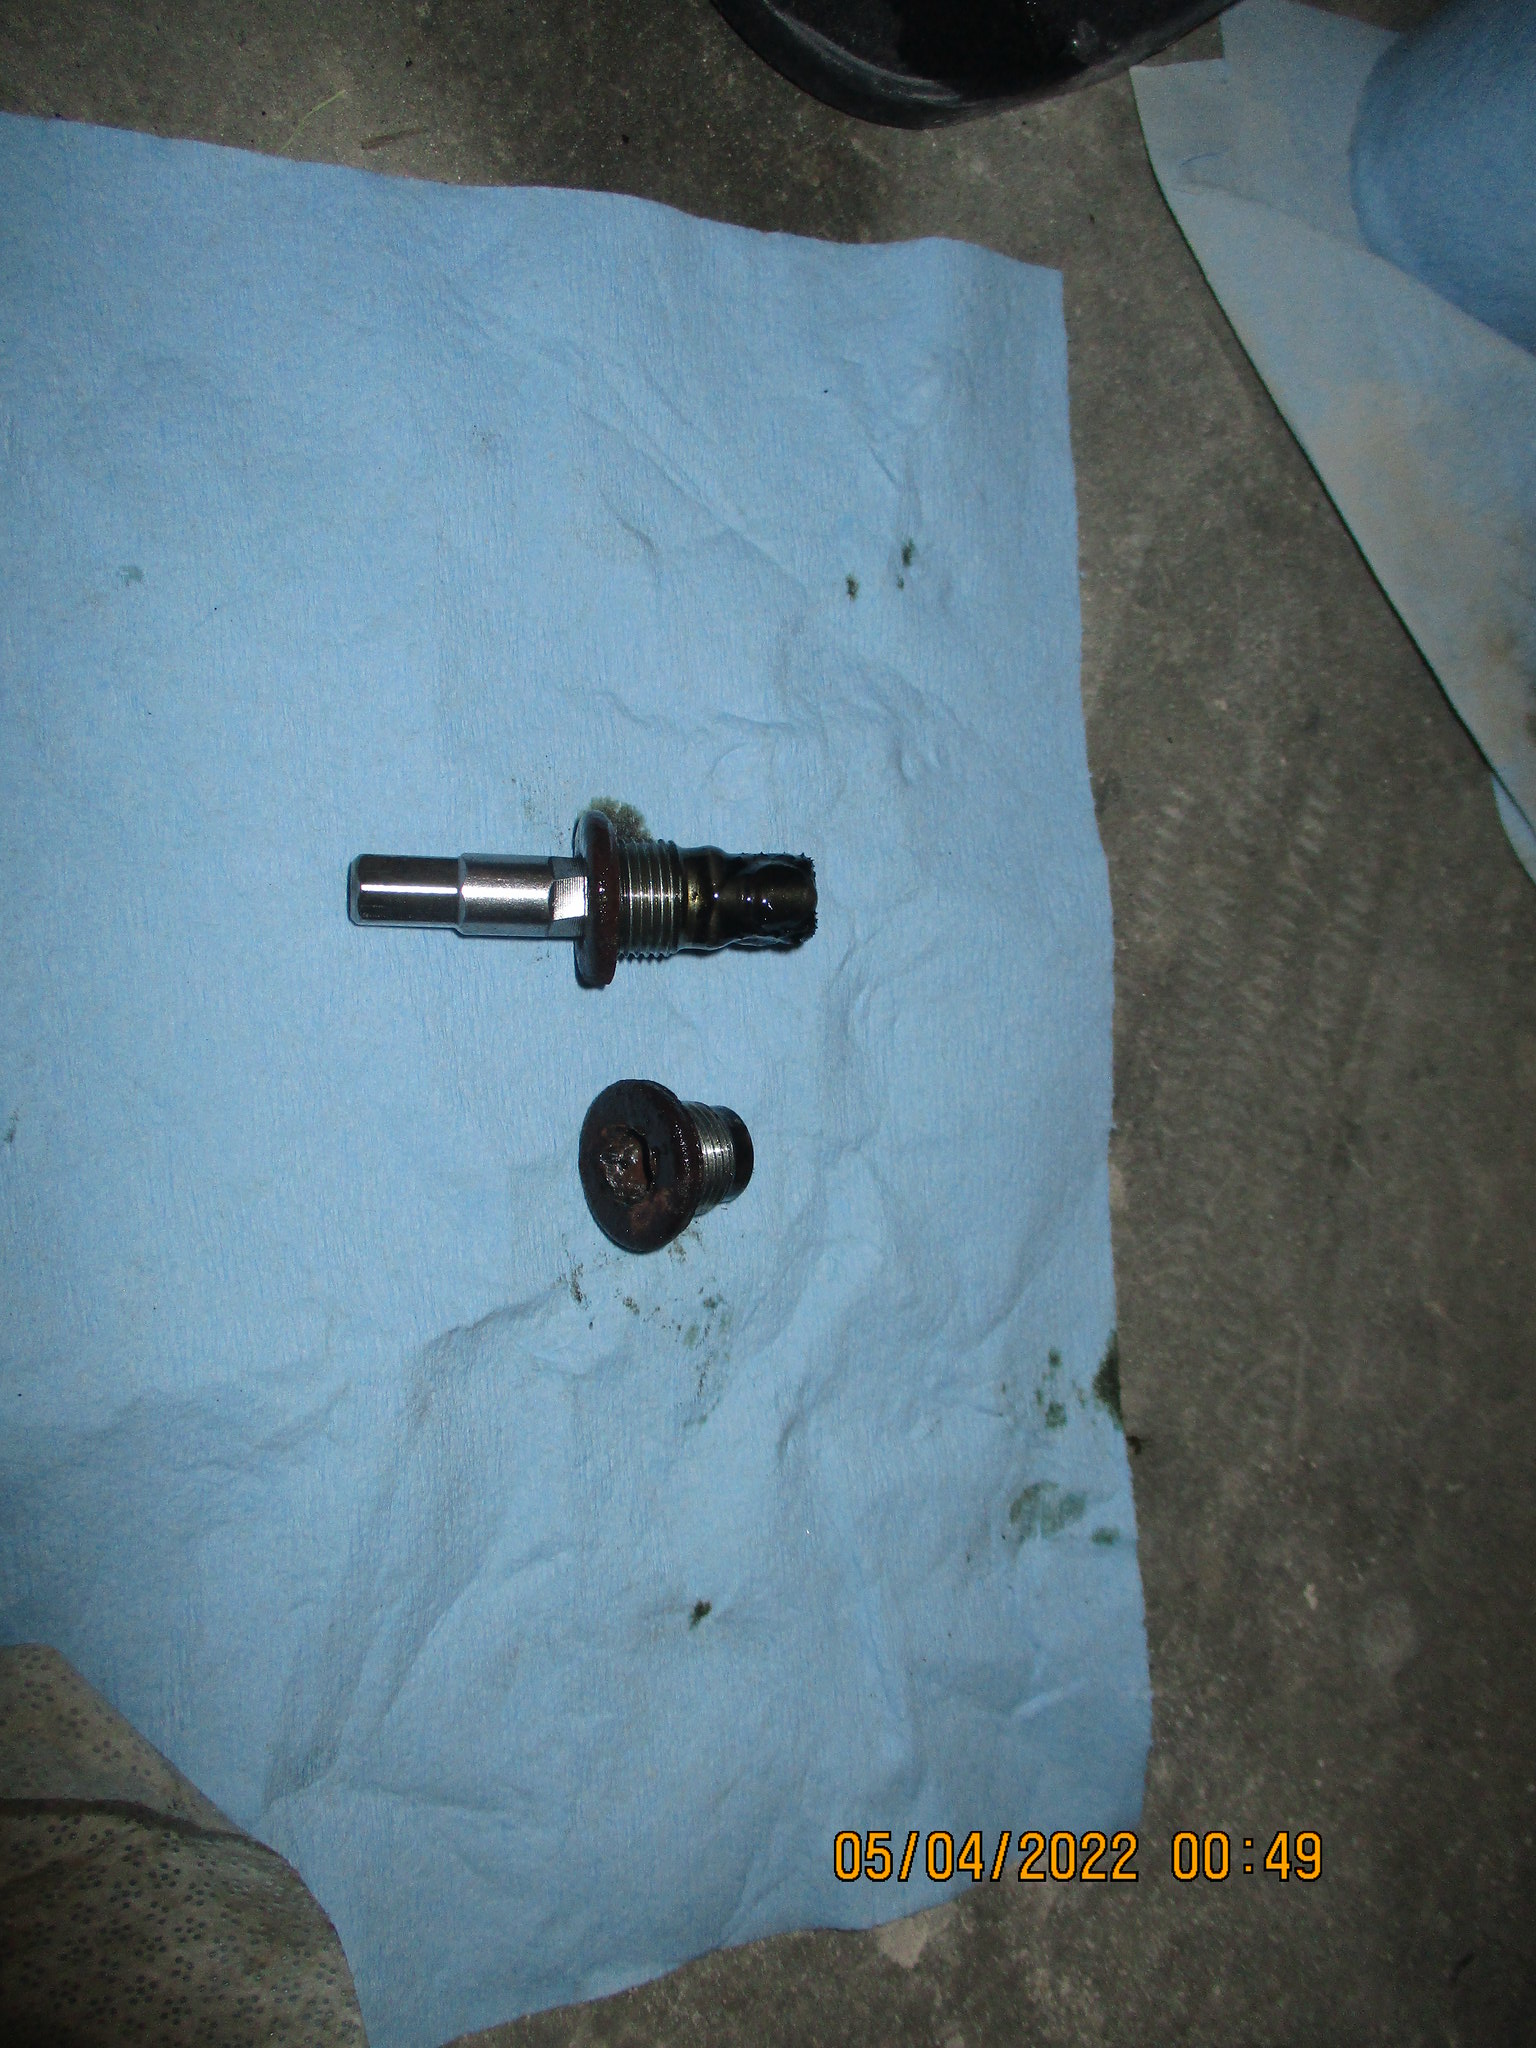
The 24mm transfer-case drain bolt with fine metal on the magnet. 24mm fill plug with 85w-90 sticker.
![Image]()
The transmission pan bolts after a few hours in Evapo-Rust.
![Image]()
The transmission bolts and transfer-case bolts after soaking a day. They are all nearly perfectly clean.
![Image]()
![Image]()
Before you buy new bolts if your old bolts are rusty try soaking them in Evapo-rust. Good product if you got time to wait for it to work.
![Image]()
I have now started draining the transmission and transfer-case fluids. Both fluids were black and well used, however the magnets only had fine metals in both units. I also had some very rusty bolts on both units. The good news is that a good long soak(2 days) in Evapo-Rust have the bolts looking new. Next I will tackle the dreaded rear differential with it rusted bolts(fill and drain) that can only be removed with a 10mm hex. I am sure that both hex will strip before breaking the rusted bolts free.
My black transmission fluid(should be red) draining and rusty 10mm pan bolts.

Transmission pan magnets with only fine metals.

The rusty transfer-case and black gear oil (should be amber)draining out.

The 24mm transfer-case drain bolt with fine metal on the magnet. 24mm fill plug with 85w-90 sticker.

The transmission pan bolts after a few hours in Evapo-Rust.

The transmission bolts and transfer-case bolts after soaking a day. They are all nearly perfectly clean.


Before you buy new bolts if your old bolts are rusty try soaking them in Evapo-rust. Good product if you got time to wait for it to work.

")