

Hello! I know there are other DIY instrument panel LED swaps out there but I couldn't find one that covers everything. This is specific for 2011 Corolla but I'm sure it could be applied to other years. BTW this is my first DIY so sorry for my mistakes... im just trying to help lol
Step 1
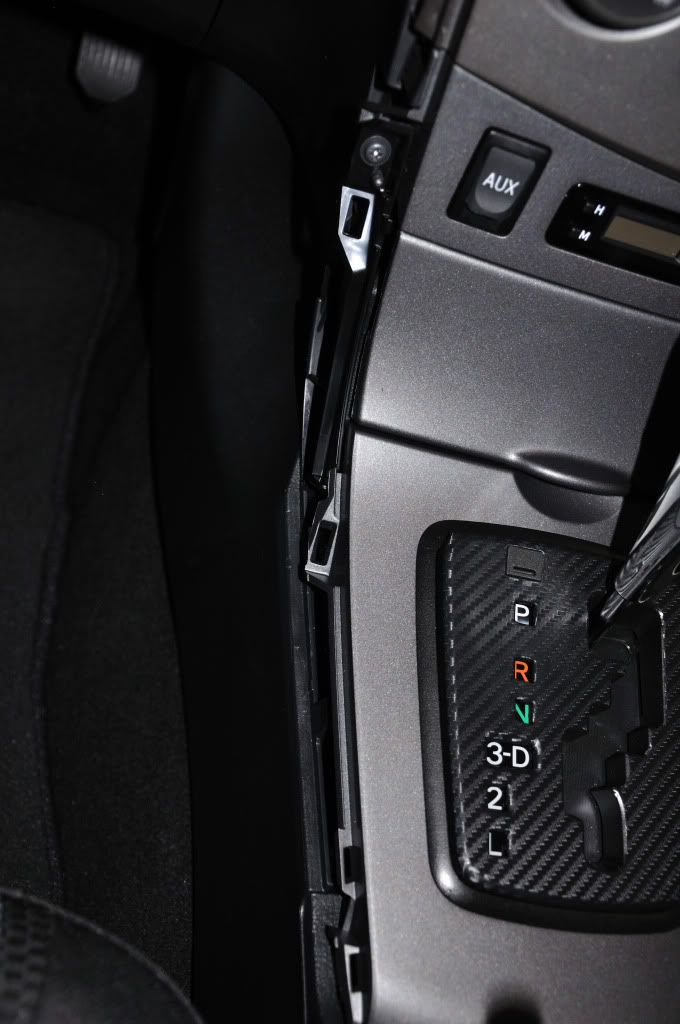
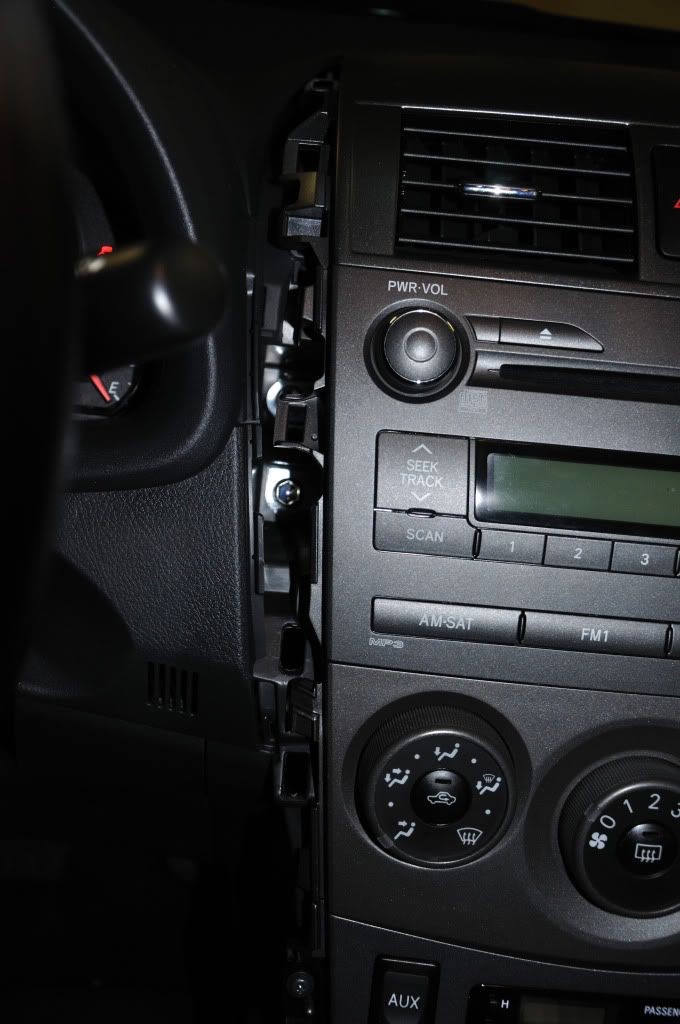
Take the left trim off, top and bottom. Take a flathead (put ducktape on the tip so it doesn't mess us you interior) and pry them out. PAY ATTENTION TO WHERE THE BRACKET THINGYS ARE IN THE PIC SO YOU KNOW WHERE TO FOCUS POINTS ARE.
![Image]()
![Image]()
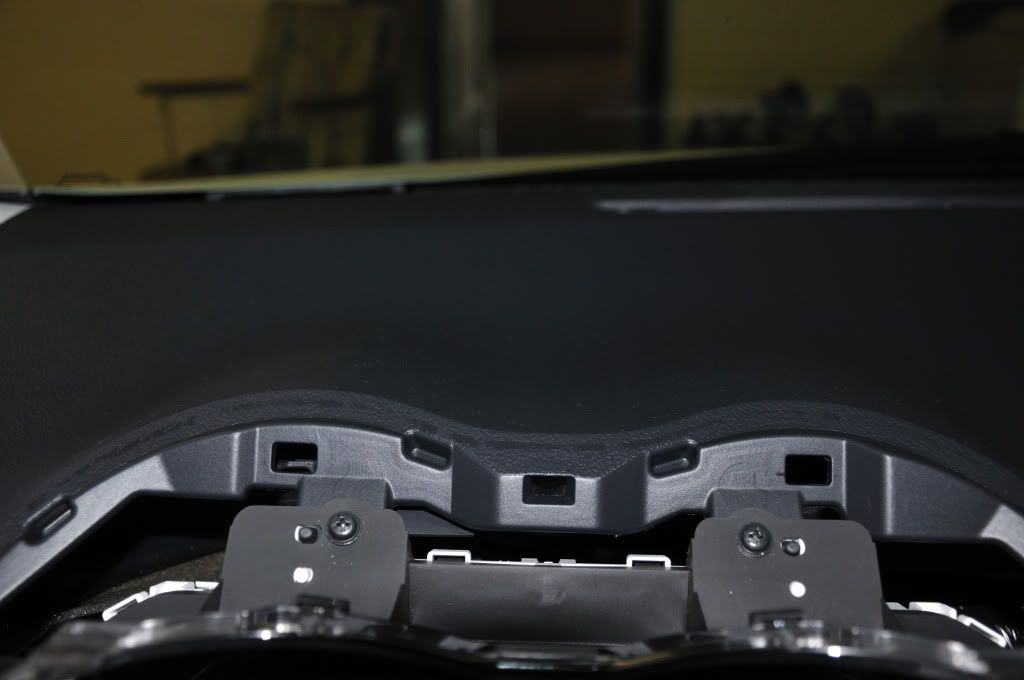
Step 2
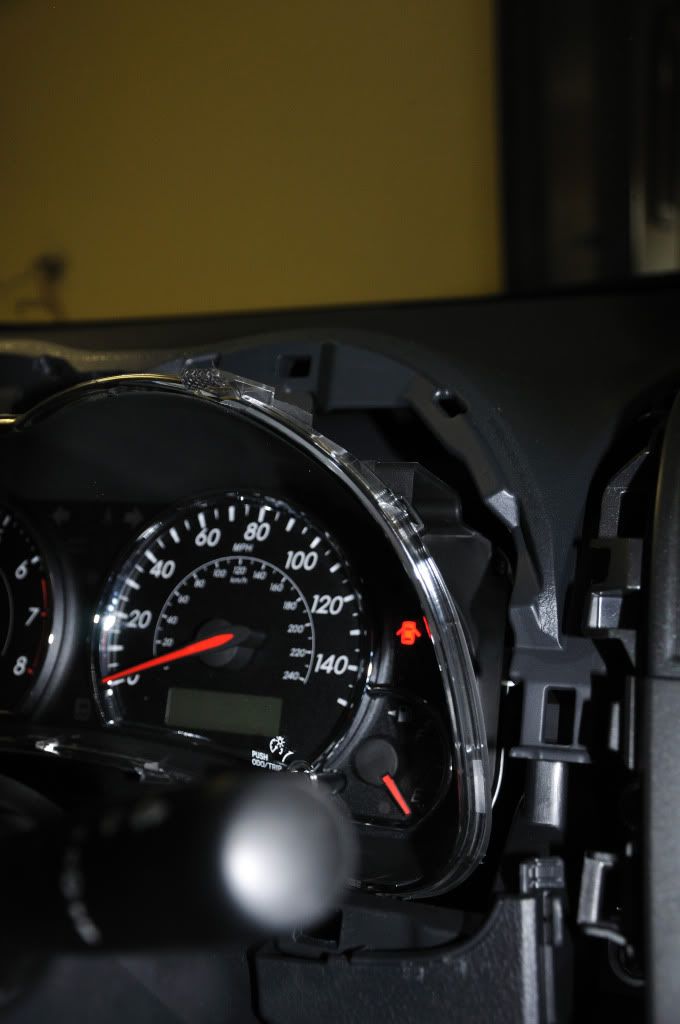
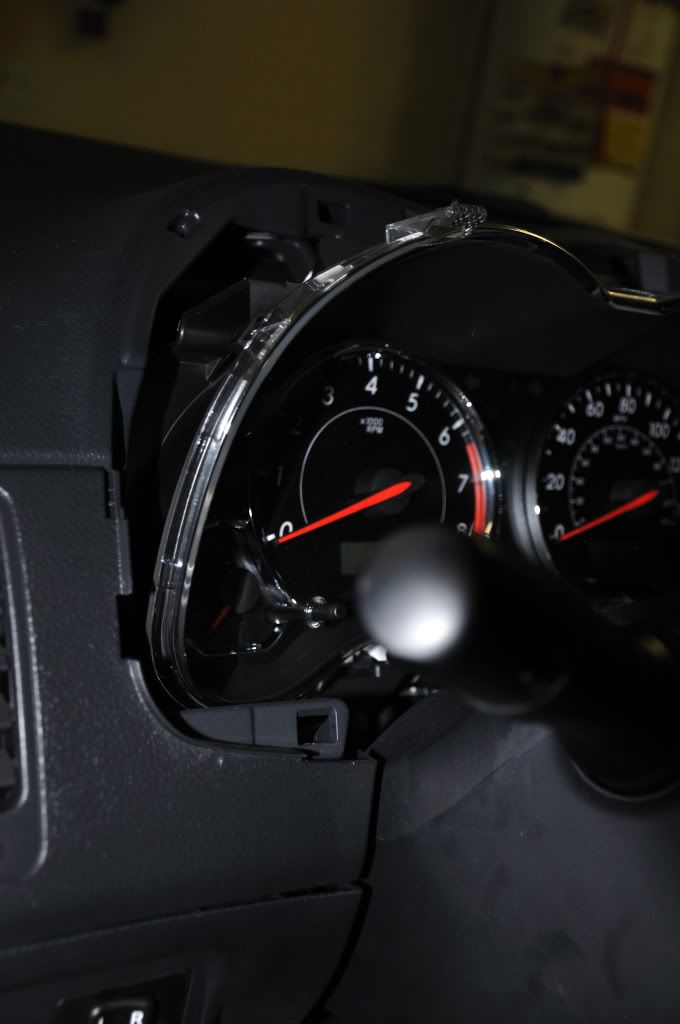
Pry off the instrument panel hood, starting from the right side. Pay attention to the focus points again.
![Image]()
![Image]()
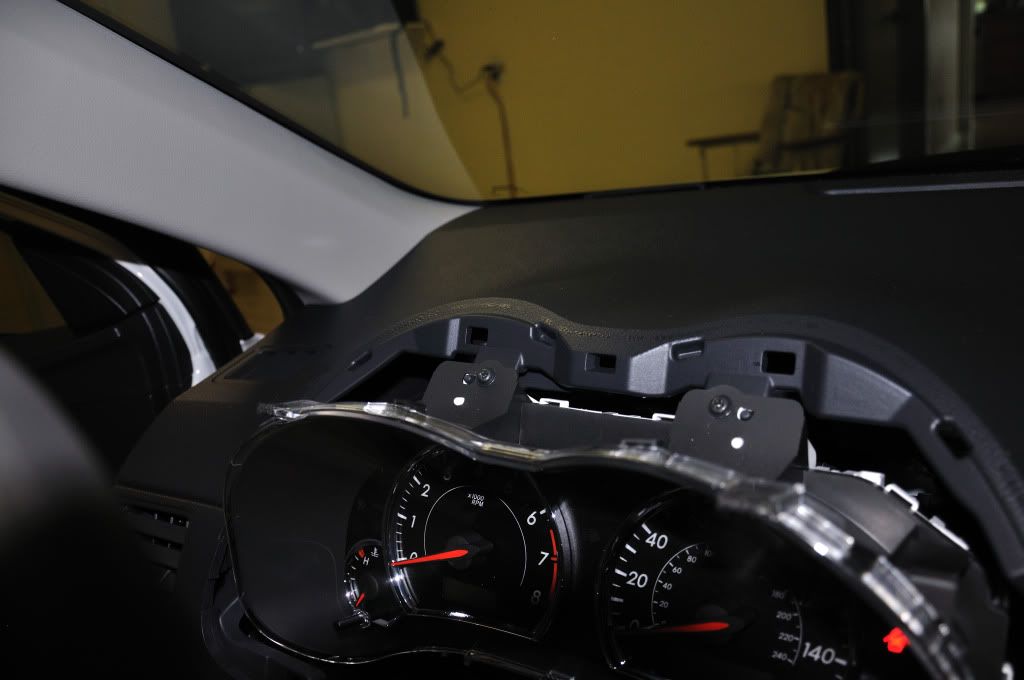
Step 3
Take a phillips and remove the two top screws. Then pull up and out and unplug it from the back.
![Image]()
![Image]()
![Image]()
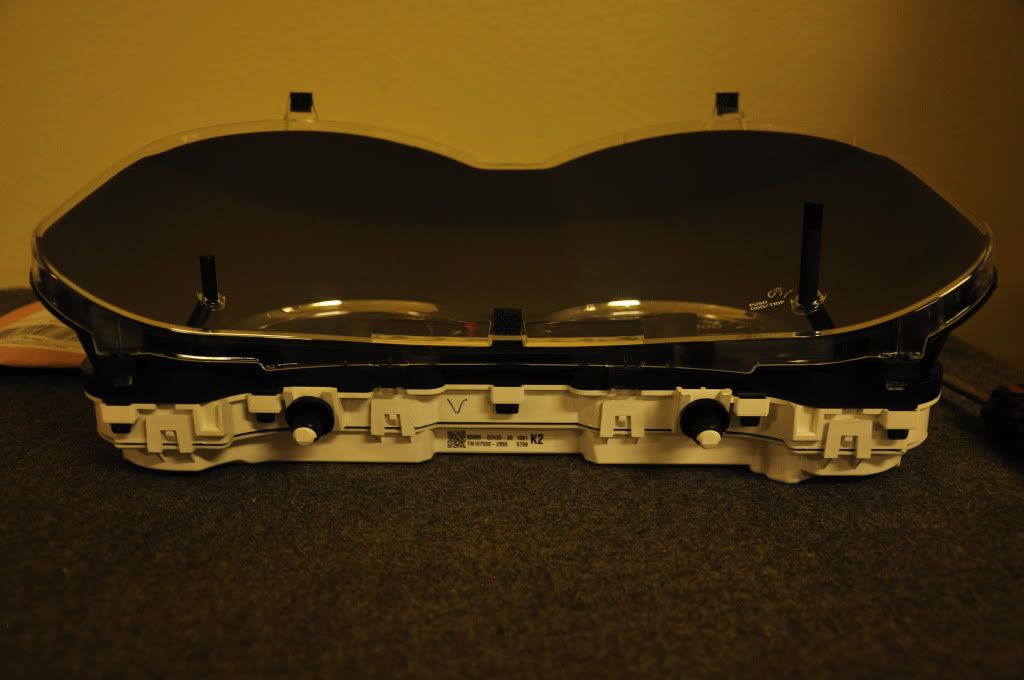
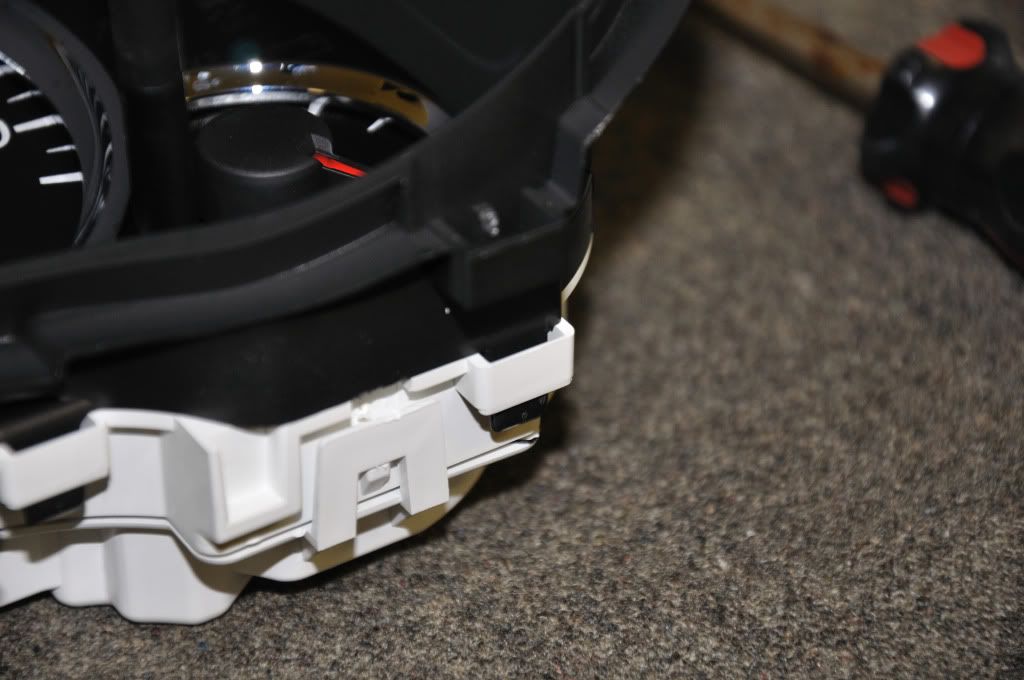
Step 4
Remove the front transparent cover by pushing out the clips
![Image]()
![Image]()
![Image]()
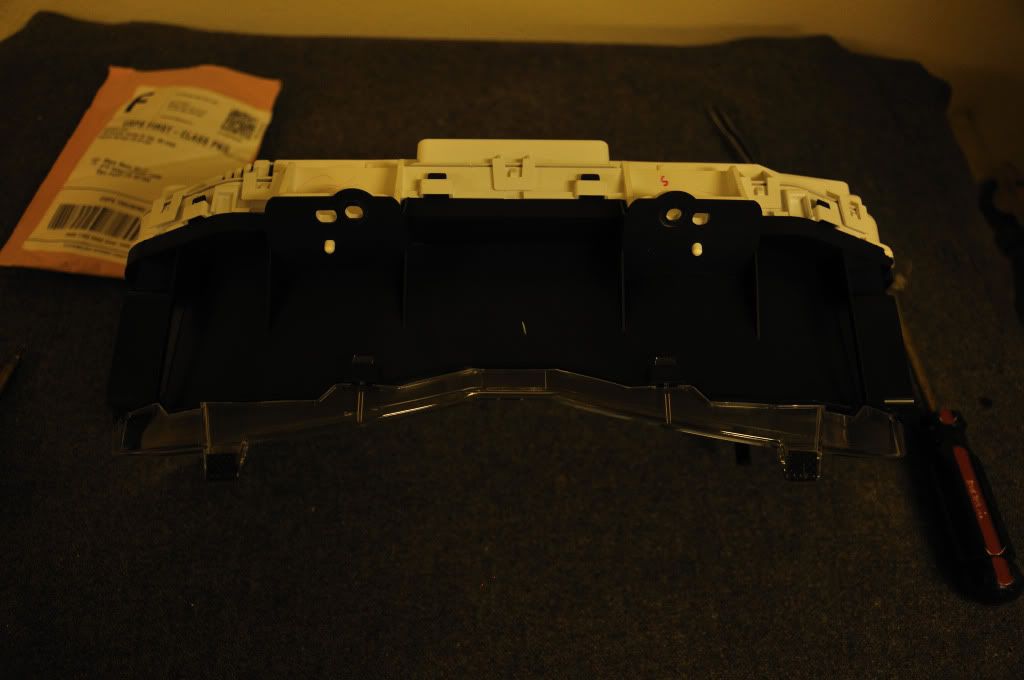
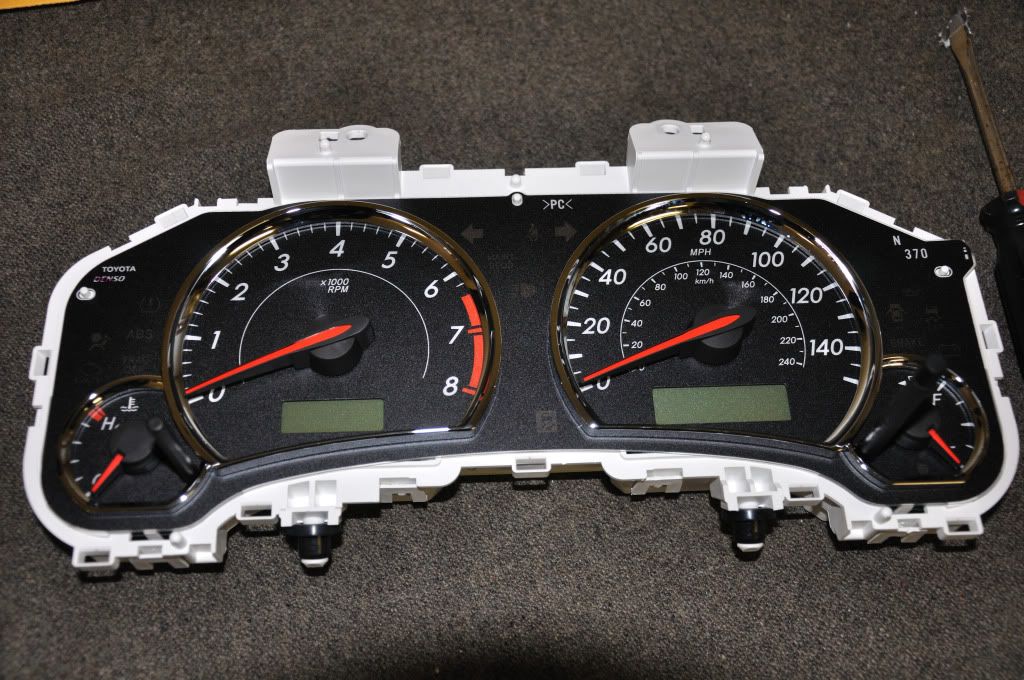
Step 5
Remove the black hood.
![Image]()
![Image]()
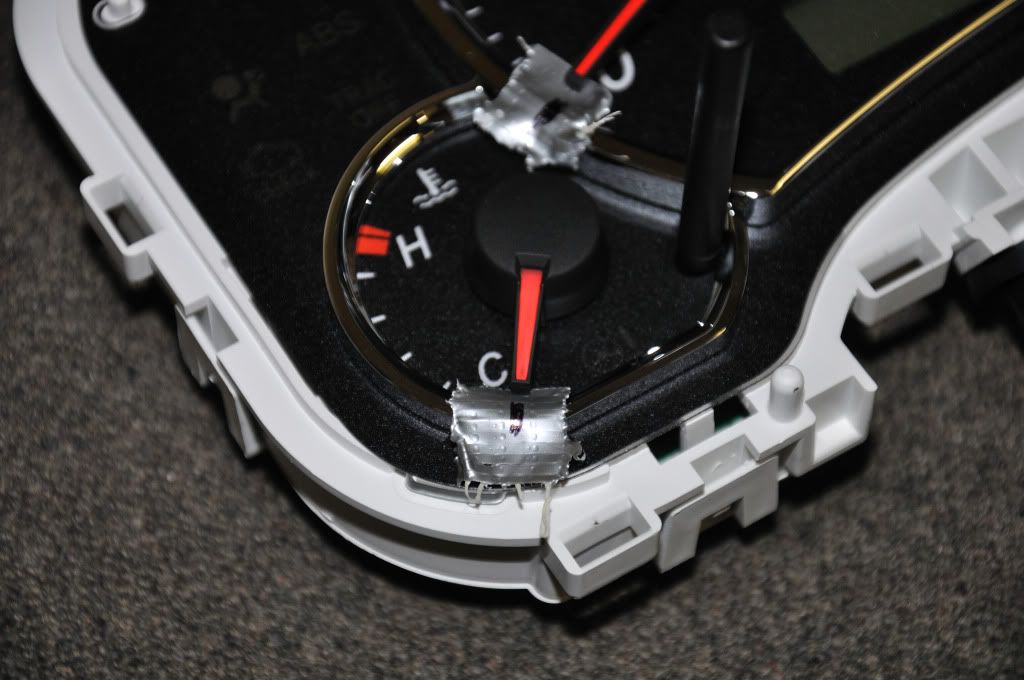
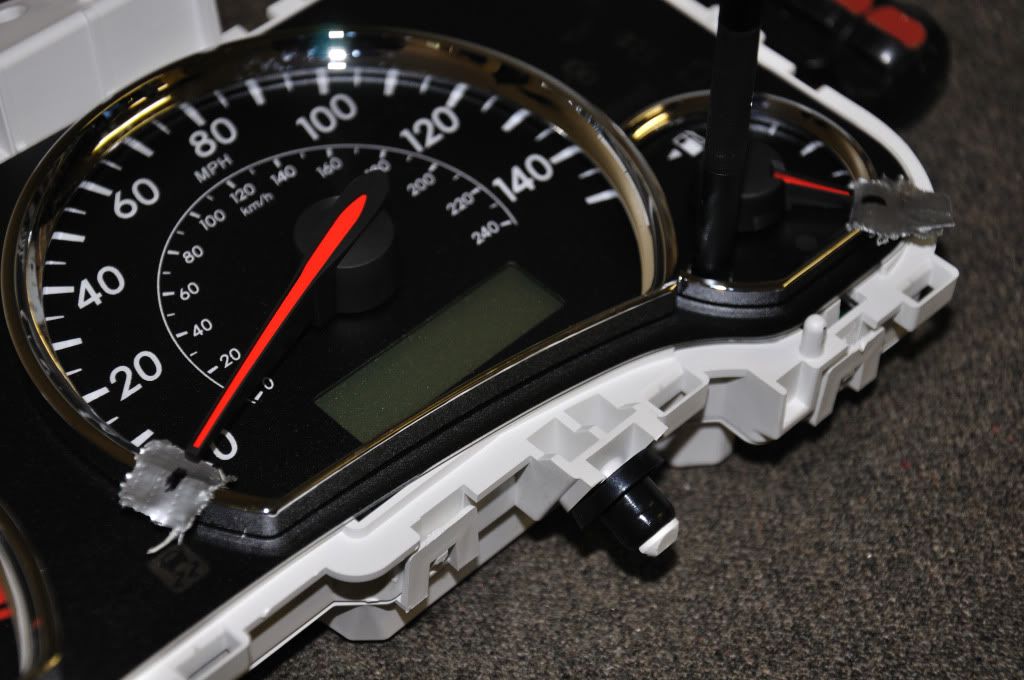
Step 6
ITS NEEDLE TIME! Mark your needle points with tape. I don't think its necessary but it's nice to be safe. I found the fork technique to be difficult so I used the SPOON technique! Maybe use the for to pry it till you hear a click. Then two spoons across from each other to pull it straight up. Don't be scared to break them, just be gentle and patient. Watch this guy's vid for an example,
(this is not my vid...) but don't let your needle fling out. Support it with your thumb while you pry it out. There are rings after you take the needles out, don't lose them.
![Image]()
![Image]()
![Image]()
![Image]()
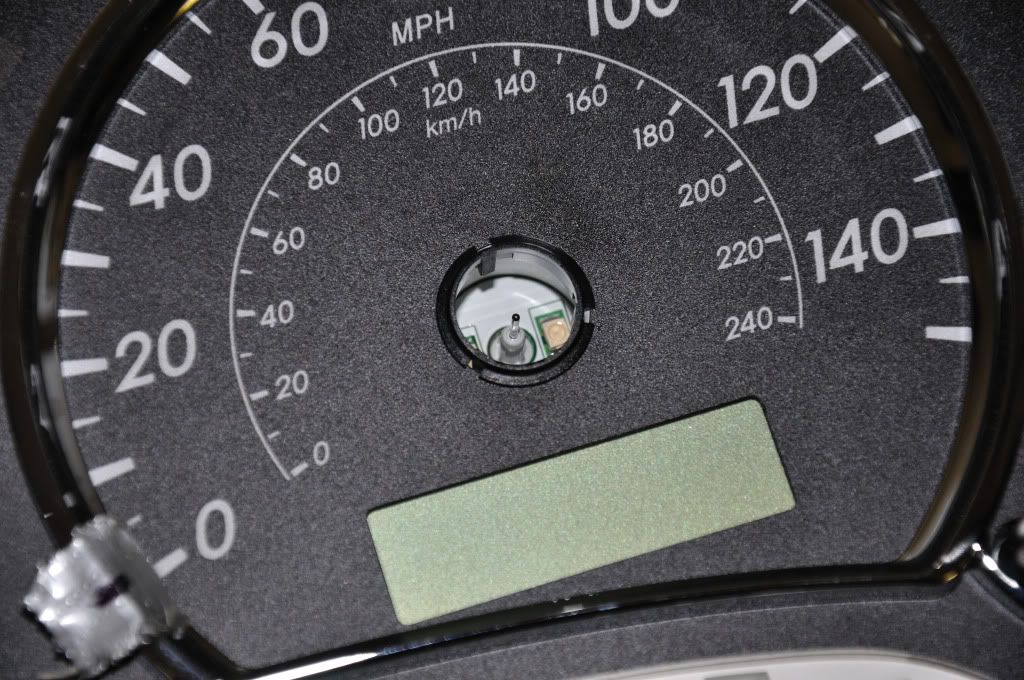
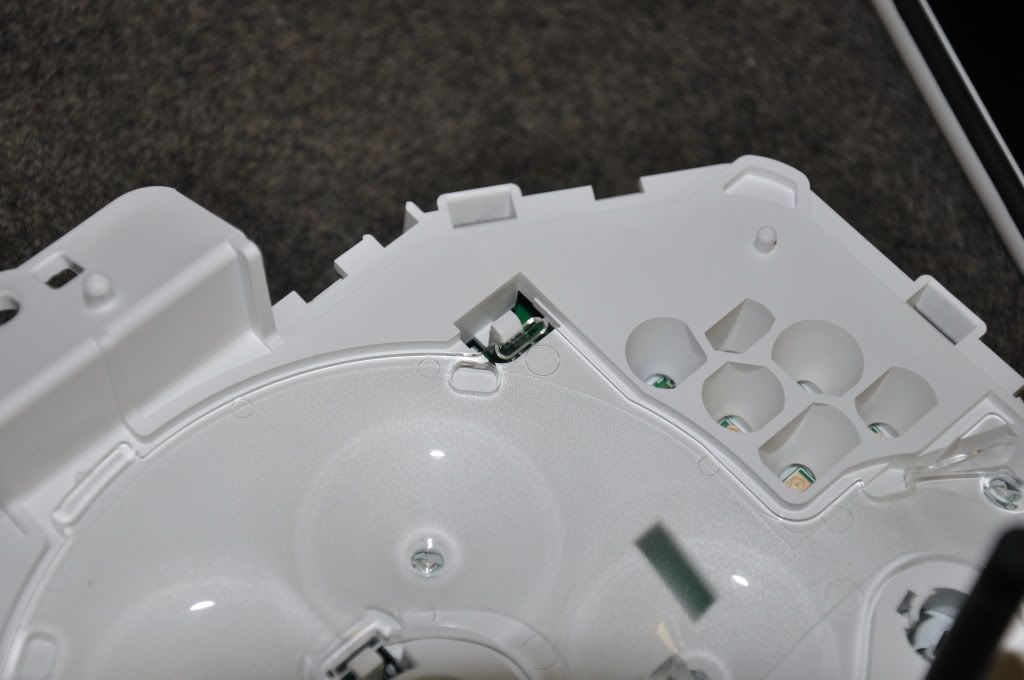
Step 7
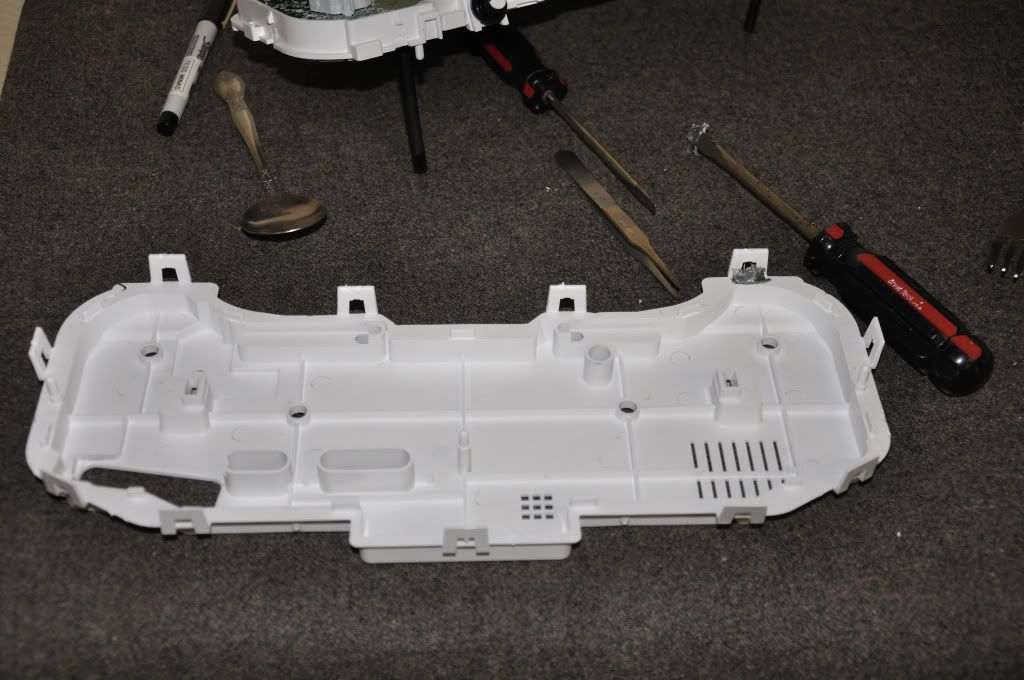
Unlike the 10th generations, the 10.5's clear top, which spreads the LED lights out, can't just be removed to expose to chip. So take the back cover off. I DID THIS ON STEP 7 BUT DO IT BEFORE STEP 4. IT'LL BE MUCH EASIER.
![Image]()
![Image]()
![Image]()
Step 8
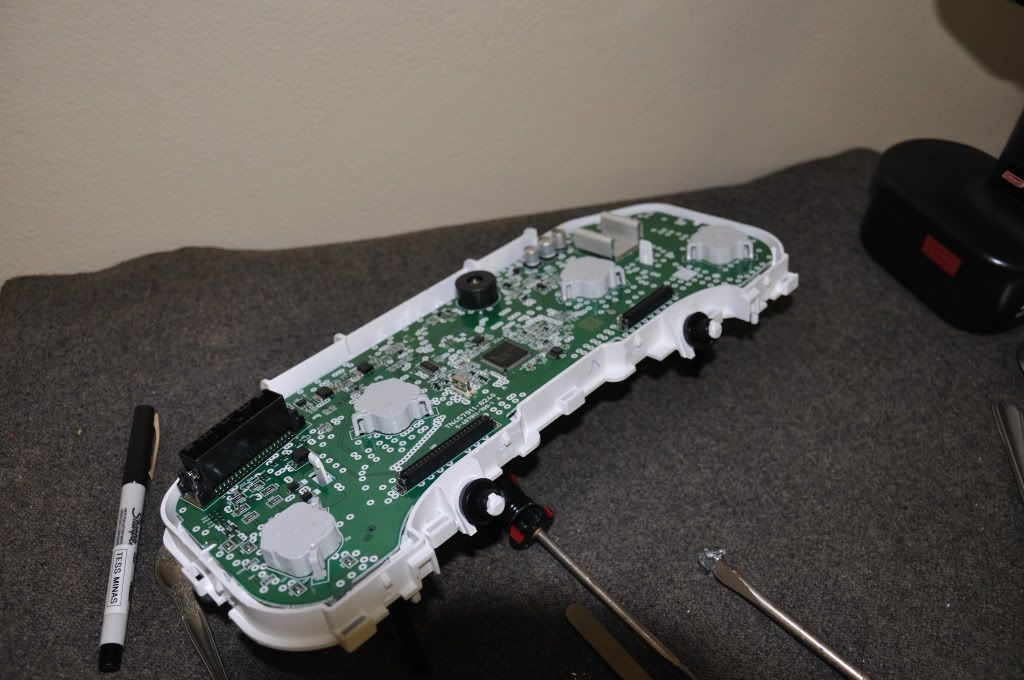
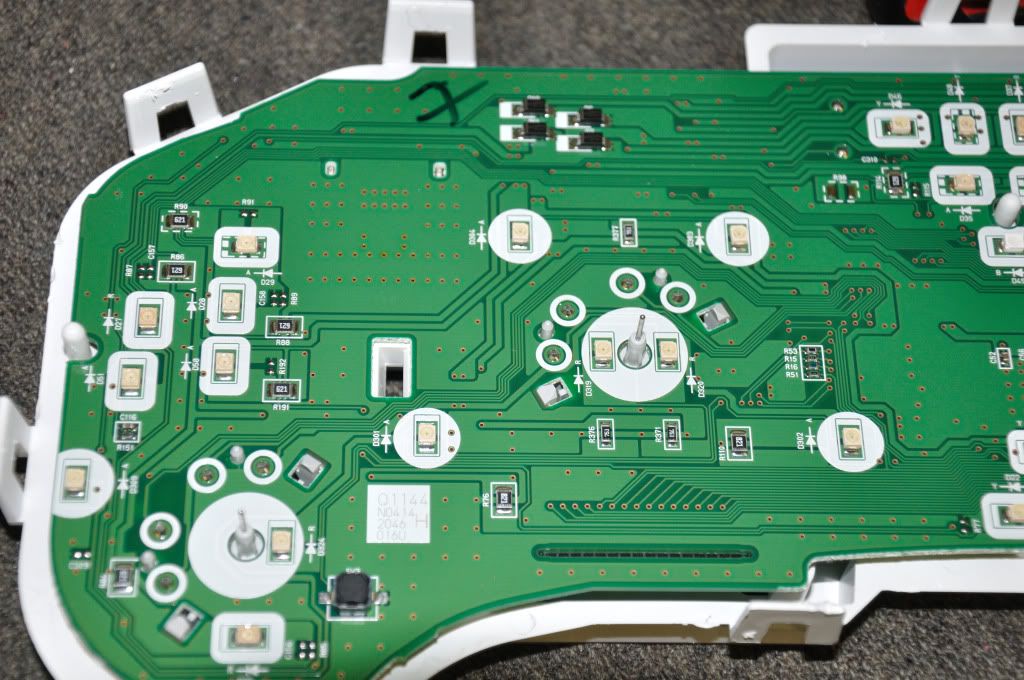
Remove the chip and place it on the back cover so it's secure when you work on it.
![Image]()
Step 8
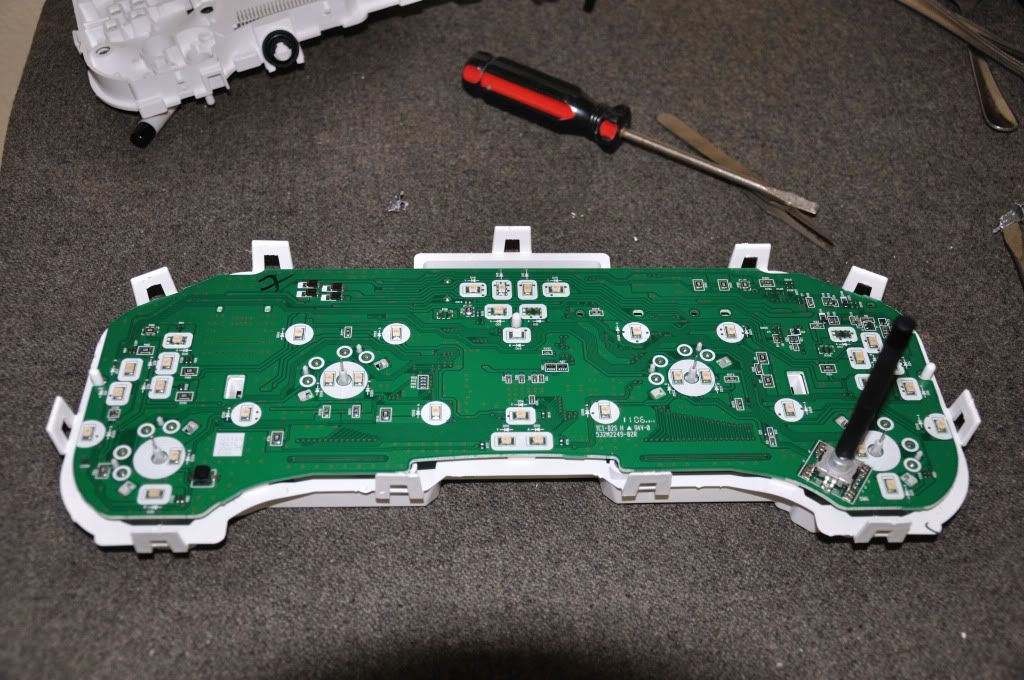
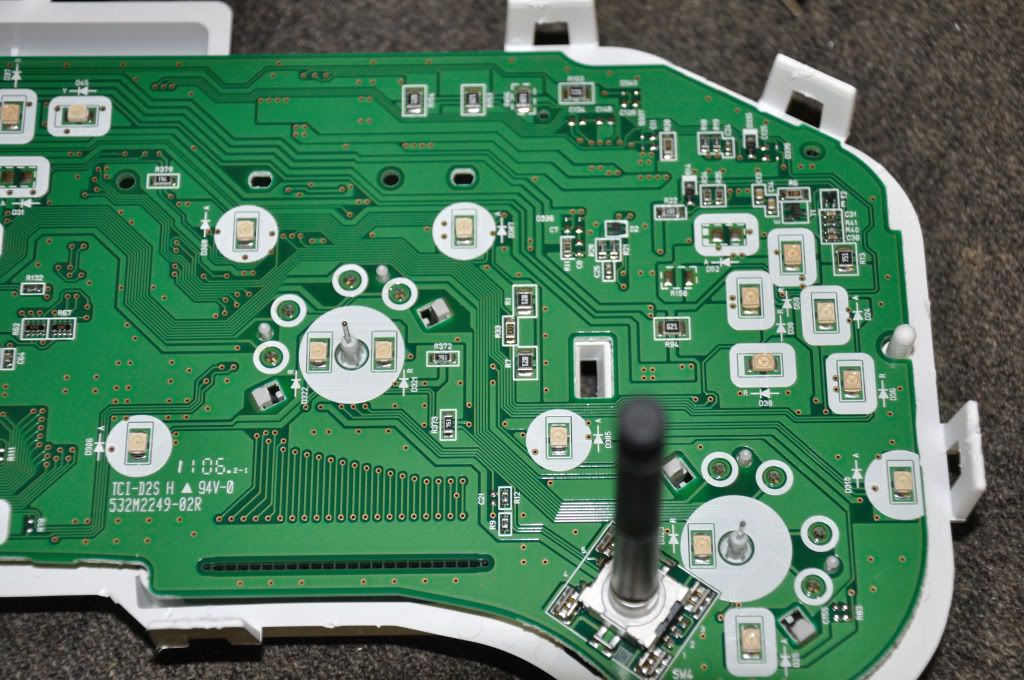
SOLDER TIME! I'm not a soldering expert but I did it no problem. It's just positive and negative, make sure you don't solder those to touch. Remove the stock LEDs and solder the new ones. They are PLCC-2s and there is a special thing on the edge to show which is positive and negative, plus how to place them on. http://www.oznium.com/plcc-2/photos There is a polarity mark so make sure you put them on right. Check the diagram.
![Image]()
![Image]()
![Image]()
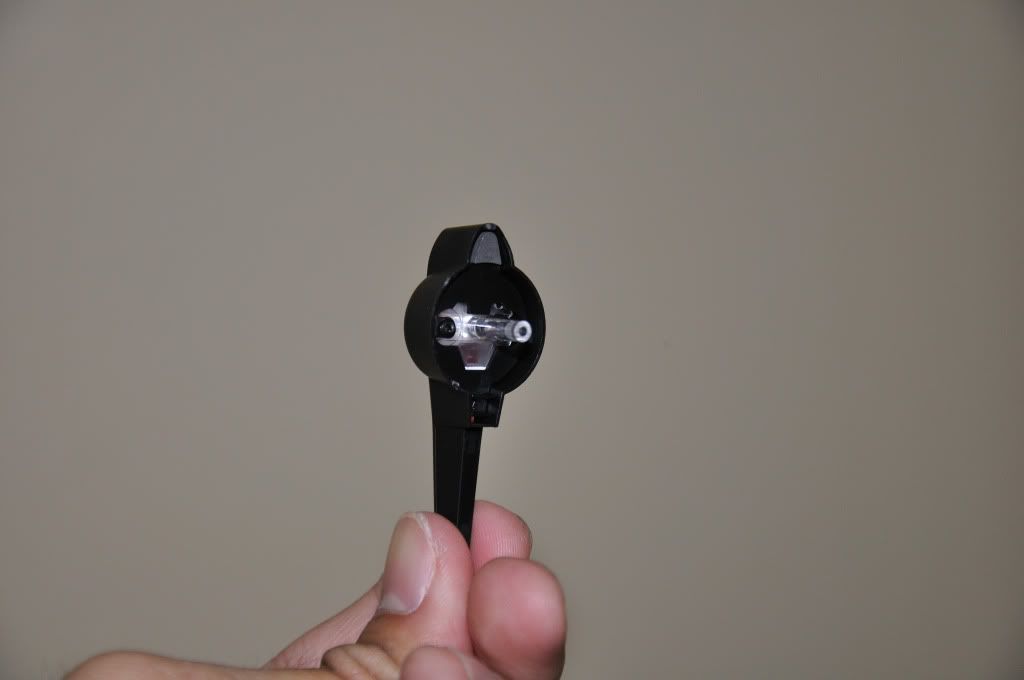
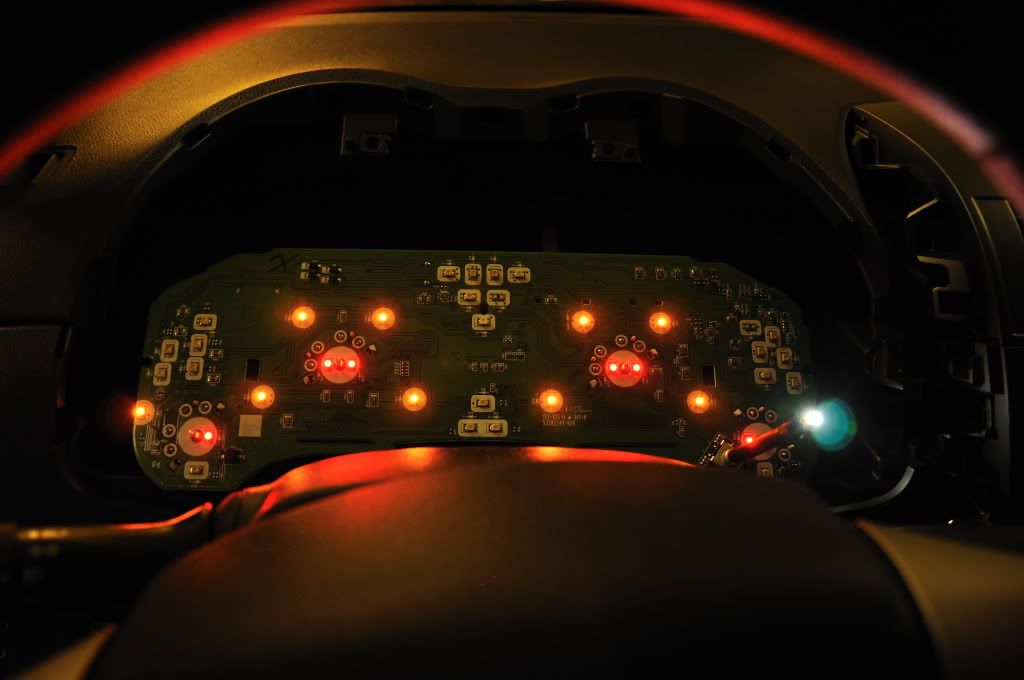
Be sure to test it to ensure you are doing it correctly.
![Image]()
![Image]()
![Image]()
It takes 8 PLCC-2s for the speedometer and the tachometer (is that what it's called? For RPM? lol IDK :dunno. It takes 2 PLCC-2s for the fuel and coolant gauge thing.
Goodluck! And feel free the ask questions and correct if I made a mistake, I hope this helped!
Step 1
Take the left trim off, top and bottom. Take a flathead (put ducktape on the tip so it doesn't mess us you interior) and pry them out. PAY ATTENTION TO WHERE THE BRACKET THINGYS ARE IN THE PIC SO YOU KNOW WHERE TO FOCUS POINTS ARE.
Step 2
Pry off the instrument panel hood, starting from the right side. Pay attention to the focus points again.
Step 3
Take a phillips and remove the two top screws. Then pull up and out and unplug it from the back.

Step 4
Remove the front transparent cover by pushing out the clips
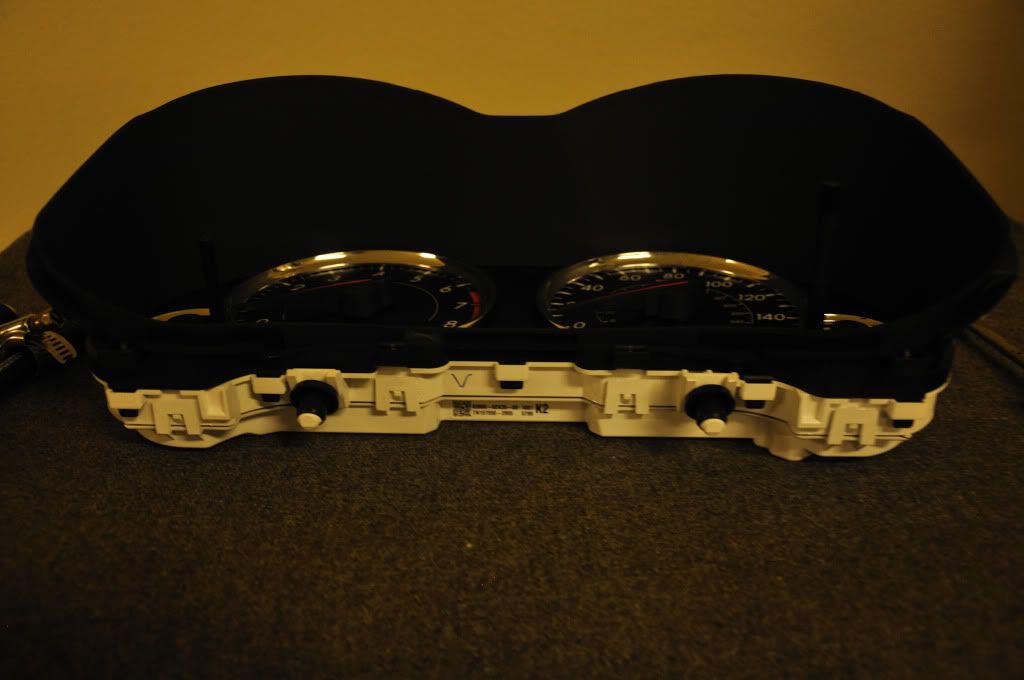
Step 5
Remove the black hood.
Step 6
ITS NEEDLE TIME! Mark your needle points with tape. I don't think its necessary but it's nice to be safe. I found the fork technique to be difficult so I used the SPOON technique! Maybe use the for to pry it till you hear a click. Then two spoons across from each other to pull it straight up. Don't be scared to break them, just be gentle and patient. Watch this guy's vid for an example,
Step 7
Unlike the 10th generations, the 10.5's clear top, which spreads the LED lights out, can't just be removed to expose to chip. So take the back cover off. I DID THIS ON STEP 7 BUT DO IT BEFORE STEP 4. IT'LL BE MUCH EASIER.
Step 8
Remove the chip and place it on the back cover so it's secure when you work on it.
Step 8
SOLDER TIME! I'm not a soldering expert but I did it no problem. It's just positive and negative, make sure you don't solder those to touch. Remove the stock LEDs and solder the new ones. They are PLCC-2s and there is a special thing on the edge to show which is positive and negative, plus how to place them on. http://www.oznium.com/plcc-2/photos There is a polarity mark so make sure you put them on right. Check the diagram.

Be sure to test it to ensure you are doing it correctly.
It takes 8 PLCC-2s for the speedometer and the tachometer (is that what it's called? For RPM? lol IDK :dunno
. It takes 2 PLCC-2s for the fuel and coolant gauge thing.Goodluck! And feel free the ask questions and correct if I made a mistake, I hope this helped!


