

Thought I’d do a quick write up on installation of AOB switches and Any Time Backup Camera harness, for anyone interested in doing the same.
There’s plenty of threads (and YouTube videos) with instructions on how to disassemble the dash and remove the HU, and the Anytime Backup Camera harness install is self explanatory, so, won’t go over that.
I know there’s another thread that discusses this using a regular toggle switch and splicing the vehicle harness. This is a little different as it doesn’t require splicing the factory harness, and uses OEM style switches, but will cost more$$$ (just under $100 after shipping).
Parts used...
https://www.anytimebackupcamera.com/products/anytime-backup-camera
https://www.anytimebackupcamera.com/products/navigation-override
https://www.aironboard.com/online/p...nline/push-switch-984nb-12volt-toyota-oem-replacement-rear-camera-new-blue.html
https://www.aironboard.com/online/push-switch-9b74nb-12volt-toyota-oem-gps.html
Install:
1. Disconnect neg. battery terminal.
2. Remove dash trim (around gage cluster, a/c controls, trim that runs above the clock, vents on each side of HU).
3. Remove HU, install harness, re-install HU.
4. Run wires for camera and nav bypass to switch locations. I choose the location left of the steering wheel. I ran the wires behind the gage cluster trim, just above the steering column, to the switch location.
5. Wire the AOB switches...
- the green and red wires on the switches will connect to the wires from the Anytime Backup Camera harness. Red to red, green to black on nav. wire, green to orange on camera wire.
![Image]()
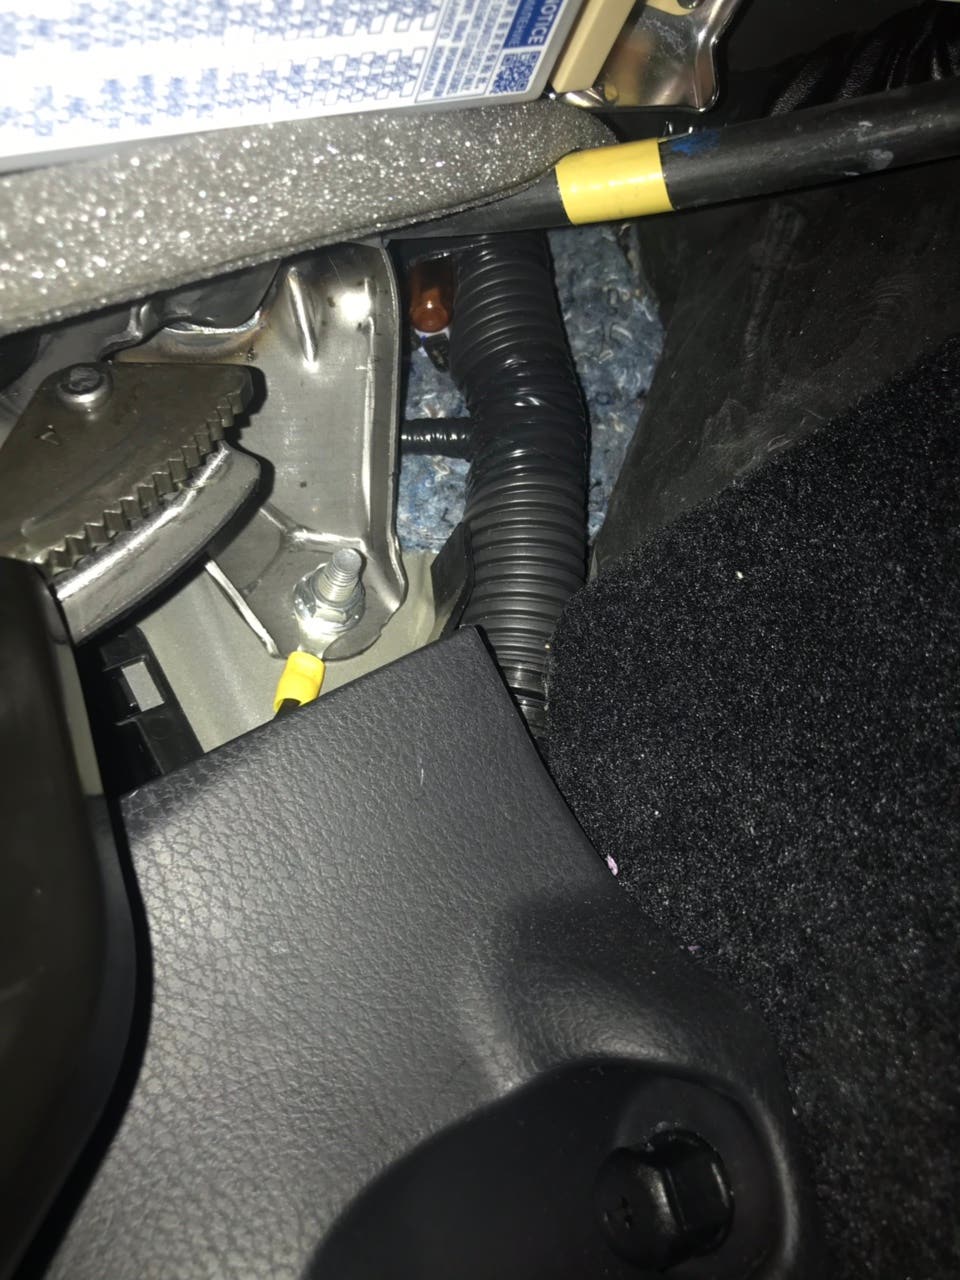
- the black wire from the AOB switch goes to ground. I grounded to a bolt right behind the e-brake.
![Image]()
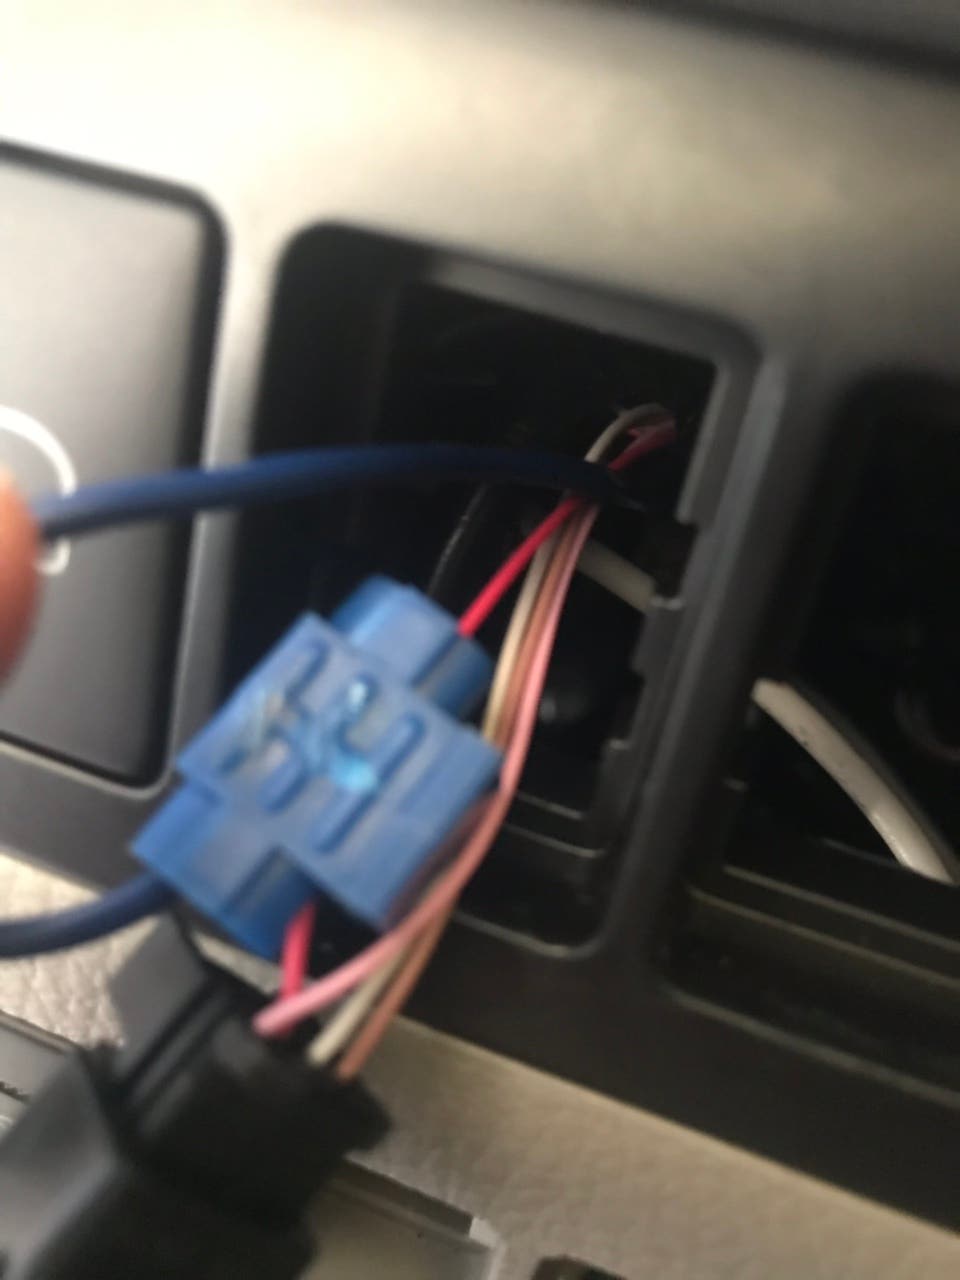
-the blue wire from the AOB switches will go to a power source that turns on with the dash lights/buttons (optional, if you want the buttons to light like the factory switches). I tapped the power from a nearby factory switch. On my HL it was the red wire to each switch, but you’ll need to test with a volt meter or test light. Just see which wire powers on/off with the head lights. The easiest way to remove the factory switches, is to remove a blank switch, and stick you finger in the dash, and push the switch out from behind.
![Image]()
Everything works as expected, with one caveat.
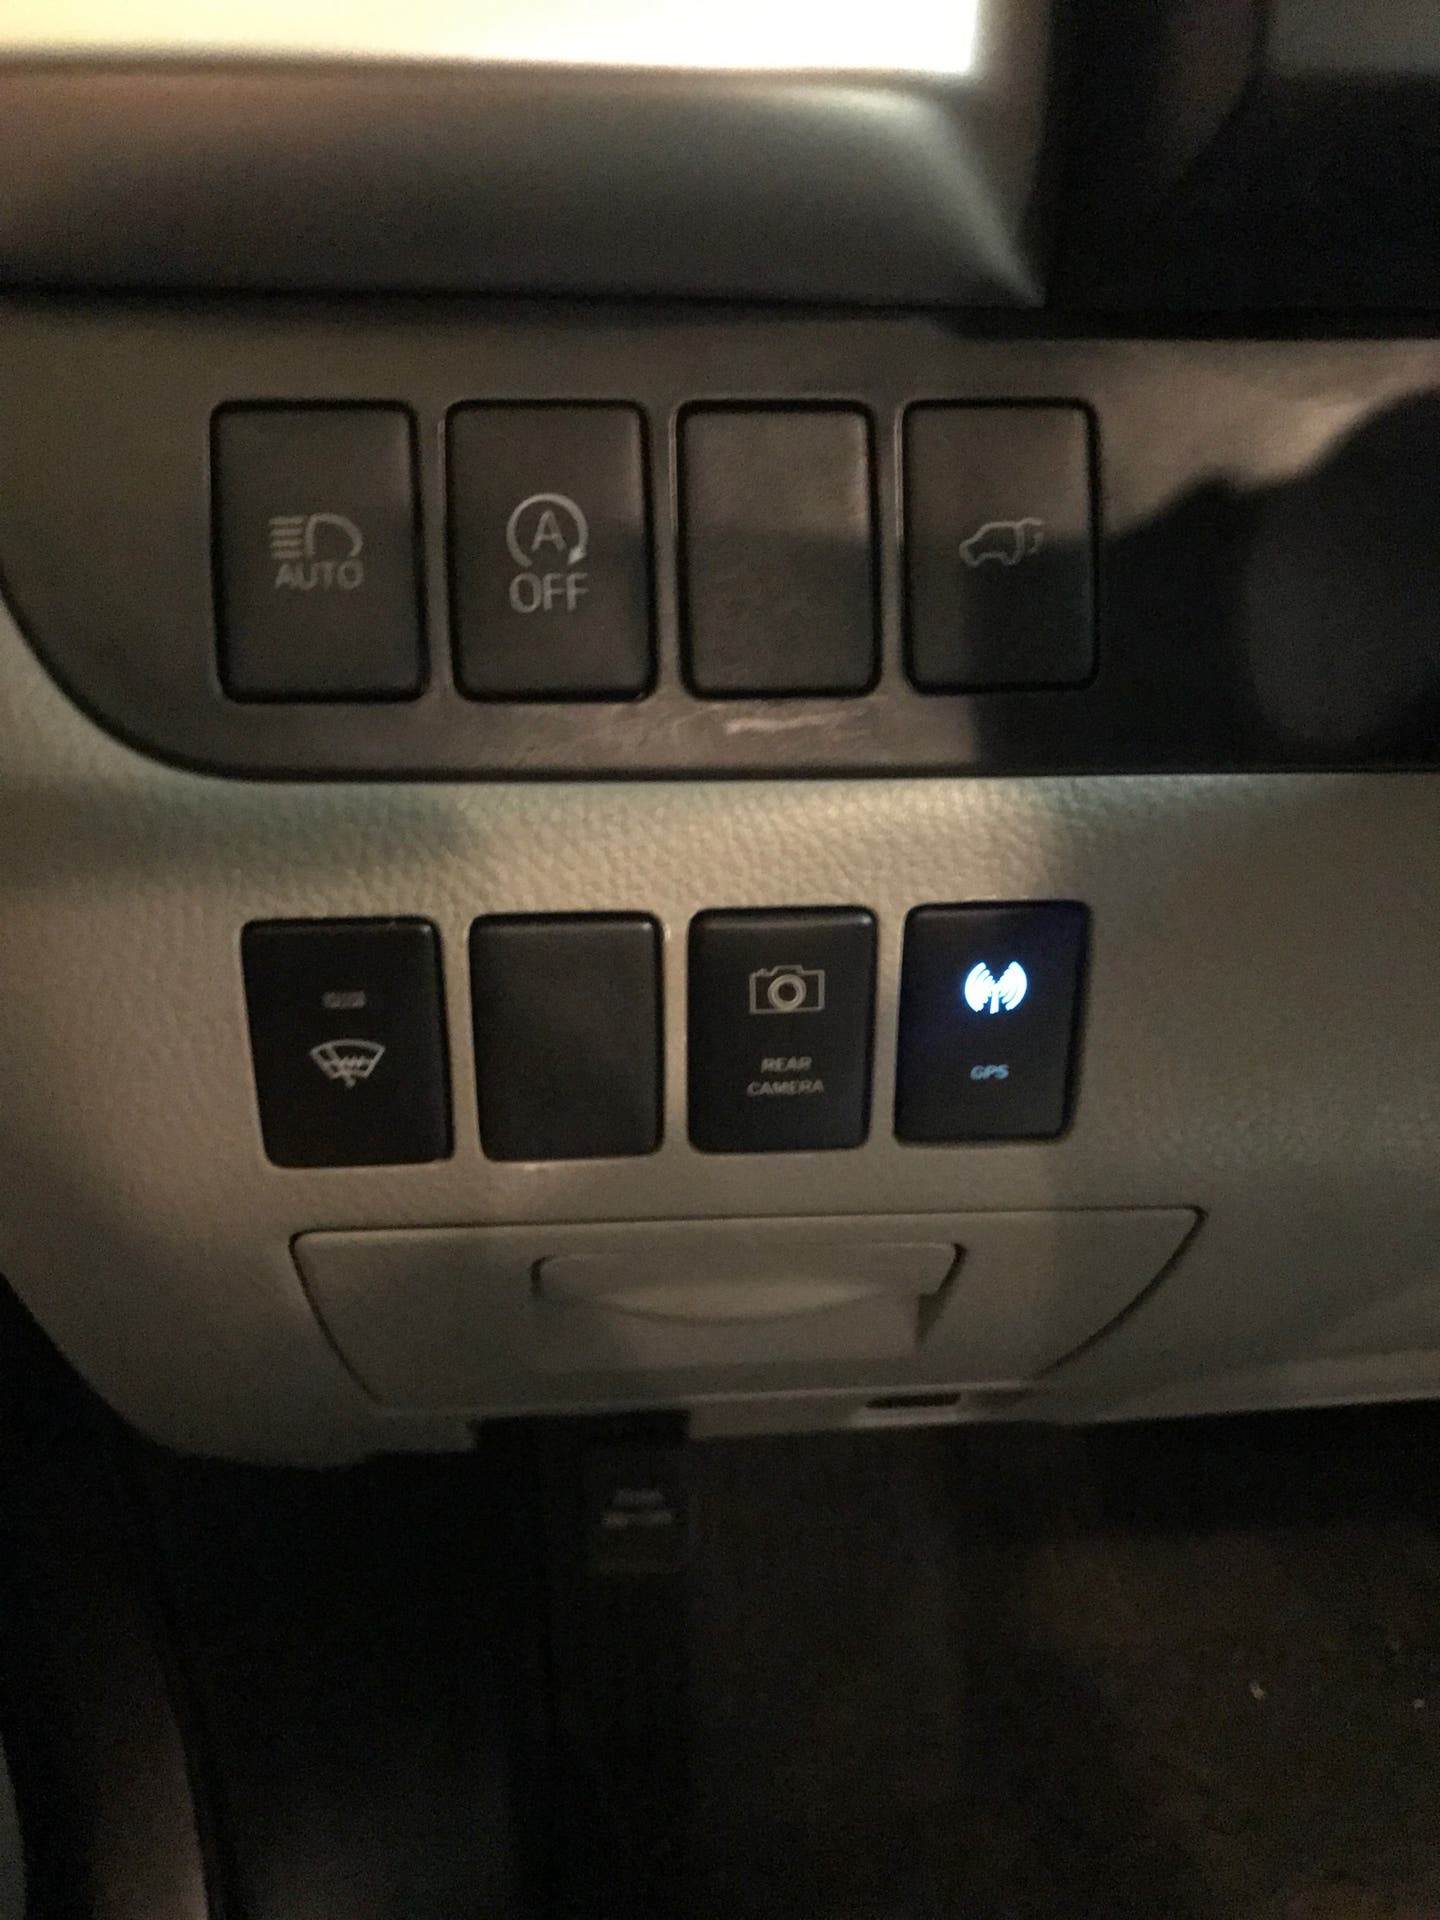
The nav works when the GPS switch is pressed in, and bypasses when it’s out. The issue is that when the switch is pressed in, the GPS symbol lights, and stays lit even when the vehicle is off (unless you activate the bypass). I tried reversing the wires, but then it stayed lit whether in bypass or not. Being that it’s a very low power LED, I don’t think it will effect the battery, but I’ll be keeping an eye on it.
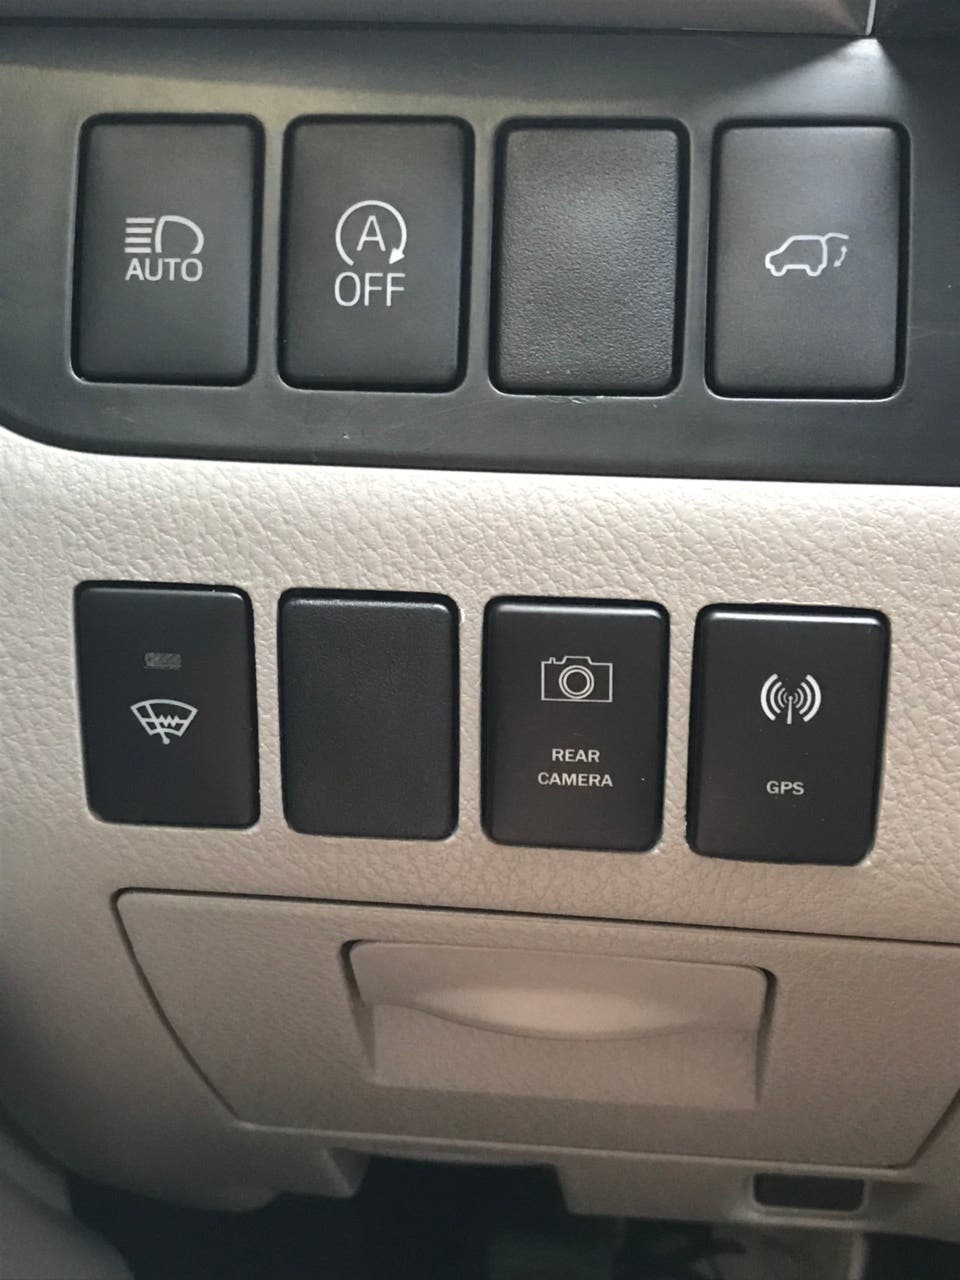
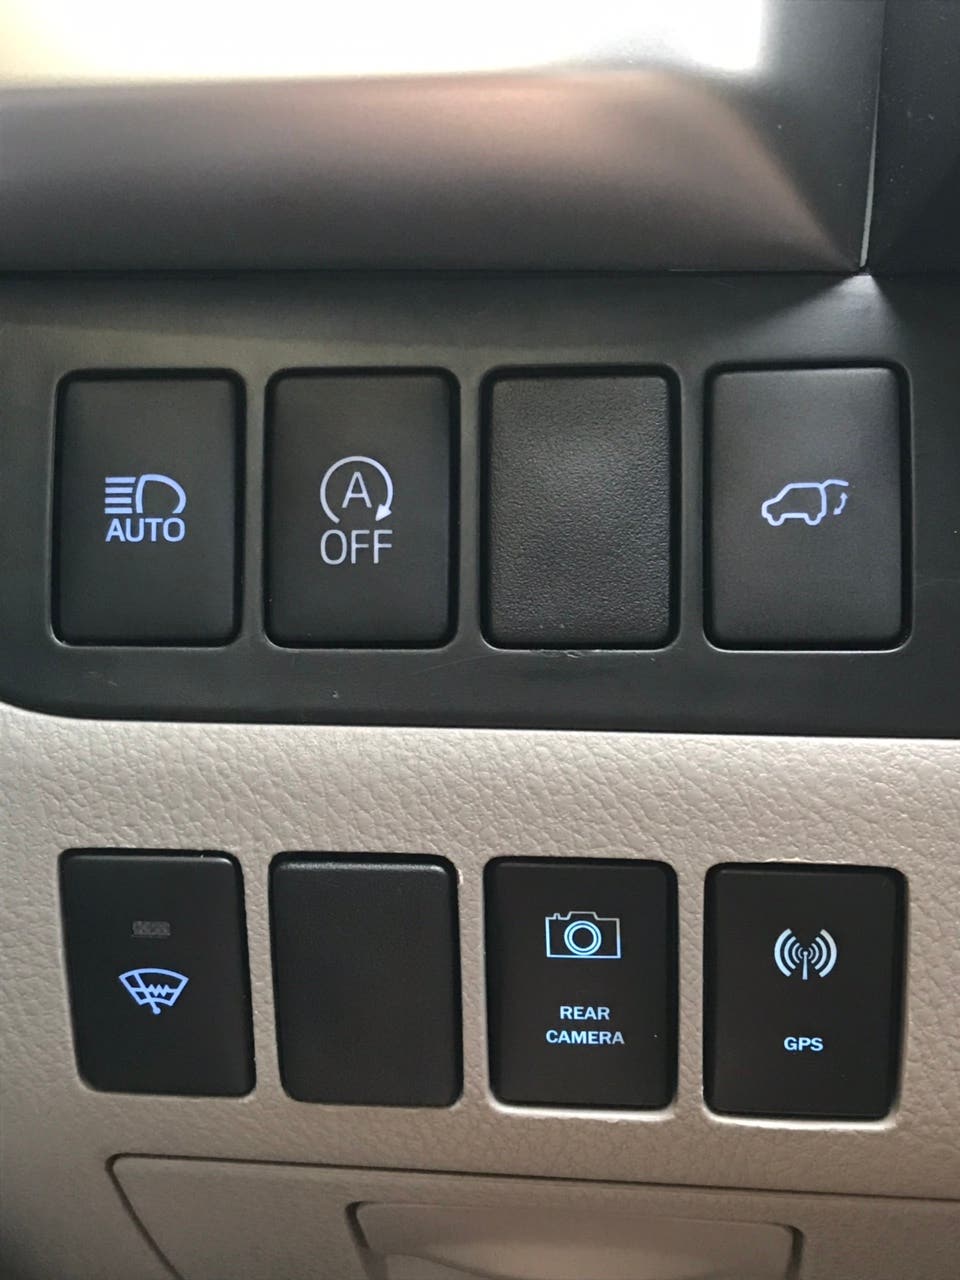
Here’s lights off, Nav. Override active.
![Image]()
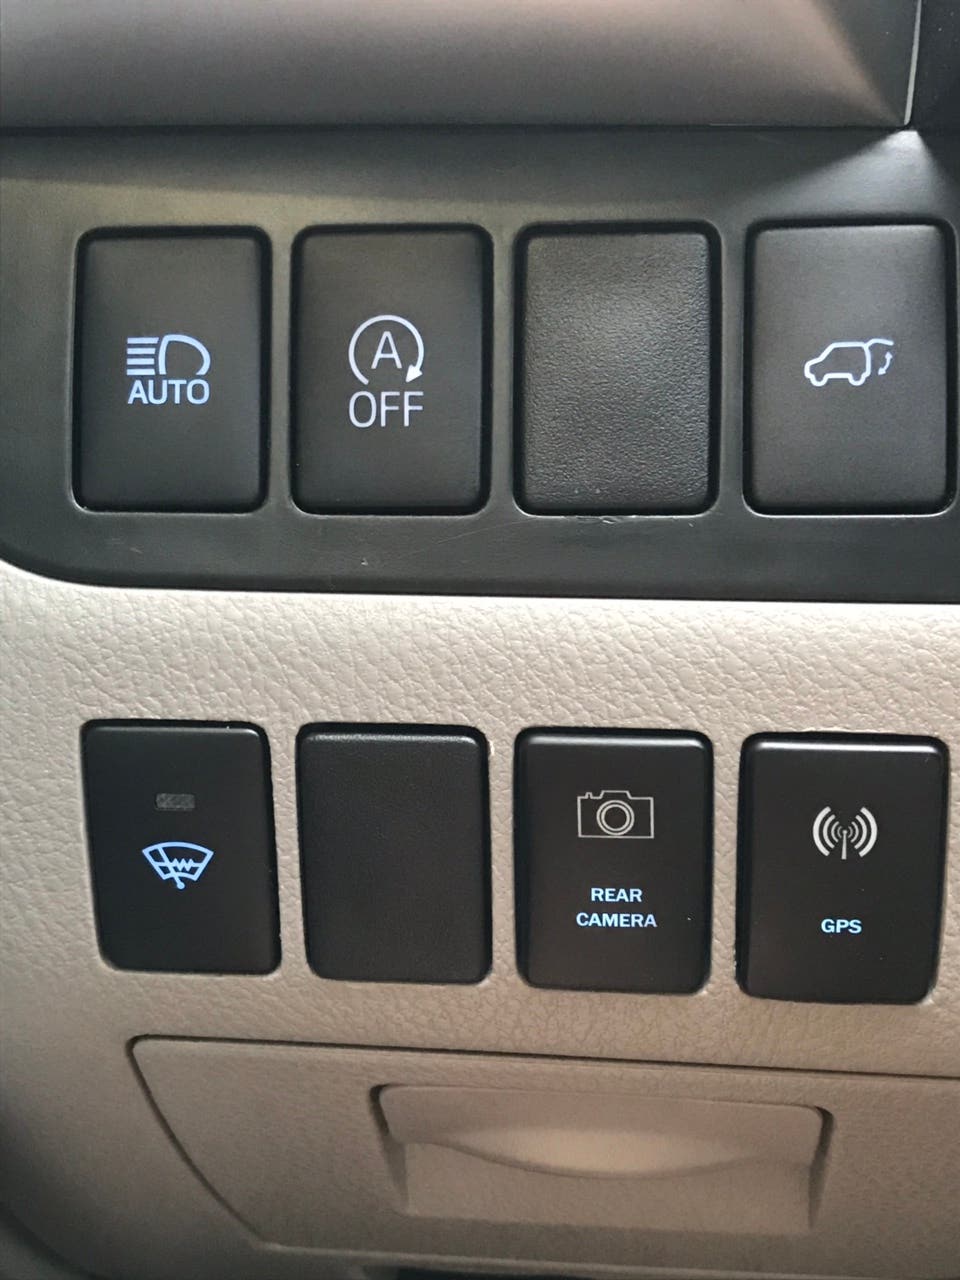
Lights on Nav. Override active.
![Image]()
Lights on, Nav active, anytime backup cam active.
![Image]()
Vehicle off, nav. active.
![Image]()
One word of caution, the black area that holds the switches can get damaged very easily (as you can see in the photos). So use your trim tool to pull out a blank below and stick you finger in to push out the upper switches and blanks from behind.
Sent from my iPhone using Tapatalk
There’s plenty of threads (and YouTube videos) with instructions on how to disassemble the dash and remove the HU, and the Anytime Backup Camera harness install is self explanatory, so, won’t go over that.
I know there’s another thread that discusses this using a regular toggle switch and splicing the vehicle harness. This is a little different as it doesn’t require splicing the factory harness, and uses OEM style switches, but will cost more$$$ (just under $100 after shipping).
Parts used...
https://www.anytimebackupcamera.com/products/anytime-backup-camera
https://www.anytimebackupcamera.com/products/navigation-override
https://www.aironboard.com/online/p...nline/push-switch-984nb-12volt-toyota-oem-replacement-rear-camera-new-blue.html
https://www.aironboard.com/online/push-switch-9b74nb-12volt-toyota-oem-gps.html
Install:
1. Disconnect neg. battery terminal.
2. Remove dash trim (around gage cluster, a/c controls, trim that runs above the clock, vents on each side of HU).
3. Remove HU, install harness, re-install HU.
4. Run wires for camera and nav bypass to switch locations. I choose the location left of the steering wheel. I ran the wires behind the gage cluster trim, just above the steering column, to the switch location.
5. Wire the AOB switches...
- the green and red wires on the switches will connect to the wires from the Anytime Backup Camera harness. Red to red, green to black on nav. wire, green to orange on camera wire.

- the black wire from the AOB switch goes to ground. I grounded to a bolt right behind the e-brake.
-the blue wire from the AOB switches will go to a power source that turns on with the dash lights/buttons (optional, if you want the buttons to light like the factory switches). I tapped the power from a nearby factory switch. On my HL it was the red wire to each switch, but you’ll need to test with a volt meter or test light. Just see which wire powers on/off with the head lights. The easiest way to remove the factory switches, is to remove a blank switch, and stick you finger in the dash, and push the switch out from behind.
Everything works as expected, with one caveat.
The nav works when the GPS switch is pressed in, and bypasses when it’s out. The issue is that when the switch is pressed in, the GPS symbol lights, and stays lit even when the vehicle is off (unless you activate the bypass). I tried reversing the wires, but then it stayed lit whether in bypass or not. Being that it’s a very low power LED, I don’t think it will effect the battery, but I’ll be keeping an eye on it.
Here’s lights off, Nav. Override active.
Lights on Nav. Override active.
Lights on, Nav active, anytime backup cam active.
Vehicle off, nav. active.
One word of caution, the black area that holds the switches can get damaged very easily (as you can see in the photos). So use your trim tool to pull out a blank below and stick you finger in to push out the upper switches and blanks from behind.
Sent from my iPhone using Tapatalk


