I know this has been covered before but I did the diff breather mod today and figured I would post a quick "how to" for anyone who is considering doing it. I wanted to instill confidence in anyone who is considering this mod but doubts their mechanical abilities. It is a simple quick mod. :thumbsup:
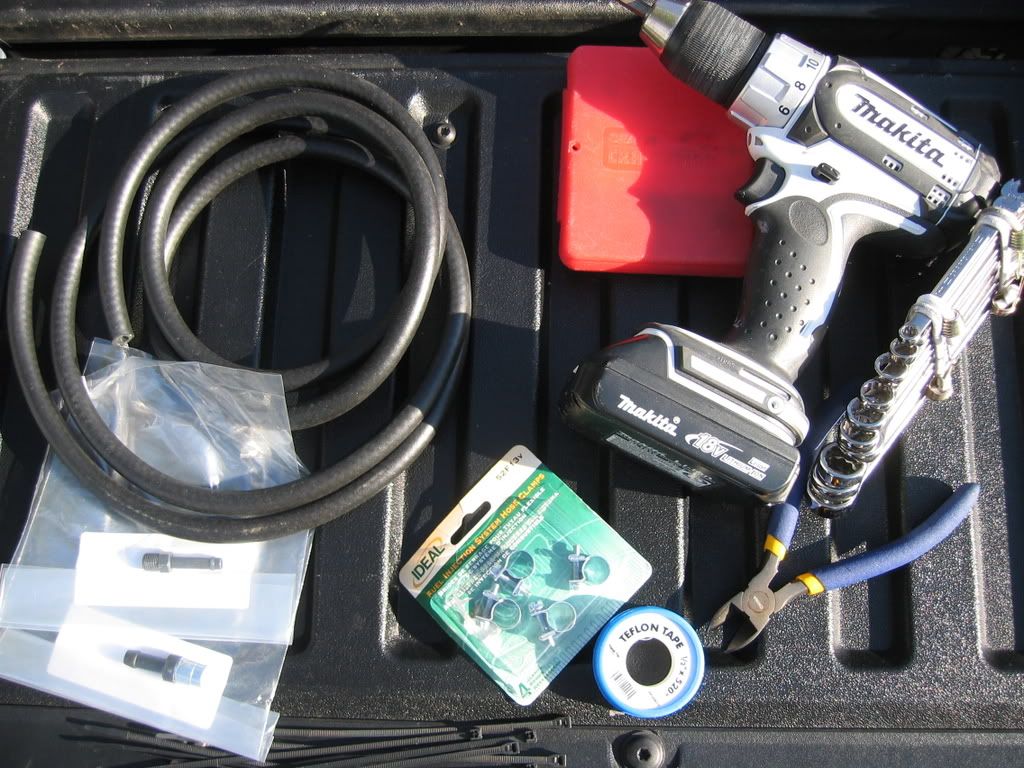
Everything you need:
1. Toyota Part numbers:90404-51026 Camary Union and 90930-03136 (Breather Union)
2. Drill
3. 3/8" drill bit
4. Teflon tape
5. 6' of 1/4" fuel line
6. Screwdriver (flat head)
7. 14mm and 10mm wrenches
8. Hose clamps
9. Zip-ties
10. Wirecutters or razor knife
11. Can of Skoal
12. Ice cold beer (optional)
![Image]()
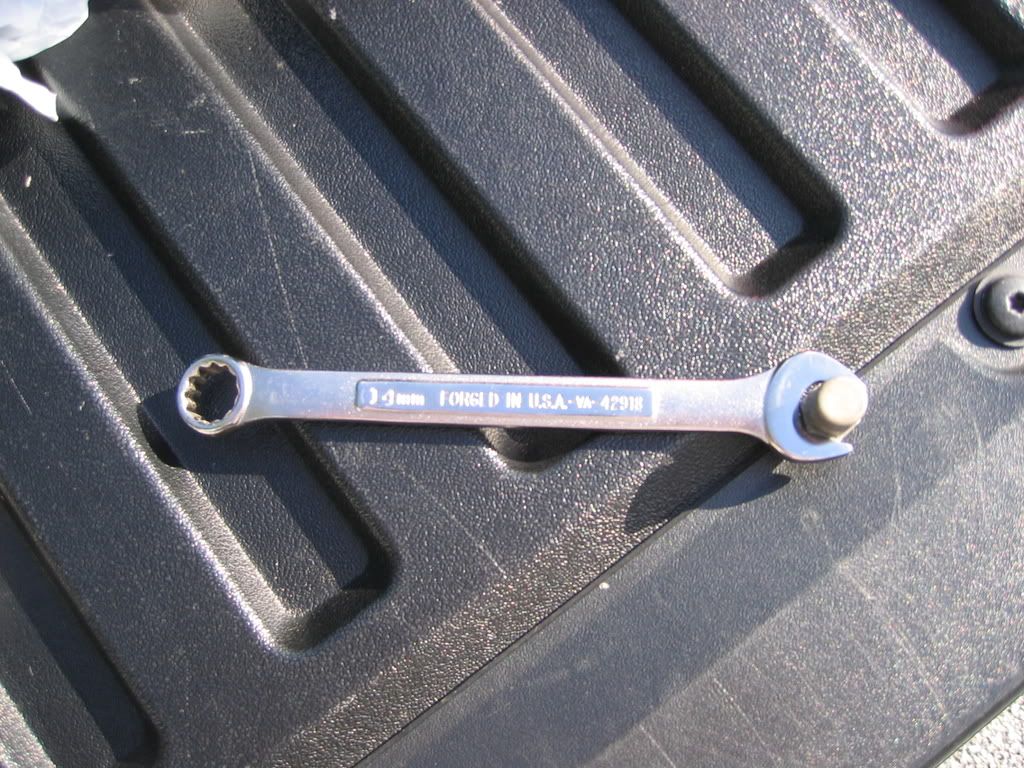
Step 1: Take old breather out using 14mm wrench
![Image]()
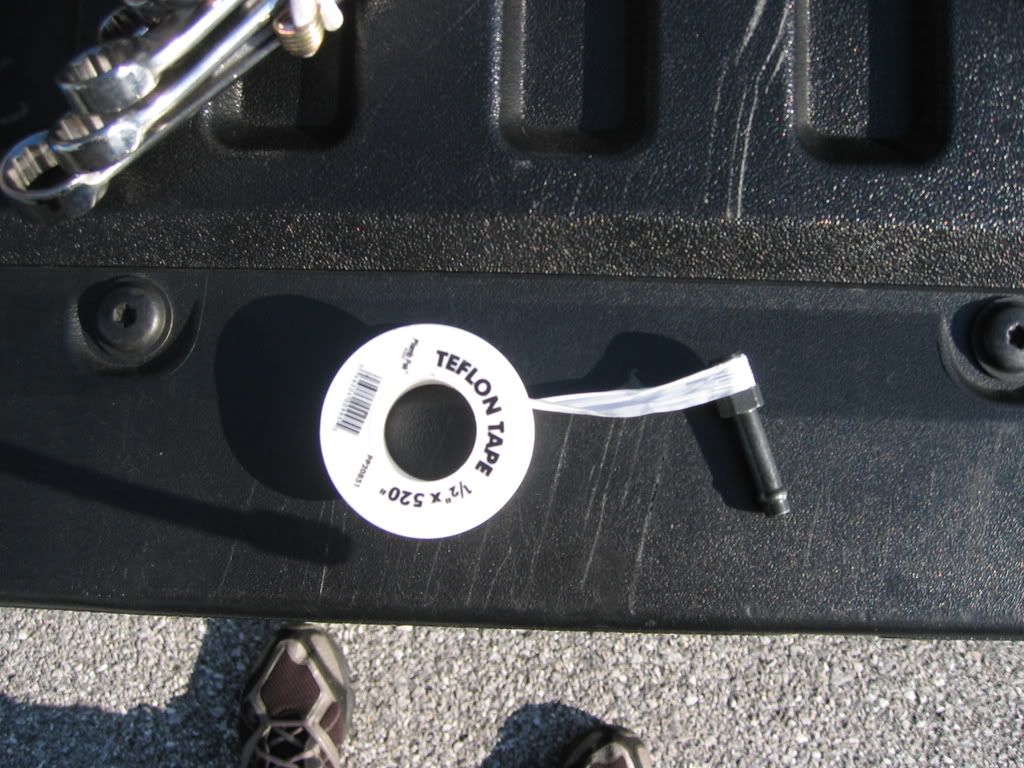
Step 2: Wrap new fitting with teflon tape.
![Image]()
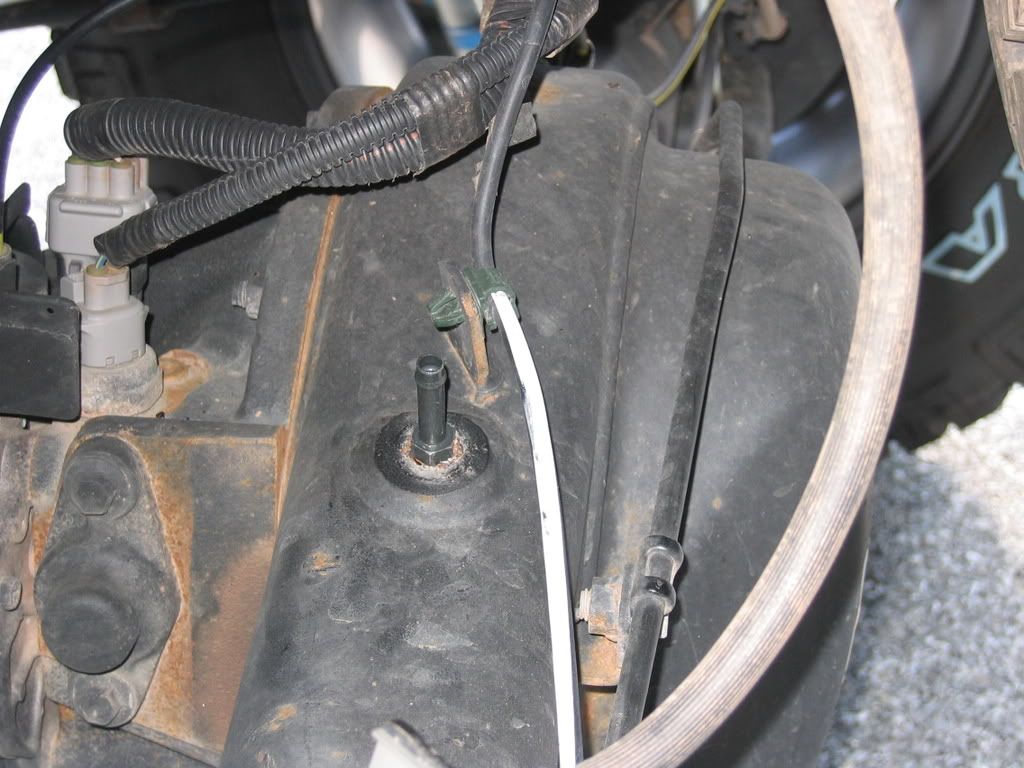
Step 3: Install new fitting/union using a 10mm wrench.
![Image]()
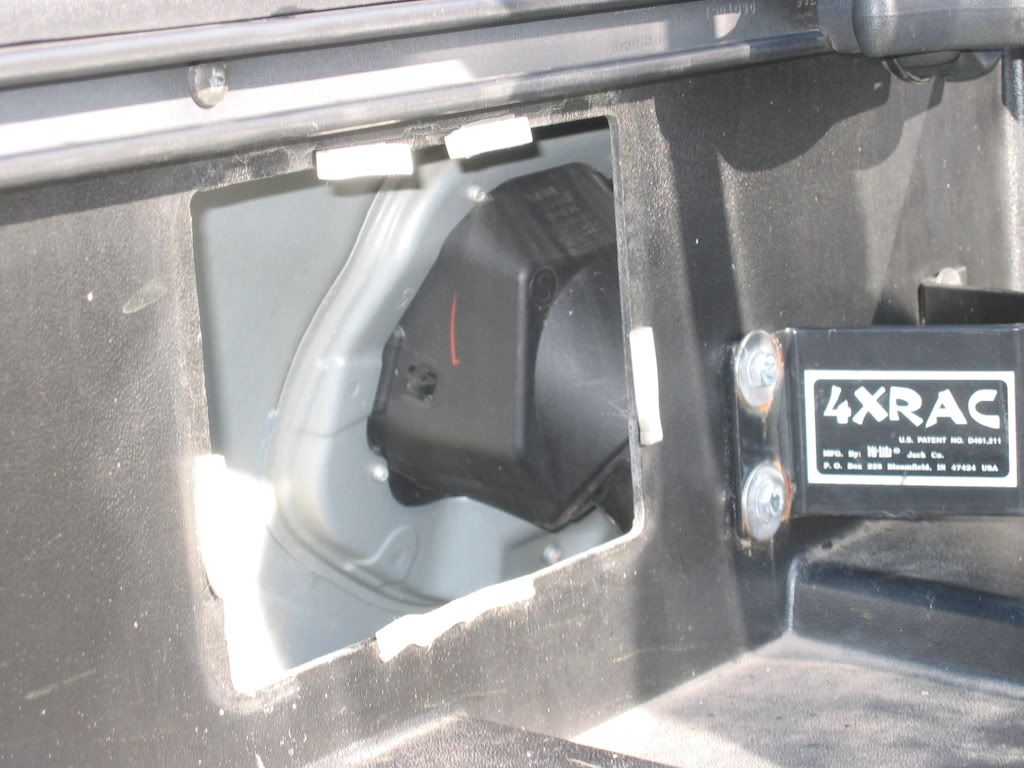
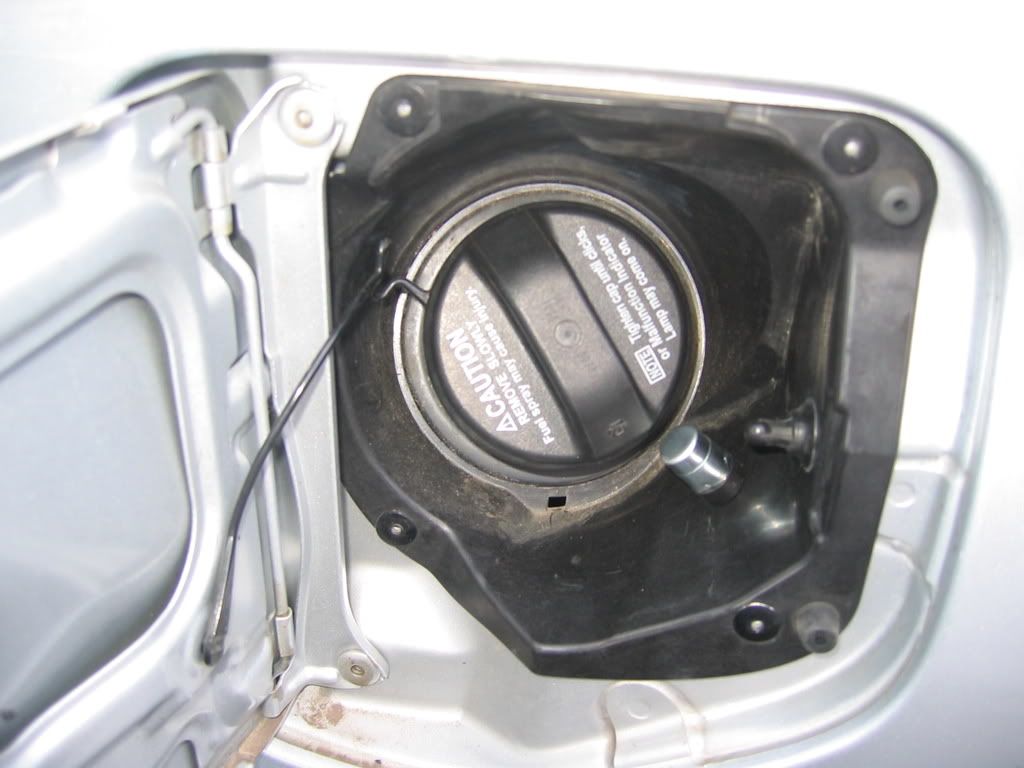
Step 4:Remove cubby to gain access to fuel filler (Pull up and out)
![Image]()
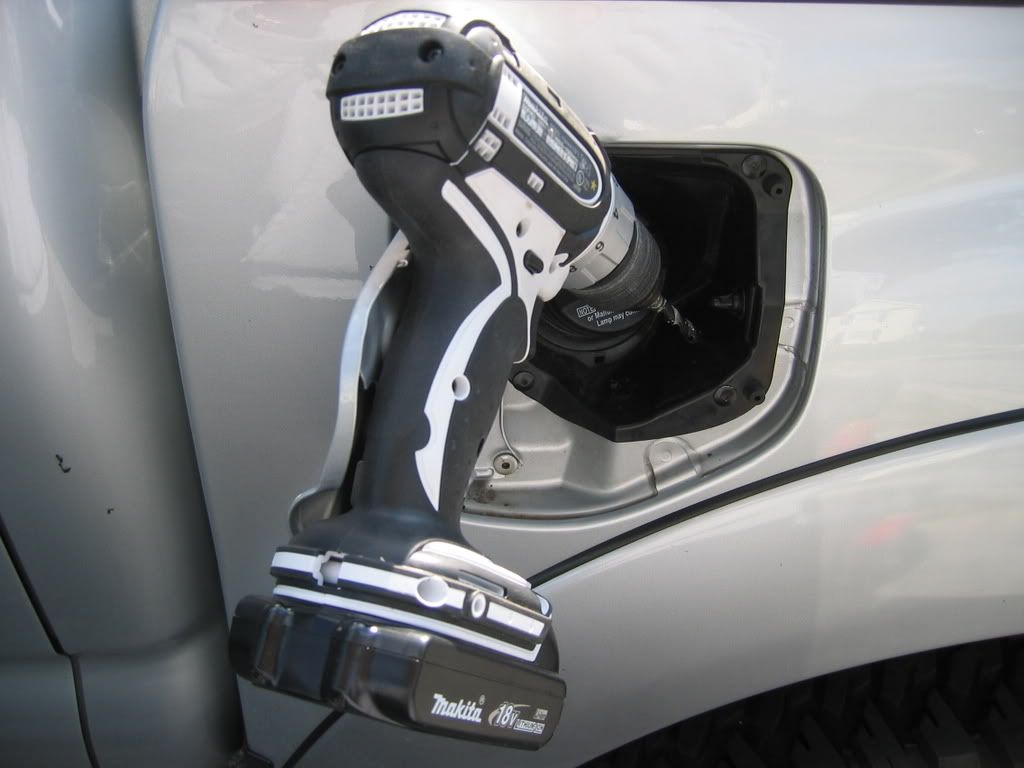
Step 5: Drill mounting location for new breather.
![Image]()
Drill bit poking through:
![Image]()
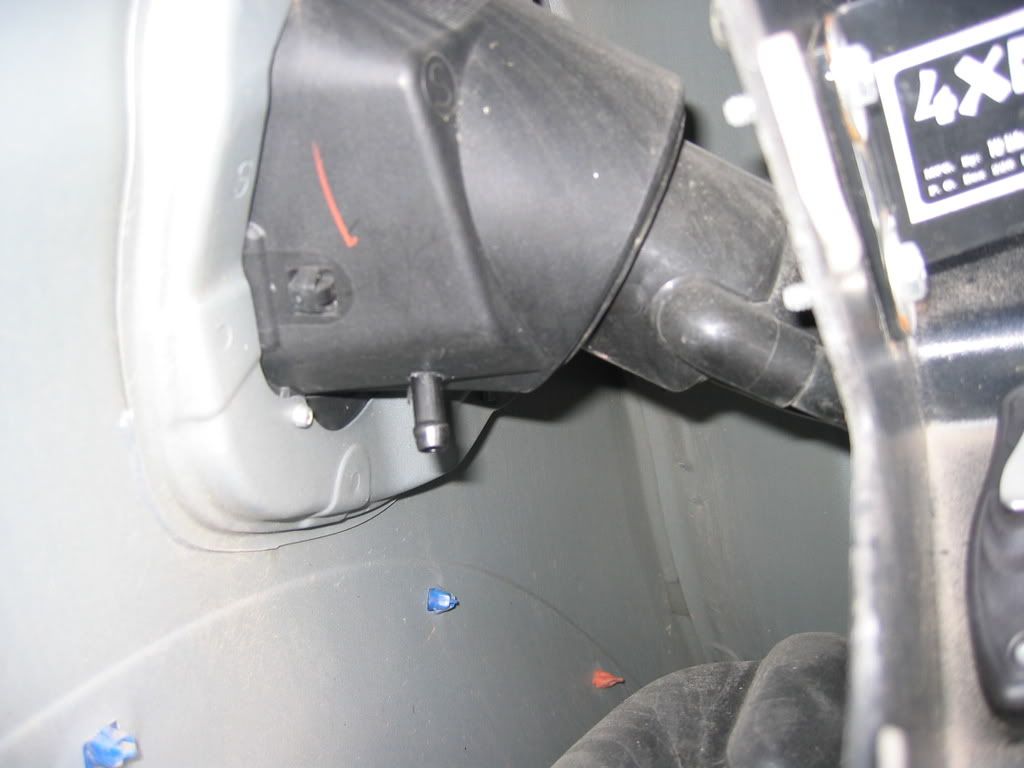
Step 6: Install new breather.
![Image]()
A look from the inside.
![Image]()
Step 7: Attach the new fuel line and tighten clamp (using a little dish soap will aid in sliding the line on the new breather). I ran the line parallel with the filler neck and drown the frame rail not out the bed pocket as pictured)
![Image]()
Step 8: Run the 1/4" fuel line and use zip ties to secure it.
![Image]()
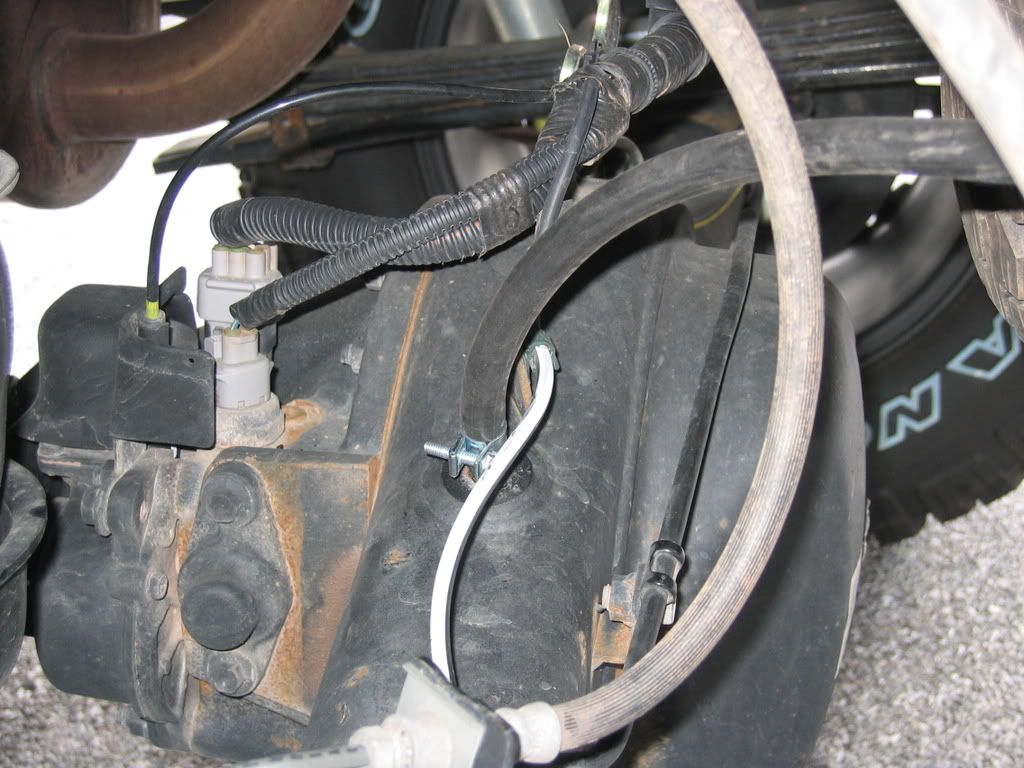
Step 8: Install and tighten final clamp and be sure to leave enough line for axle movement.
![Image]()
Step 9: Re-install bed pocket and you are done! Enjoy a cold beer.
![Image]()
Everything you need:
1. Toyota Part numbers:90404-51026 Camary Union and 90930-03136 (Breather Union)
2. Drill
3. 3/8" drill bit
4. Teflon tape
5. 6' of 1/4" fuel line
6. Screwdriver (flat head)
7. 14mm and 10mm wrenches
8. Hose clamps
9. Zip-ties
10. Wirecutters or razor knife
11. Can of Skoal
12. Ice cold beer (optional)
Step 1: Take old breather out using 14mm wrench
Step 2: Wrap new fitting with teflon tape.
Step 3: Install new fitting/union using a 10mm wrench.
Step 4:Remove cubby to gain access to fuel filler (Pull up and out)
Step 5: Drill mounting location for new breather.
Drill bit poking through:
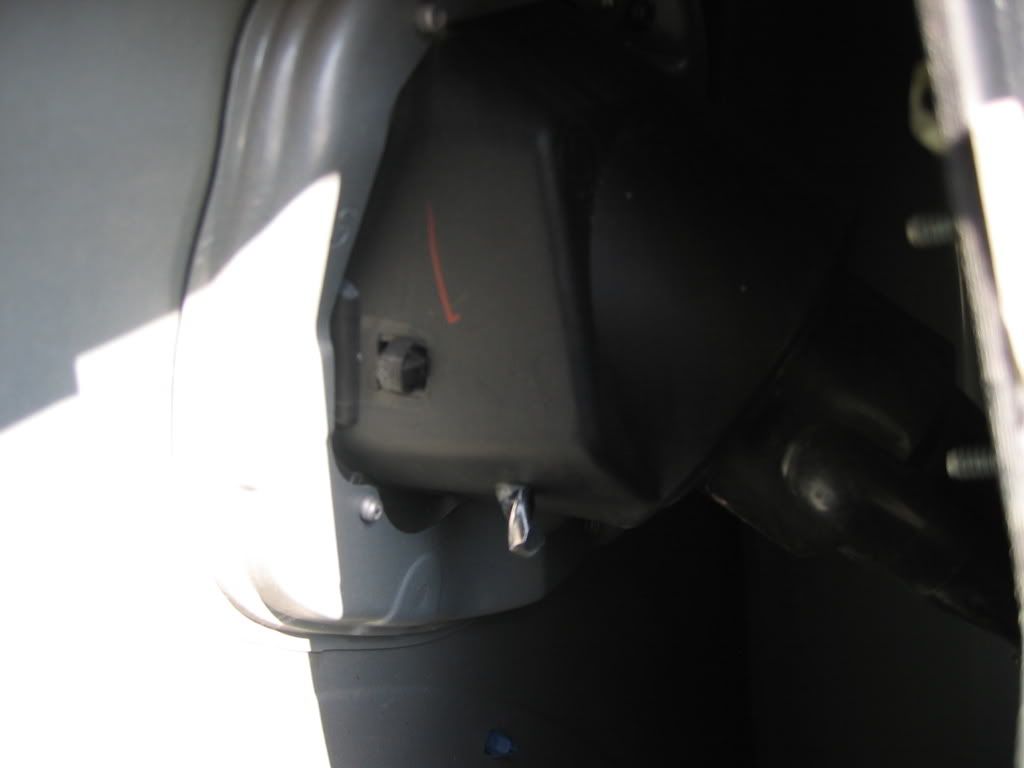
Step 6: Install new breather.
A look from the inside.
Step 7: Attach the new fuel line and tighten clamp (using a little dish soap will aid in sliding the line on the new breather). I ran the line parallel with the filler neck and drown the frame rail not out the bed pocket as pictured)
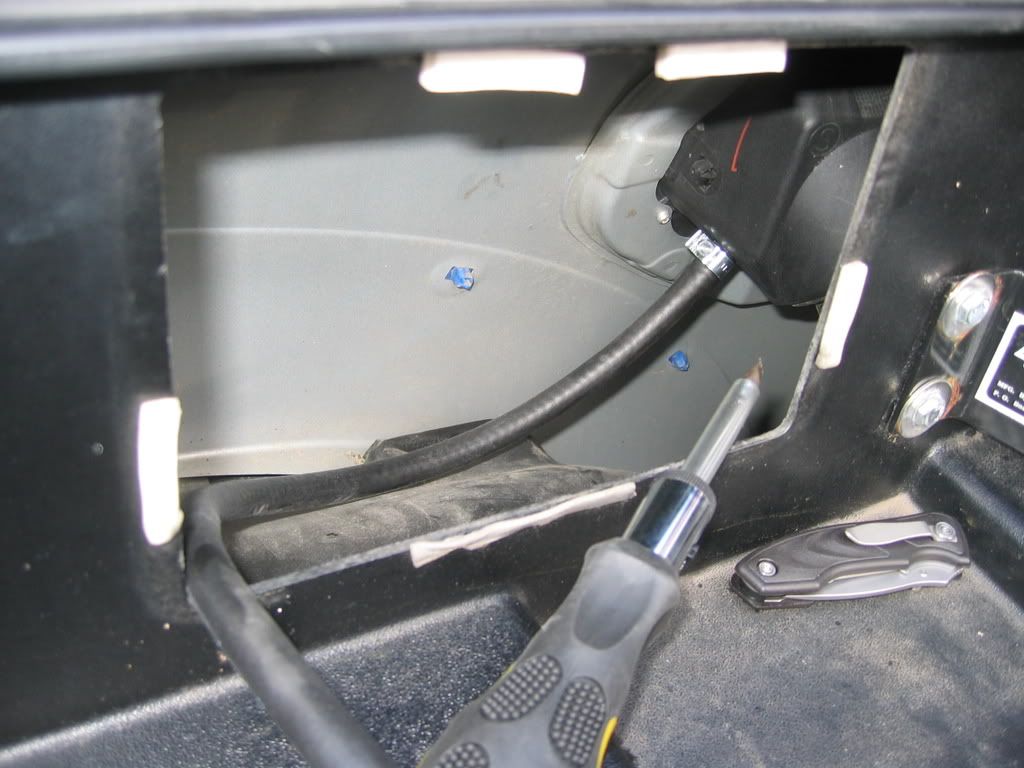
Step 8: Run the 1/4" fuel line and use zip ties to secure it.
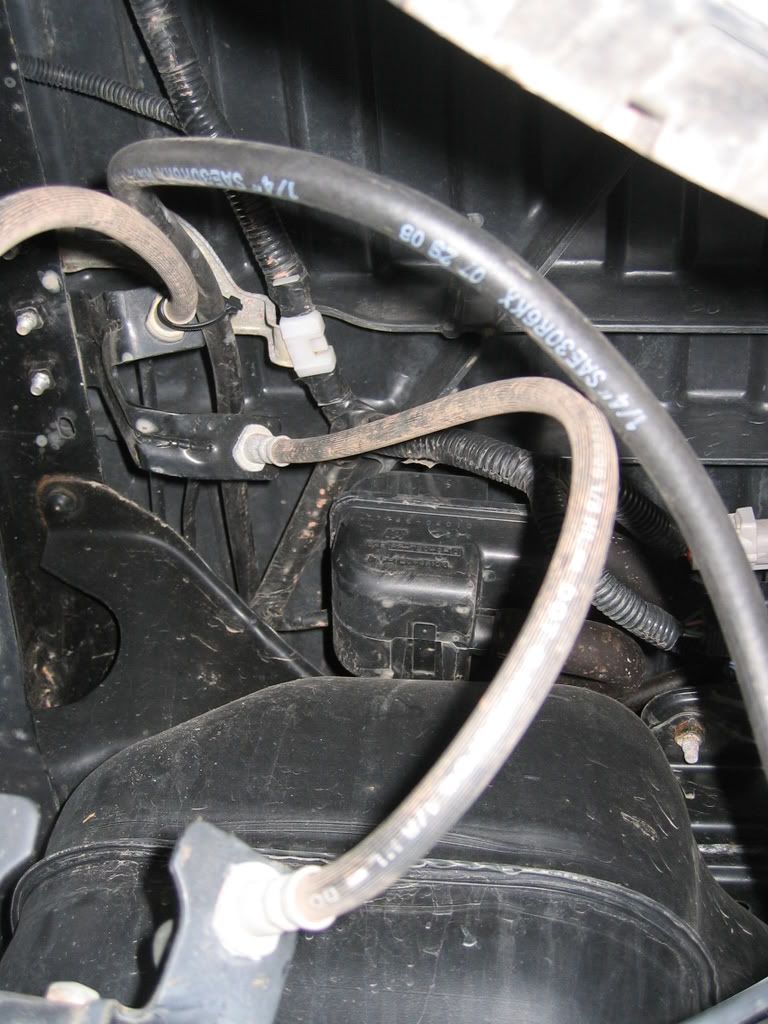
Step 8: Install and tighten final clamp and be sure to leave enough line for axle movement.
Step 9: Re-install bed pocket and you are done! Enjoy a cold beer.