So I finally decided to change my transmission oil, and filter after 102000 miles. What follows is my adventure. While im not as detailed as Sweeneyp, hopefully this will give you some idea of what is involved.
Im going to borrow some of Sweeneyp's photos from the other thread, as his came out alot better than mine. Sweeneyp hope you dont mind.
Before you start any of this, BEWARE, 1 of the pan bolts is behind a frame rail, and you cannot get to it with a regular socket, or a wrench!
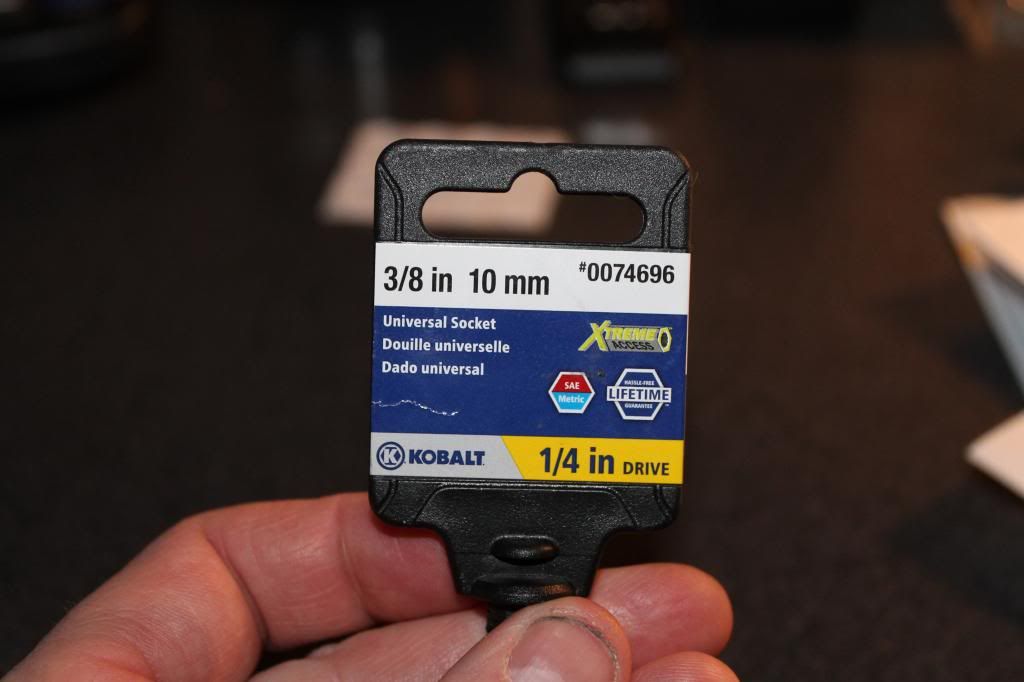
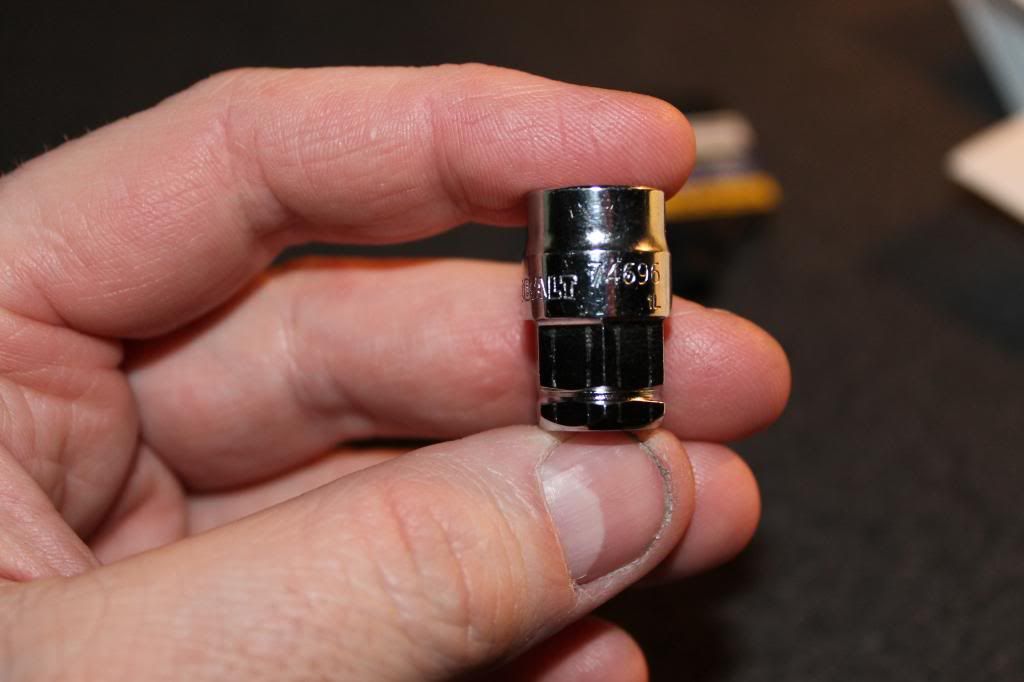
You will need a special tool to get to it. I used this tool from Lowes
![Image]()
![Image]()
http://www.lowes.com/pd_74696-25428...428-86871_0__?productId=3773445&Ntt=74696&pl=1¤tURL=?Ntt=74696&facetInfo=
This socket allowed me to use a 13mm closed end wrench on it to turn the pan bolt.
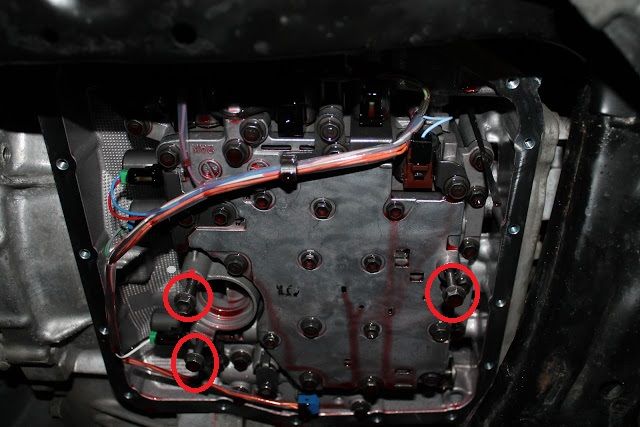
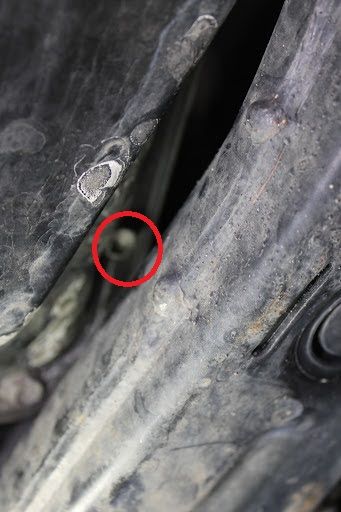
Here is the pan bolt in question. This socket, with a 13mm wrench just barely fits in the space, and will only allow you about an 1/8 of a turn at a time, because of the transmission mount on the other side of it. Sorry for the not so clear photo, it just wouldn't focus.
![Image]()
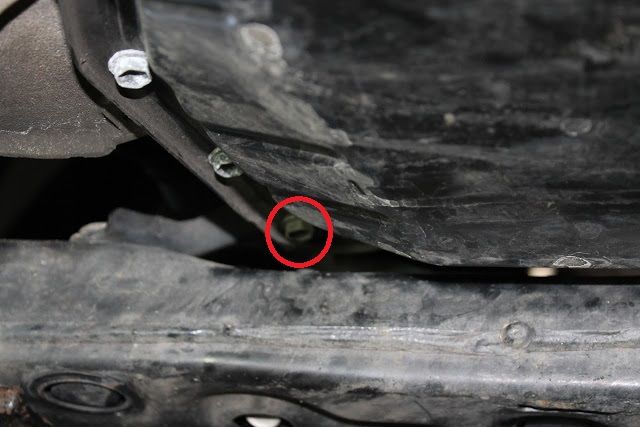
You will also have an issue with this pan bolt, but you can get a closed end 10mm wrench on it.
![Image]()
1. You will need to remove the lower splash pan under the engine compartment.
http://i802.photobucket.com/albums/.../yy306/sweeneyp/Toyota Nation Re-uploads/Splash Guard Removal/5_zps9adfb7ea.jpg
2.Next tackle those 2 pan bolts, and get them loose. Before you do though, you will need to mark them in some way, since you cannot get a torque wrench on them upon reinstallation. I used a punch, and made a reference mark on the head of the bolt. If you look at the picture below, you will see that the pan has a raised section in the middle. This is what keeps the gasket from leaking. The mark was made in line with the raised portion of the pan. I then counted how many times I turned the bolt until I was able to remove it. Upon reassembly you will count how many times you turn it in, and then realign the mark, and you should be somewhere close to the original torque on the bolt. In the picture below, I used a white line to represent the punch mark, since it was really hard to pick up on camera.
![Image]()
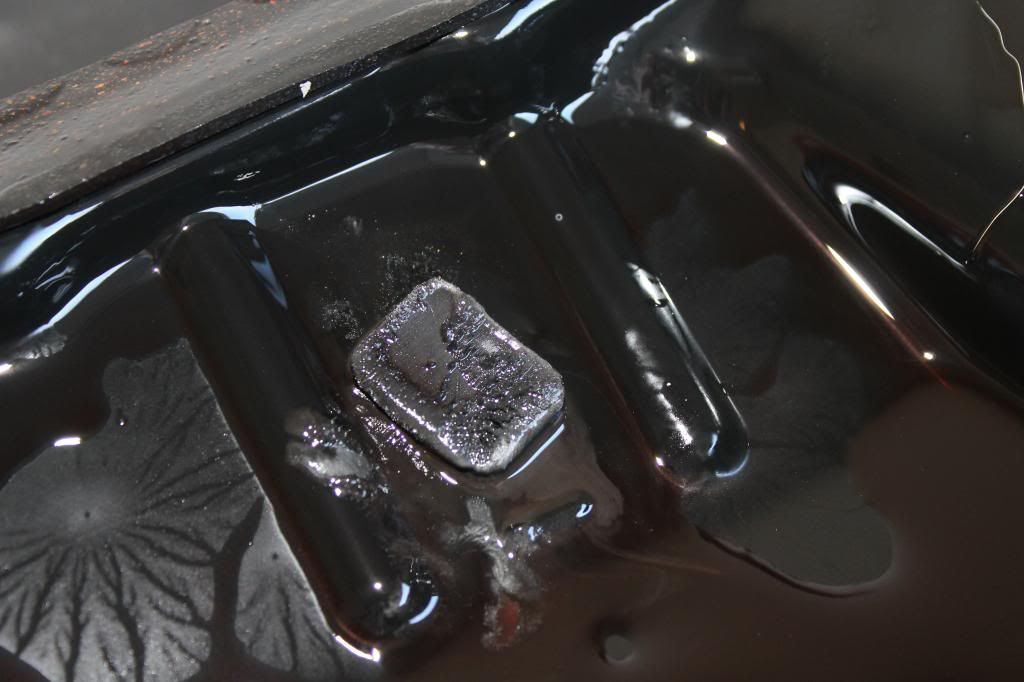
3. Drain the pan. It will dump out a little over a gallon of fluid. Put the plug back in, and snug it.
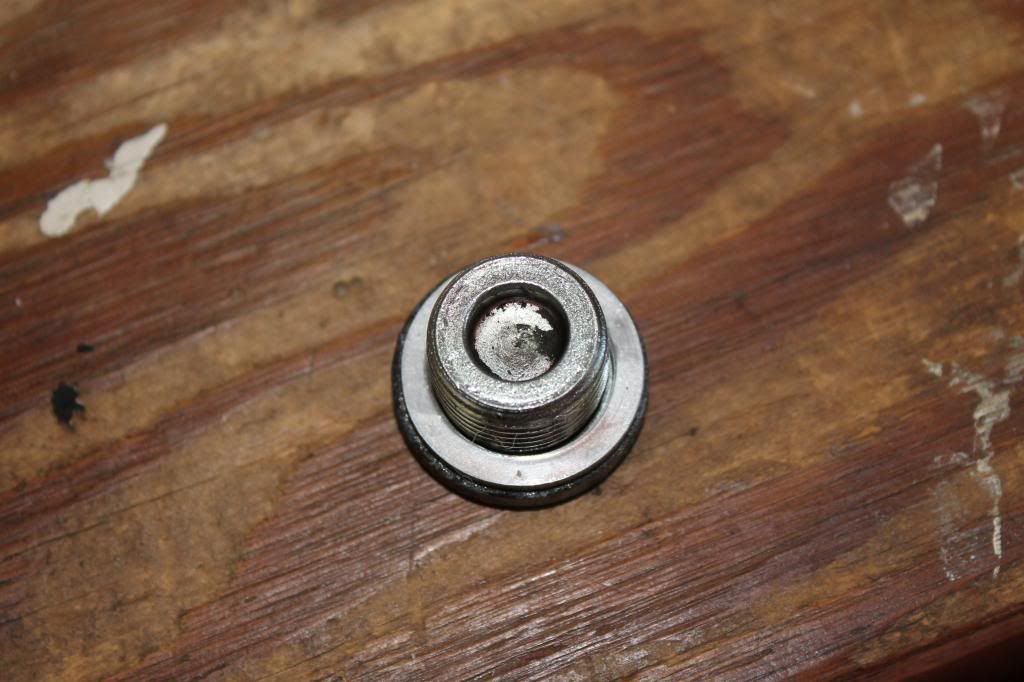
This is all that was in the drain bolt when I took it out. It doesnt appear to be magnetic, as steel didnt stick to it.
![Image]()
4. I slowly went around to all the pan bolts, and loosened each one about half a turn, slowly making my way around the pan, until all of them were loose. I feel as this helps keep the pan from possibly warping, and keeps the edge flat, meaning it will seal back up later with no issues.
5. Remove all the pan bolts (total of 18), except for the one in the corner near the drain plug, and the one on that same side towards the front of the pan in the front corner.
6. Once all are removed, slowly unscrew the pan bolt in the front corner about half way out.
7. Place a drain pan directly under the drain plug, and remove that corners bolt. Once this bolt is removed, the pan will drop down a little more, and part of the pan will rest on the frame rail.
8. While holding the pan, remove the front bolt.
9. Gently tip the pan towards the back, and drain the remaining fluid out of the pan, as you slowly lower it, and angle it towards the passenger side so it will clear the frame rail on the drivers side. (Its self explanatory once your there and can see it)
10. Remove the pan.
Toyota recommends you use a threadlocker on the pan bolts. When I removed them, they appeared to have Blue Loctite on them, so Loctite 242 is what I used to reinstall them. I did have to "chase" the bolts with a die, as they were loaded up with ALOT of Loctite, and I wanted them to be clean upon reassembly. So I took a die (6mm x 1.0), and cleaned them all up. I also chased the transmission housing holes with a (6mm x 1.0) tap to also clean up those holes. Im not sure its necessary, but I did it anyway. Just the old mechanic in me!
Im going to borrow some of Sweeneyp's photos from the other thread, as his came out alot better than mine. Sweeneyp hope you dont mind.
Before you start any of this, BEWARE, 1 of the pan bolts is behind a frame rail, and you cannot get to it with a regular socket, or a wrench!
You will need a special tool to get to it. I used this tool from Lowes
http://www.lowes.com/pd_74696-25428...428-86871_0__?productId=3773445&Ntt=74696&pl=1¤tURL=?Ntt=74696&facetInfo=
This socket allowed me to use a 13mm closed end wrench on it to turn the pan bolt.
Here is the pan bolt in question. This socket, with a 13mm wrench just barely fits in the space, and will only allow you about an 1/8 of a turn at a time, because of the transmission mount on the other side of it. Sorry for the not so clear photo, it just wouldn't focus.
You will also have an issue with this pan bolt, but you can get a closed end 10mm wrench on it.
1. You will need to remove the lower splash pan under the engine compartment.
http://i802.photobucket.com/albums/.../yy306/sweeneyp/Toyota Nation Re-uploads/Splash Guard Removal/5_zps9adfb7ea.jpg
2.Next tackle those 2 pan bolts, and get them loose. Before you do though, you will need to mark them in some way, since you cannot get a torque wrench on them upon reinstallation. I used a punch, and made a reference mark on the head of the bolt. If you look at the picture below, you will see that the pan has a raised section in the middle. This is what keeps the gasket from leaking. The mark was made in line with the raised portion of the pan. I then counted how many times I turned the bolt until I was able to remove it. Upon reassembly you will count how many times you turn it in, and then realign the mark, and you should be somewhere close to the original torque on the bolt. In the picture below, I used a white line to represent the punch mark, since it was really hard to pick up on camera.

3. Drain the pan. It will dump out a little over a gallon of fluid. Put the plug back in, and snug it.
This is all that was in the drain bolt when I took it out. It doesnt appear to be magnetic, as steel didnt stick to it.
4. I slowly went around to all the pan bolts, and loosened each one about half a turn, slowly making my way around the pan, until all of them were loose. I feel as this helps keep the pan from possibly warping, and keeps the edge flat, meaning it will seal back up later with no issues.
5. Remove all the pan bolts (total of 18), except for the one in the corner near the drain plug, and the one on that same side towards the front of the pan in the front corner.
6. Once all are removed, slowly unscrew the pan bolt in the front corner about half way out.
7. Place a drain pan directly under the drain plug, and remove that corners bolt. Once this bolt is removed, the pan will drop down a little more, and part of the pan will rest on the frame rail.
8. While holding the pan, remove the front bolt.
9. Gently tip the pan towards the back, and drain the remaining fluid out of the pan, as you slowly lower it, and angle it towards the passenger side so it will clear the frame rail on the drivers side. (Its self explanatory once your there and can see it)
10. Remove the pan.
Toyota recommends you use a threadlocker on the pan bolts. When I removed them, they appeared to have Blue Loctite on them, so Loctite 242 is what I used to reinstall them. I did have to "chase" the bolts with a die, as they were loaded up with ALOT of Loctite, and I wanted them to be clean upon reassembly. So I took a die (6mm x 1.0), and cleaned them all up. I also chased the transmission housing holes with a (6mm x 1.0) tap to also clean up those holes. Im not sure its necessary, but I did it anyway. Just the old mechanic in me!