Quick note on wobble if tightening the screw doesn't work:
Having replaced the driver's side mirror twice with used from pick n pull yards & repairing two other mirror assemblies, I've found that the design itself is flawed & prone to breakage.
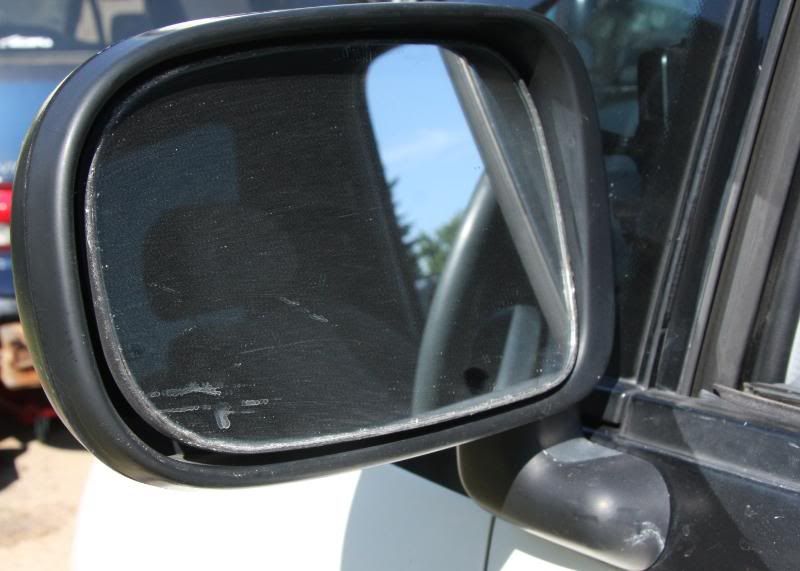
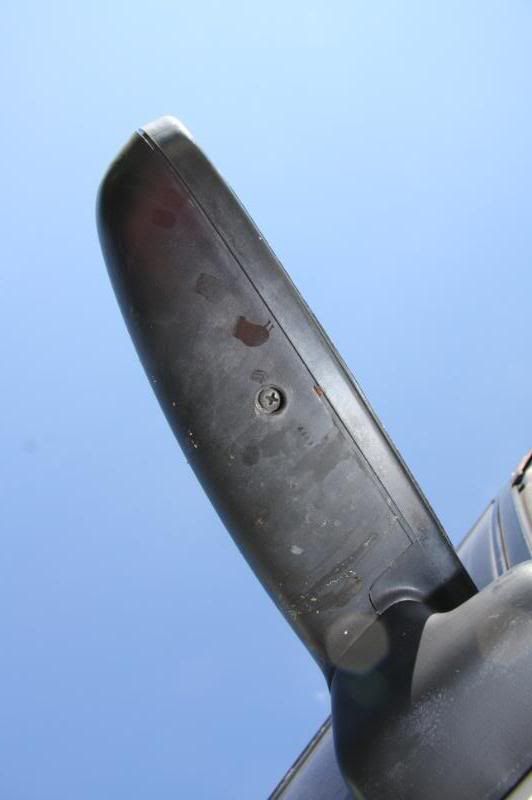
The phillips screw secures the motor assembly to which the mirror is mounted, to the housing. If you remove the screw & gently pull outward & up, the motor & mirror will come out fairly easily. Turn the assembly around so that you're looking at the backside & can see the motor housing itself. On the top corners, there are 2 square holes that mate up with 2 hooks inside the main mirror housing. If the plastic around either hole is cracked or missing, you'll have a serious wobble even if you crank the lock screw down as much as you can. If you don't want to use silicone RTV or another type of caulk/sealant to glue the mirror in place (I tend to tilt the mirror down during night driving to keep from being blinded by drivers behind me), there's another solution.
If the plastic around the holes is there but cracked you can just use ABS plastic pipe solvent cement to weld the cracks back together. It's the yellow stuff you get in the plumbing section of the hardware store - Home Depot, Lowe's, Rona, etc. Just brush it on & let it set & cure - usually takes an hour or so to fully cure, then you're good to go. Re-mount the motor assembly into the main housing & lock down with the screw.
If the plastic is gone, it gets a bit more involved. Usually only one side snaps off, so you can use that as a guide to help rebuild the broken side. Again, you'll need the ABS cement, but this time you'll also need some ABS plastic as well. A piece of ABS pipe will work, or if you're close to a plastics shop, they often have off-cuts of various plastics available dirt cheap. I've found it easiest to cement on the replacement plastic as a chunk, then drill the hole through & shape it a bit using the other side as a guide. Again, let it cure at least 1 hour though I prefer letting it cure overnight before doing any shaping, cutting or drilling. Then re-mount. You can also so this if you want to reinforce the plastic, which is a good idea considering the plastic around the holes is only 1/16" thick or so & that area takes all the stresses from road vibrations.
One last note: it is possible to do the plastic repairs with the mirror still mounted to the van, though it is significantly easier if it's off & you're able to do the repairs at a work bench or table. Removing the mirror involves popping the cover from the mirror & removing the 2 mounting bolts. Them you also need to remove the upper door panel & disconnect the wire from the harness. The connector is located behind the forward access hole about 8" down roughly in-line with the mirror. Look for a small plastic barb poking through the metal to find it (the barb is part of one side of the connector & holds it in place out of the way of the window mechanism.)
Hopefully this helps those who have wobble issues not solved by tightening the lock screw.
Cheers