

Received my XB LED from TRS on Saturday and was able to install them today. I ordered them on Thursday night and received them 2 days later. Can't beat the service.
I wanted to give you guys a heads up on some install tips and modifications that need to be done to make them fit on a 7th Gen SE. I did some extra steps just to provide greater clarification but they are not needed for the install
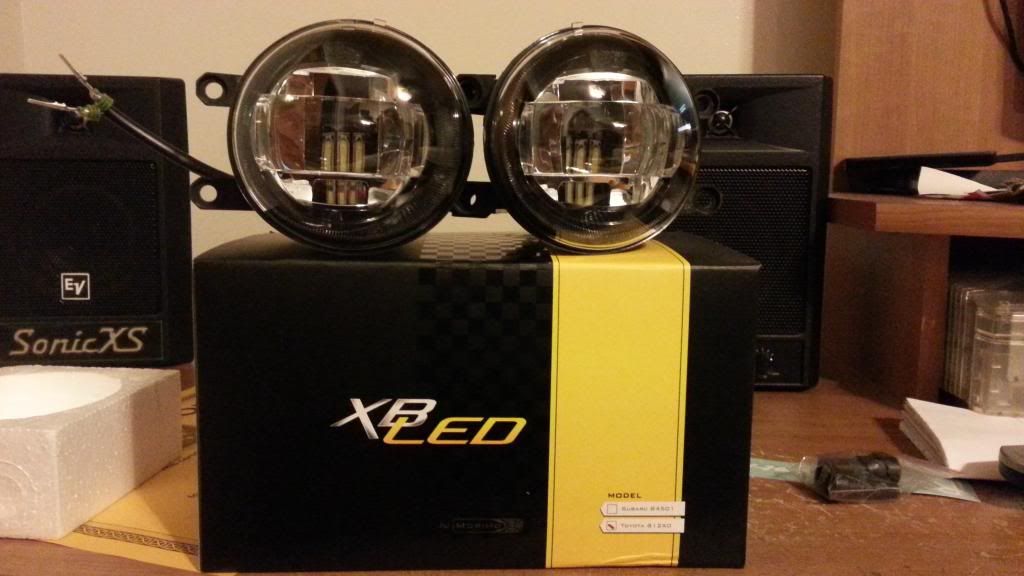
New XB LED offered by TRS. They are 5K LEDS.
http://www.theretrofitsource.com/led-lighting/morimoto-xb-led-fog-lights-type-t.html#.U6fARbHN4tU
![Image]()
First I would suggest putting the car either on Ramps or Jack stands to make the work easier.
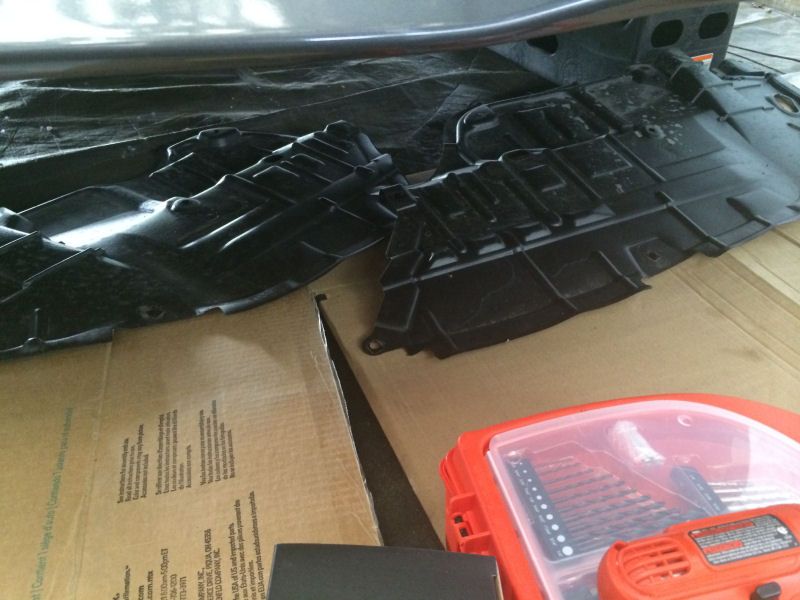
Second you will need to remove the lower engine cover which is held by about 5 clips and 10 10mm bolts.
![Image]()
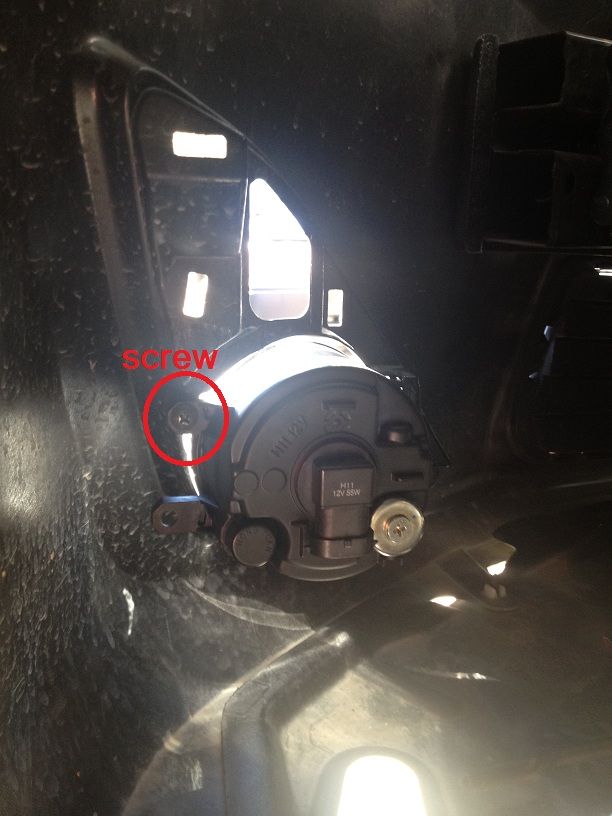
Once you have the undercover off all you have to do is remove the 1 phillip screw to remove the fog light assembly and disconnect the H11 connector from it and just wiggle it out in the direction of the outside of the bumper.
![Image]()
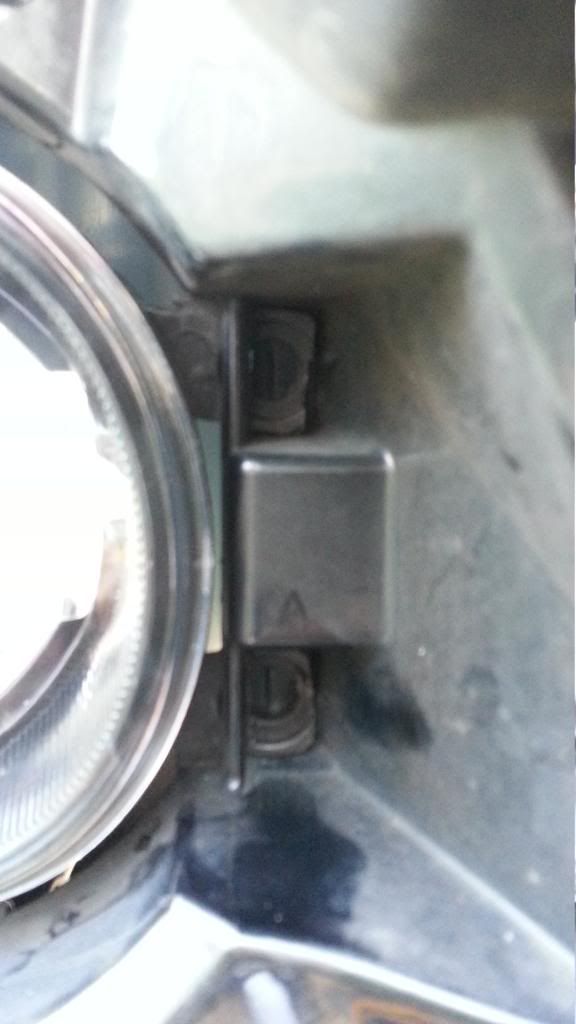
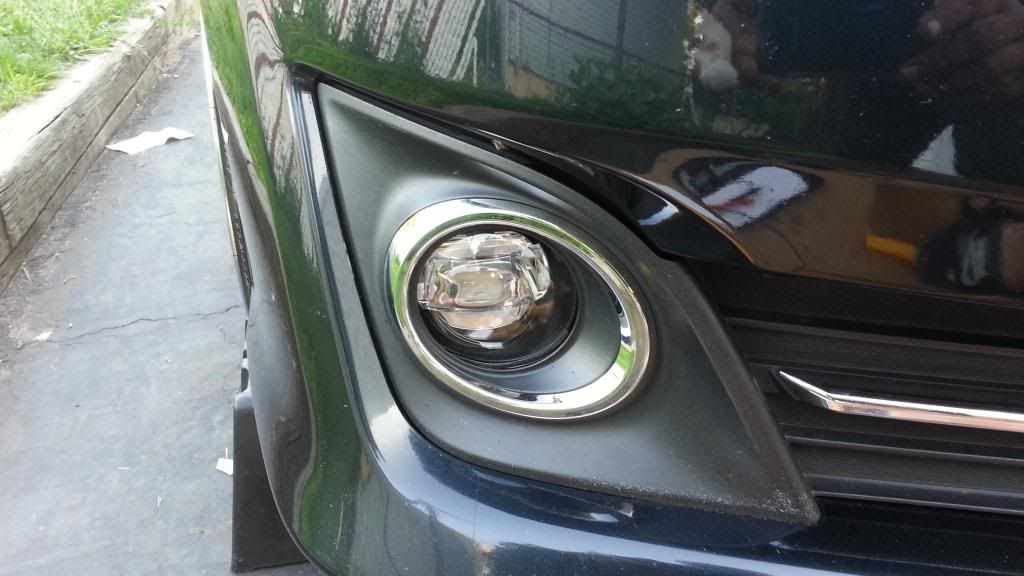
Once you have the OEM Fog assembly off you will need to modify the XB LED tabs to make the housing work and be on center with the OEM shroud. The tabs are a bit longer than oem and the housing will sit off center compared to the opening in the shroud. This is a picture I took with the lower grille off just to show you why and how much needs to be cut to make it fit correctly.
![Image]()
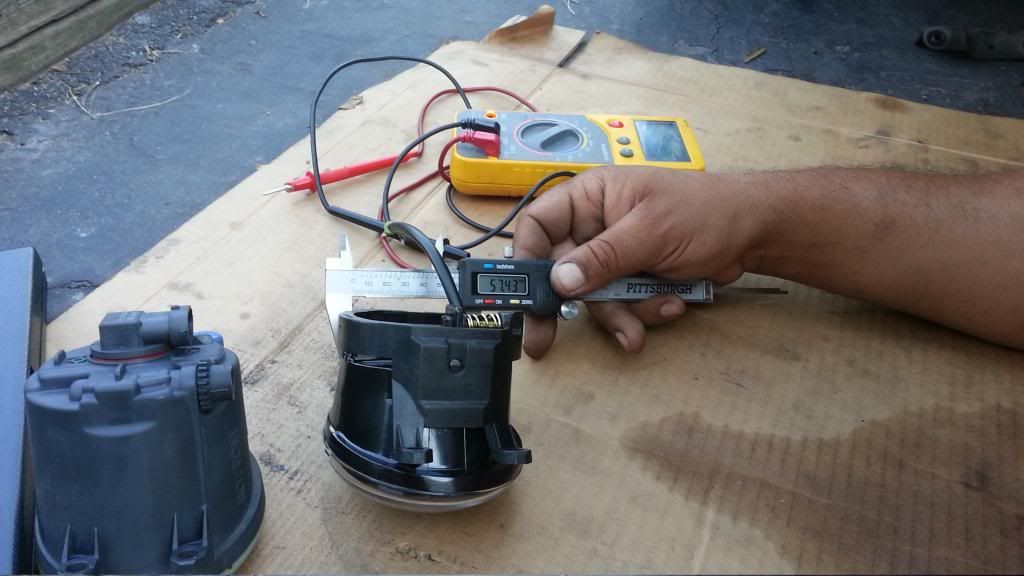
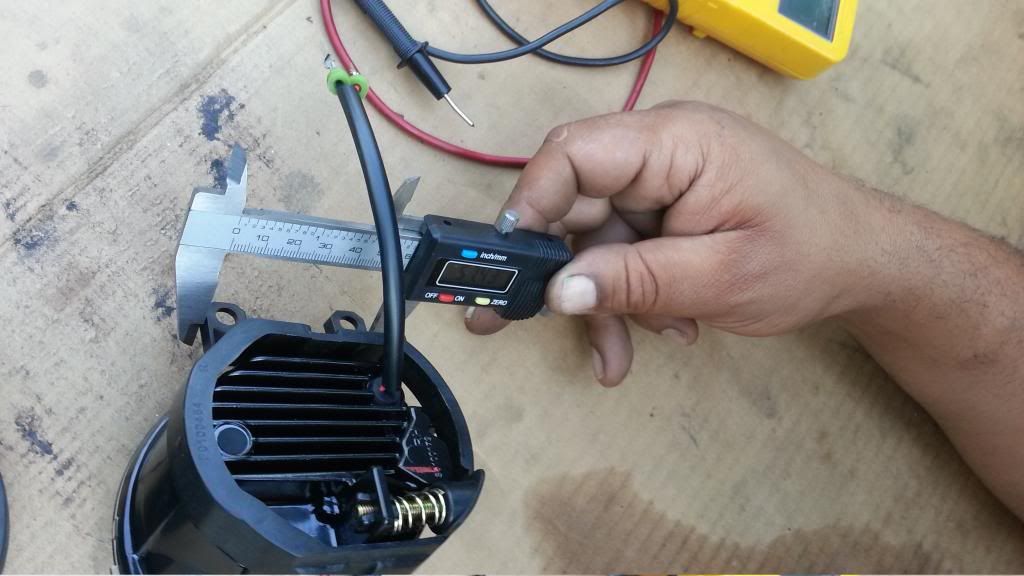
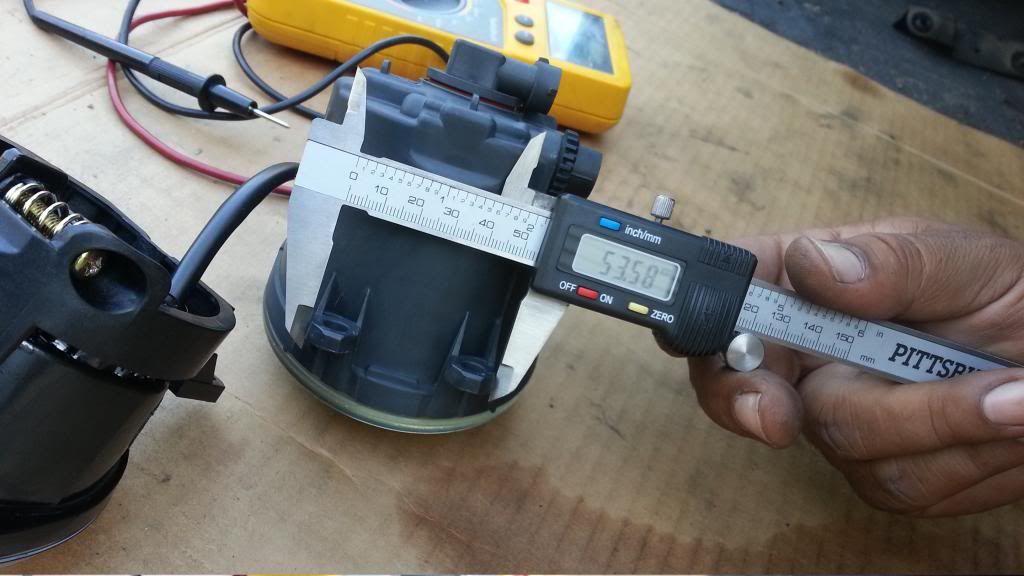
Also the tabs on the XB LED are 4mm further apart than the oem housing. You do not need to modify to make it fit. They have some leeway and you can just push them down a bit to make them line up.
XB LED
![Image]()
![Image]()
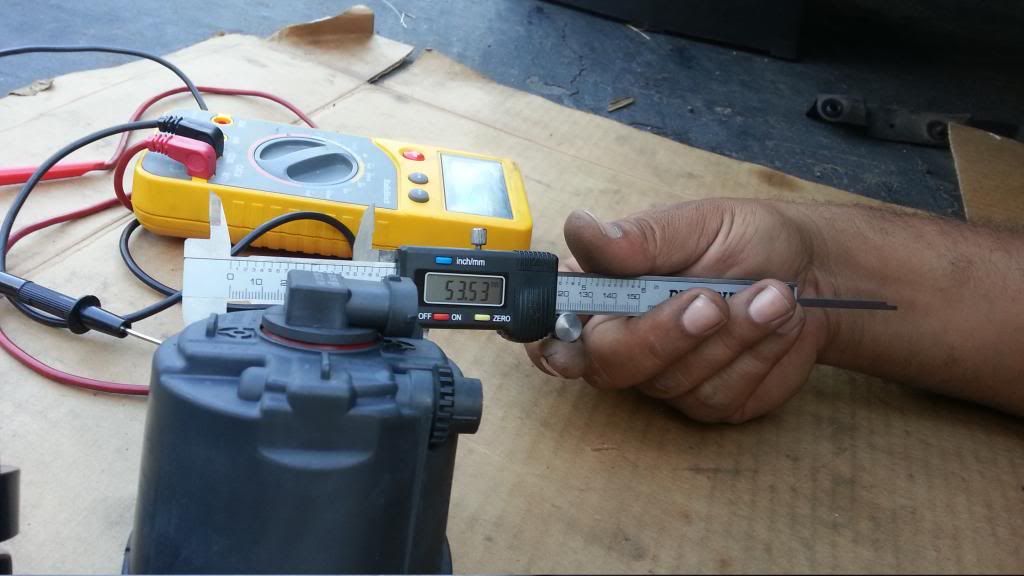
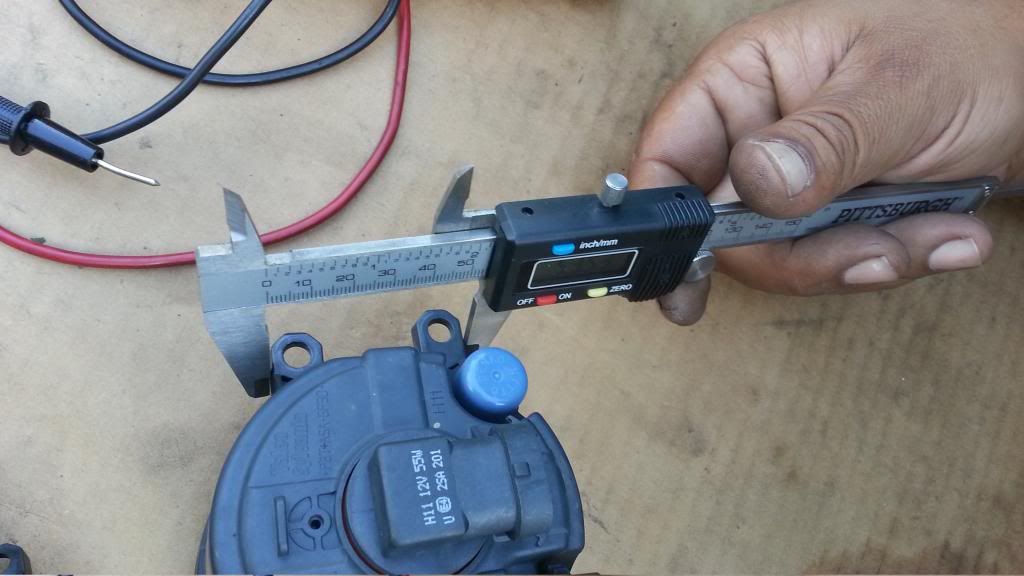
OEM Housing
![Image]()
![Image]()
After putting the housing in the correct location all you have to do is put back in the screw that you used to take off the OEM housing or you can use the screws provided in the kit
As far as wiring on the passenger side the Blue wire is positive and the white wire with the black line is your negative. Make sure that you match the red wire from the new housing to the blue on the H11 connector provided in the kit. The driver side the yellow wire is positive and and the white wire with black line is negative. Repeat same process as passenger side.
Once everything is wired up and you have tested the lights to make sure they are operational you can start aligning the light to your liking. I did one side at a time and aligned it to the opposite side and am still a bit off on the driver side. The housing does have a phillip screw that you will use to adjust height on the fogs. It is gold in color and you can't miss it. If you did everything right it should facing down towards the ground.
![Image]()
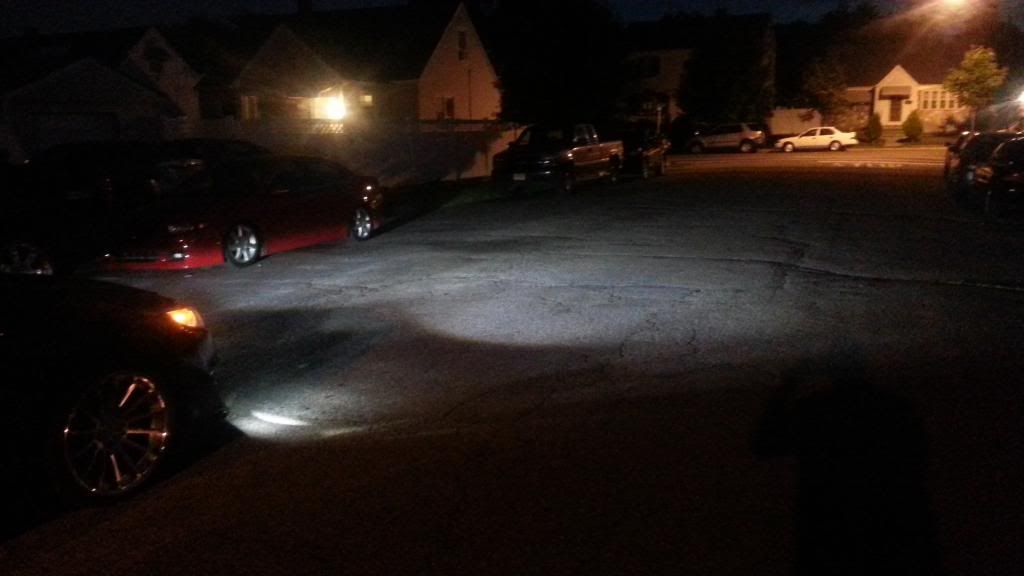
Here are some pictures that I took of my install
![Image]()
![Image]()
![Image]()
![Image]()
![Image]()
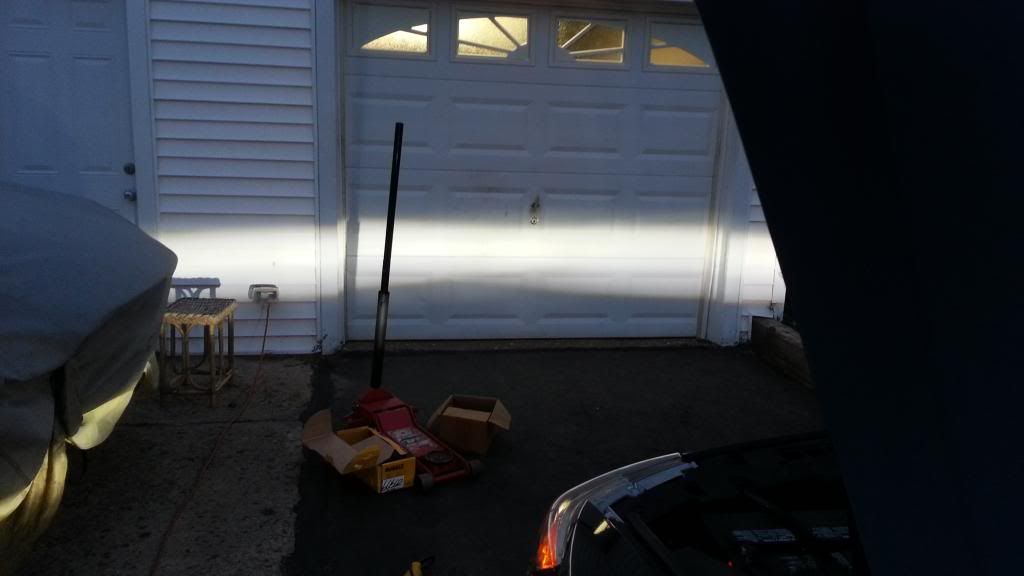
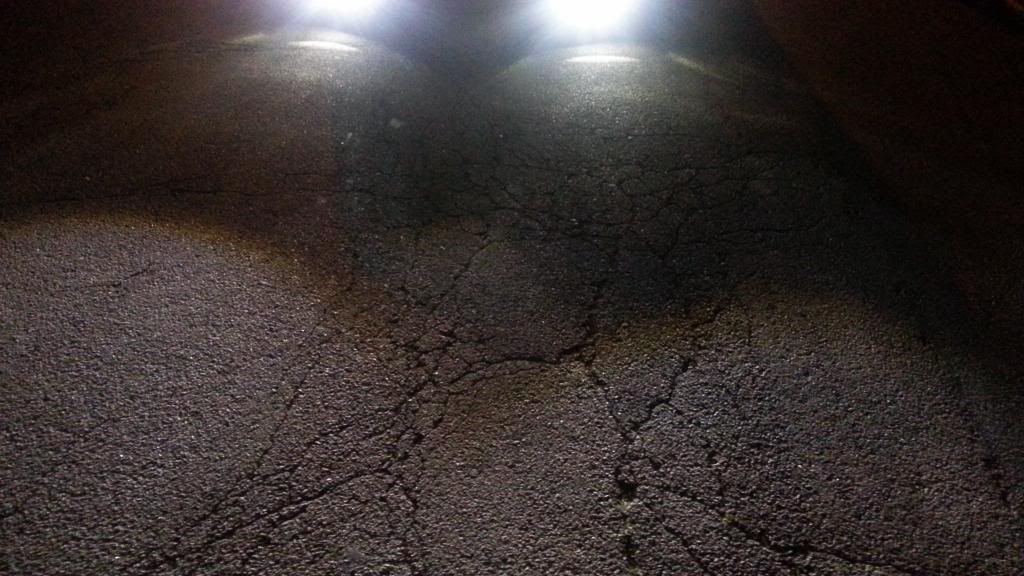
These picture was with just the fogs on
![Image]()
![Image]()
![Image]()
![Image]()
![Image]()
![Image]()
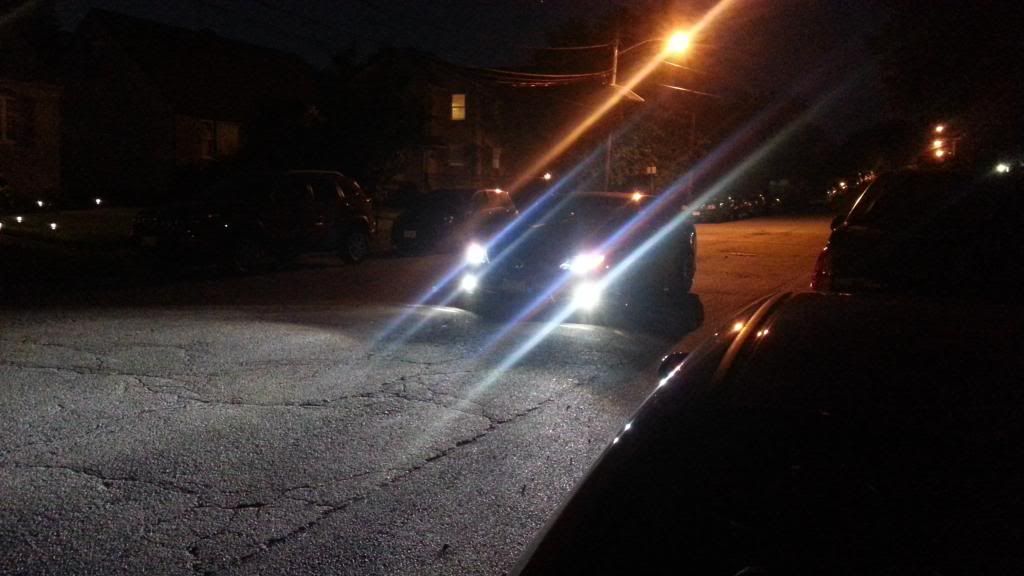
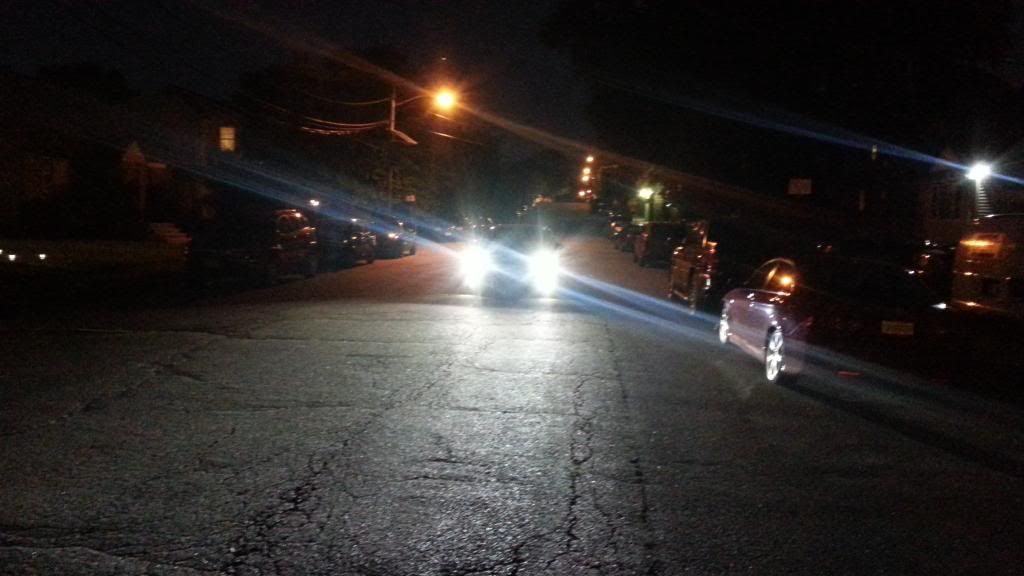
These were with my HID's on
![Image]()
![Image]()
![Image]()
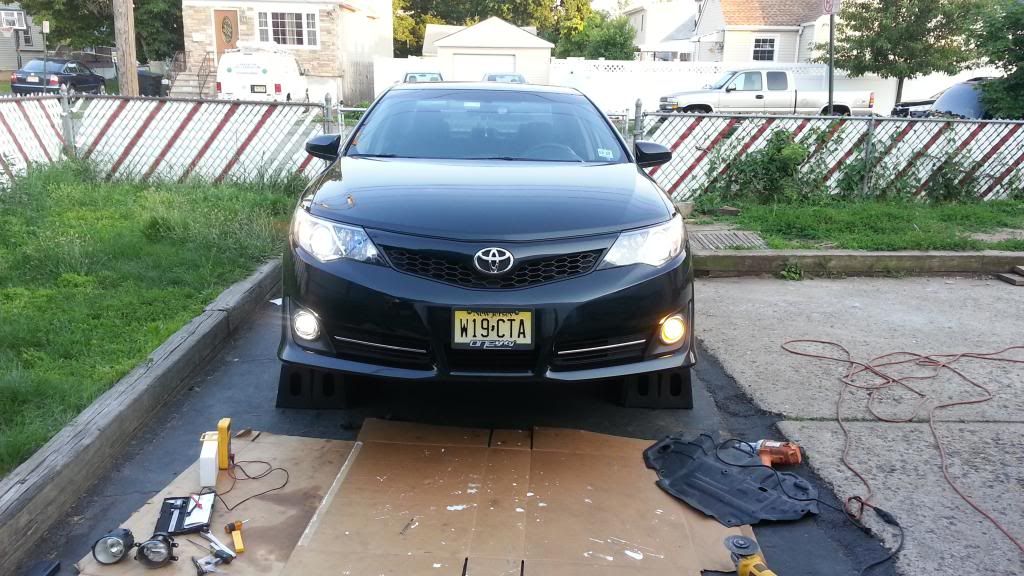
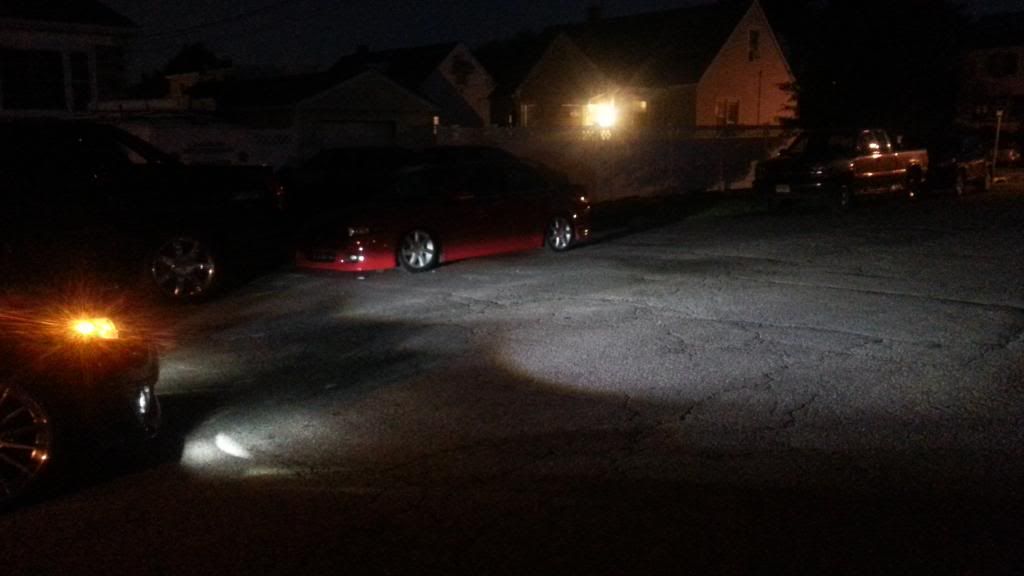
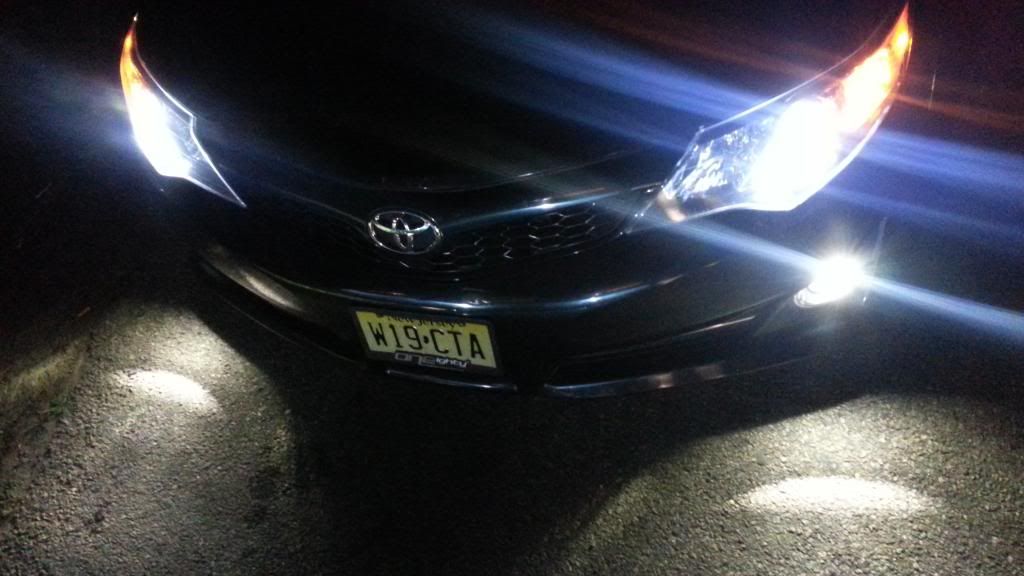
This picture was with my car aired out just to show the adjustment i need to make from one side to the other
![Image]()
I hope this helps anyone doing this and if anyone has anything else to contribute please feel free to do
I wanted to give you guys a heads up on some install tips and modifications that need to be done to make them fit on a 7th Gen SE. I did some extra steps just to provide greater clarification but they are not needed for the install
New XB LED offered by TRS. They are 5K LEDS.
http://www.theretrofitsource.com/led-lighting/morimoto-xb-led-fog-lights-type-t.html#.U6fARbHN4tU
First I would suggest putting the car either on Ramps or Jack stands to make the work easier.
Second you will need to remove the lower engine cover which is held by about 5 clips and 10 10mm bolts.
Once you have the undercover off all you have to do is remove the 1 phillip screw to remove the fog light assembly and disconnect the H11 connector from it and just wiggle it out in the direction of the outside of the bumper.
Once you have the OEM Fog assembly off you will need to modify the XB LED tabs to make the housing work and be on center with the OEM shroud. The tabs are a bit longer than oem and the housing will sit off center compared to the opening in the shroud. This is a picture I took with the lower grille off just to show you why and how much needs to be cut to make it fit correctly.
Also the tabs on the XB LED are 4mm further apart than the oem housing. You do not need to modify to make it fit. They have some leeway and you can just push them down a bit to make them line up.
XB LED
OEM Housing
After putting the housing in the correct location all you have to do is put back in the screw that you used to take off the OEM housing or you can use the screws provided in the kit
As far as wiring on the passenger side the Blue wire is positive and the white wire with the black line is your negative. Make sure that you match the red wire from the new housing to the blue on the H11 connector provided in the kit. The driver side the yellow wire is positive and and the white wire with black line is negative. Repeat same process as passenger side.
Once everything is wired up and you have tested the lights to make sure they are operational you can start aligning the light to your liking. I did one side at a time and aligned it to the opposite side and am still a bit off on the driver side. The housing does have a phillip screw that you will use to adjust height on the fogs. It is gold in color and you can't miss it. If you did everything right it should facing down towards the ground.
Here are some pictures that I took of my install
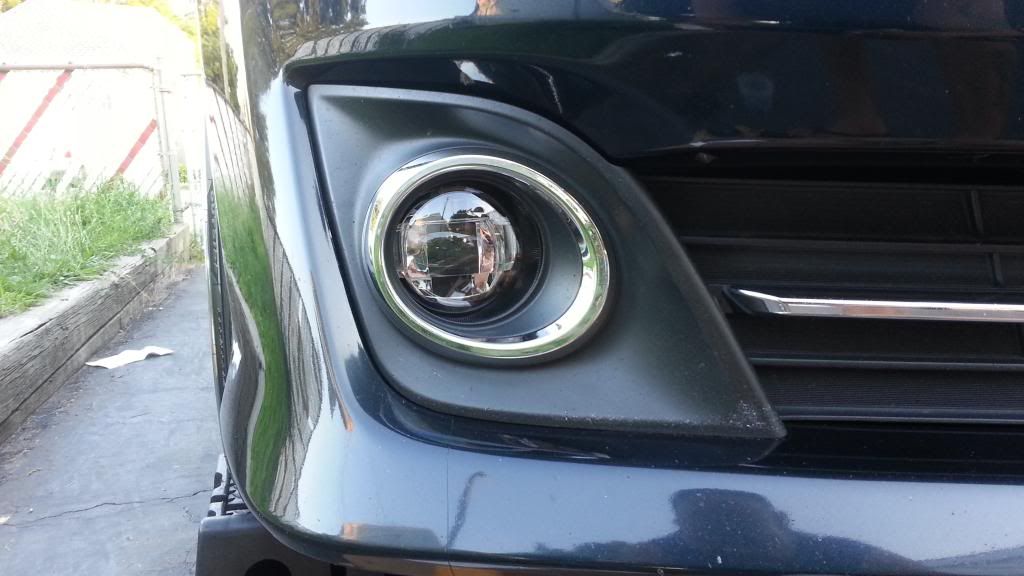

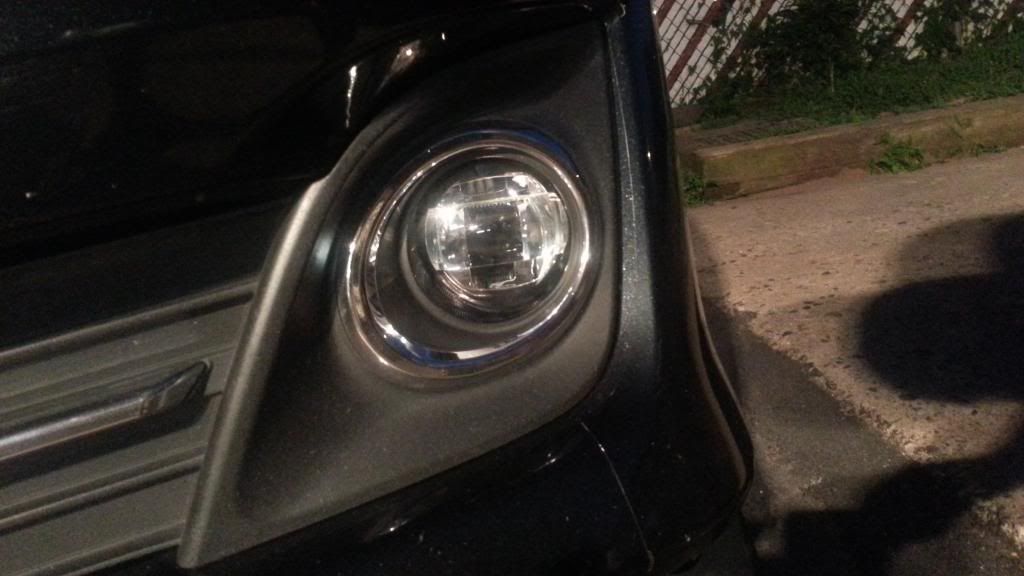
These picture was with just the fogs on
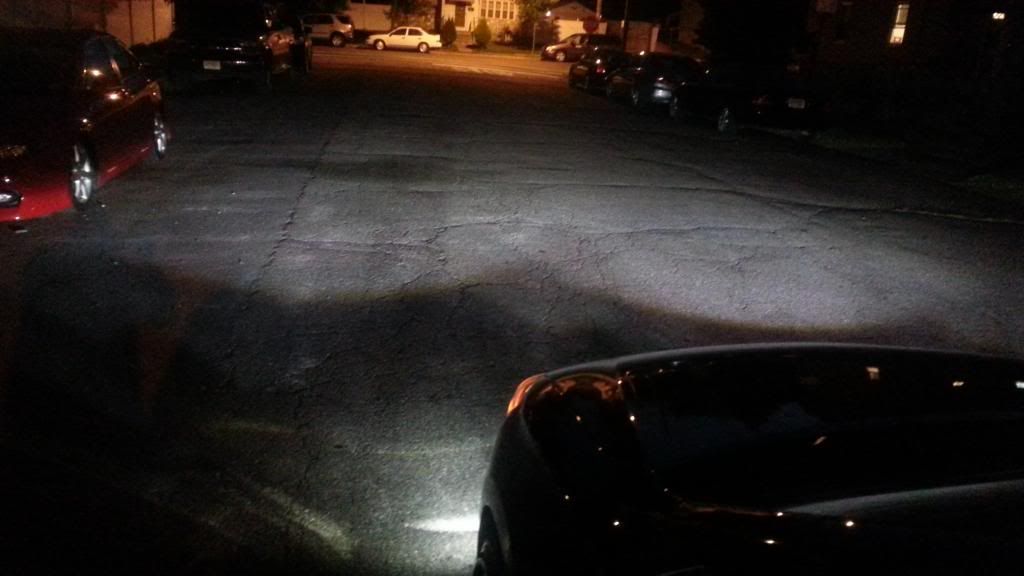
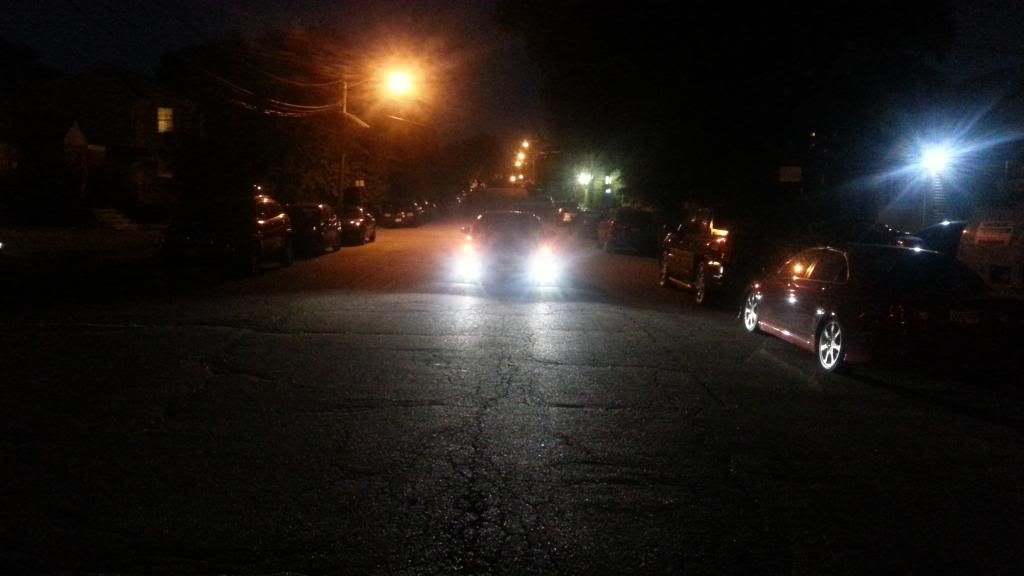
These were with my HID's on
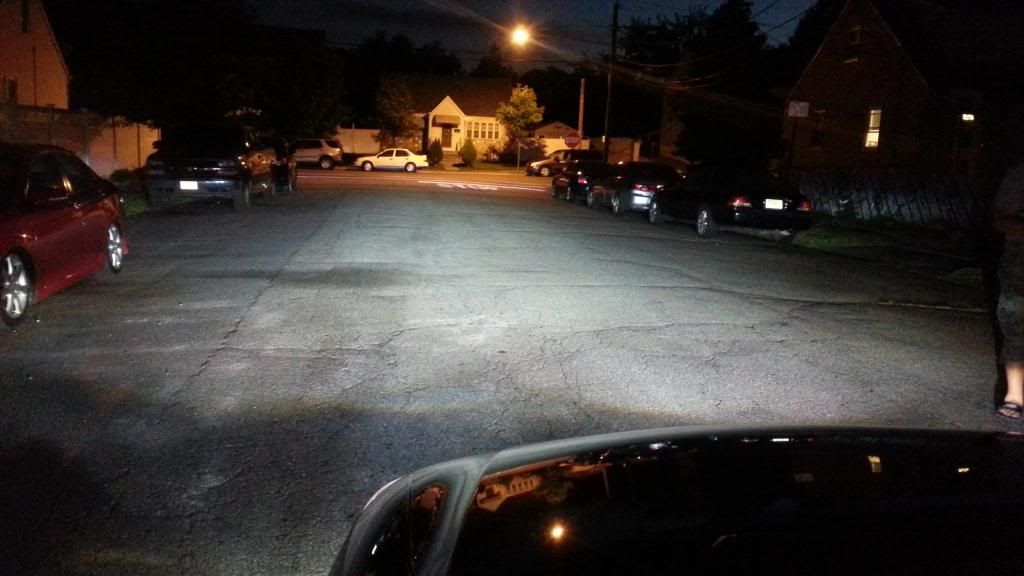
This picture was with my car aired out just to show the adjustment i need to make from one side to the other
I hope this helps anyone doing this and if anyone has anything else to contribute please feel free to do


")


