

Howdy folks. Just sold my last build (1999 Jeep XJ), picked up my next project build.
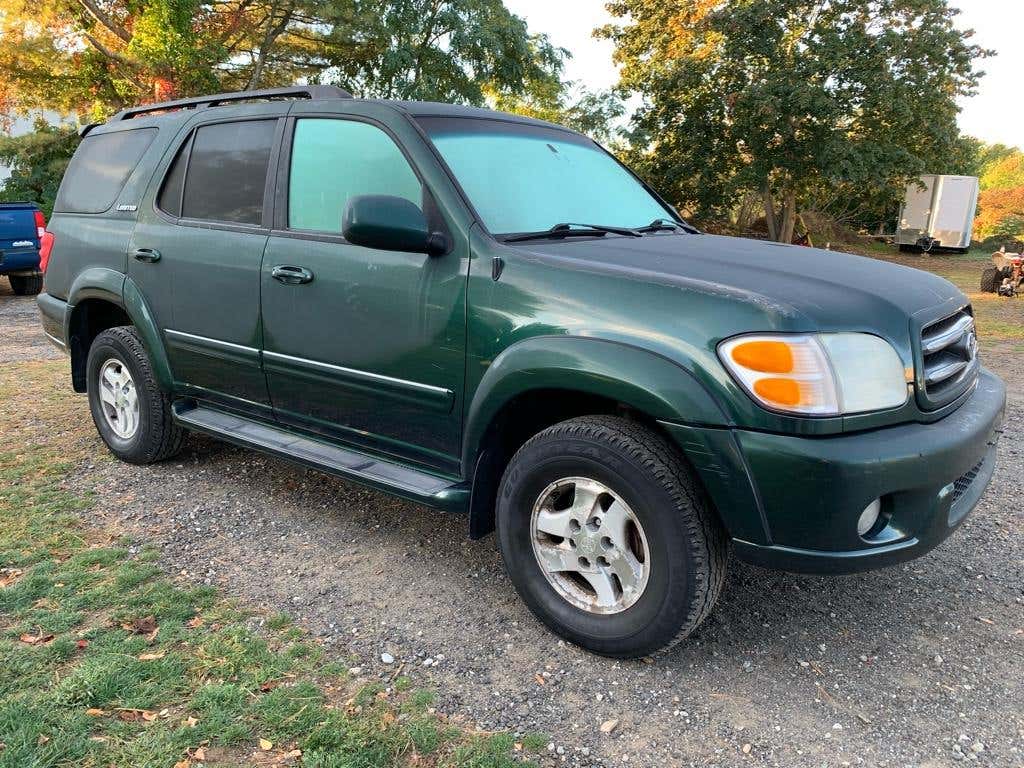
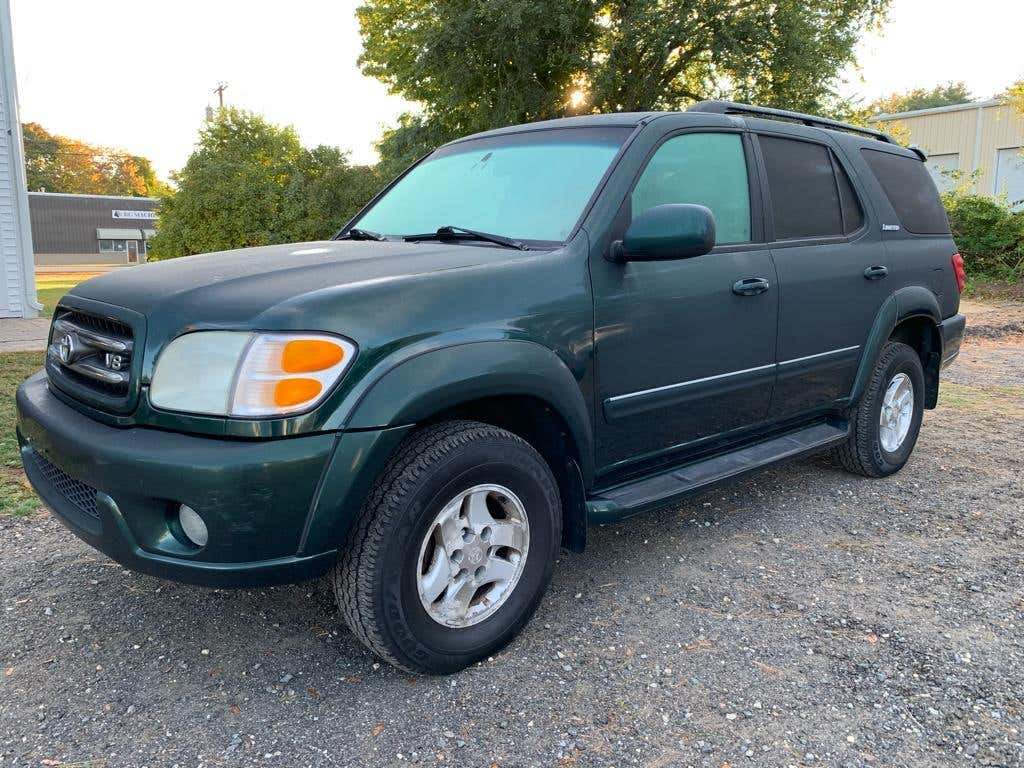
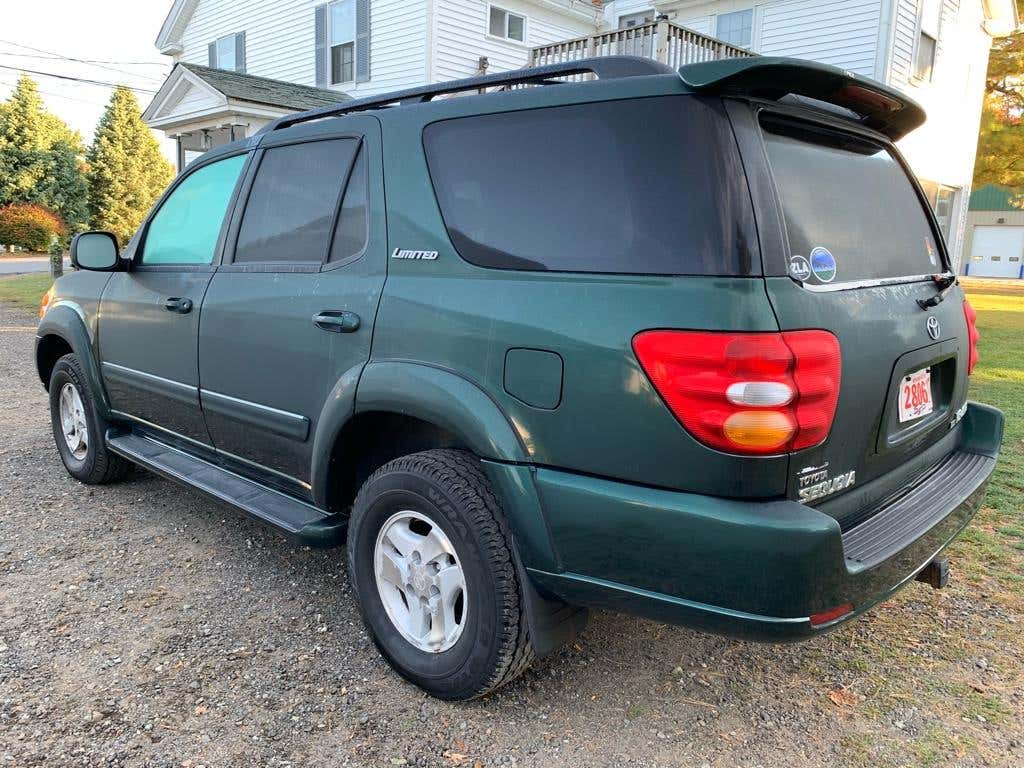
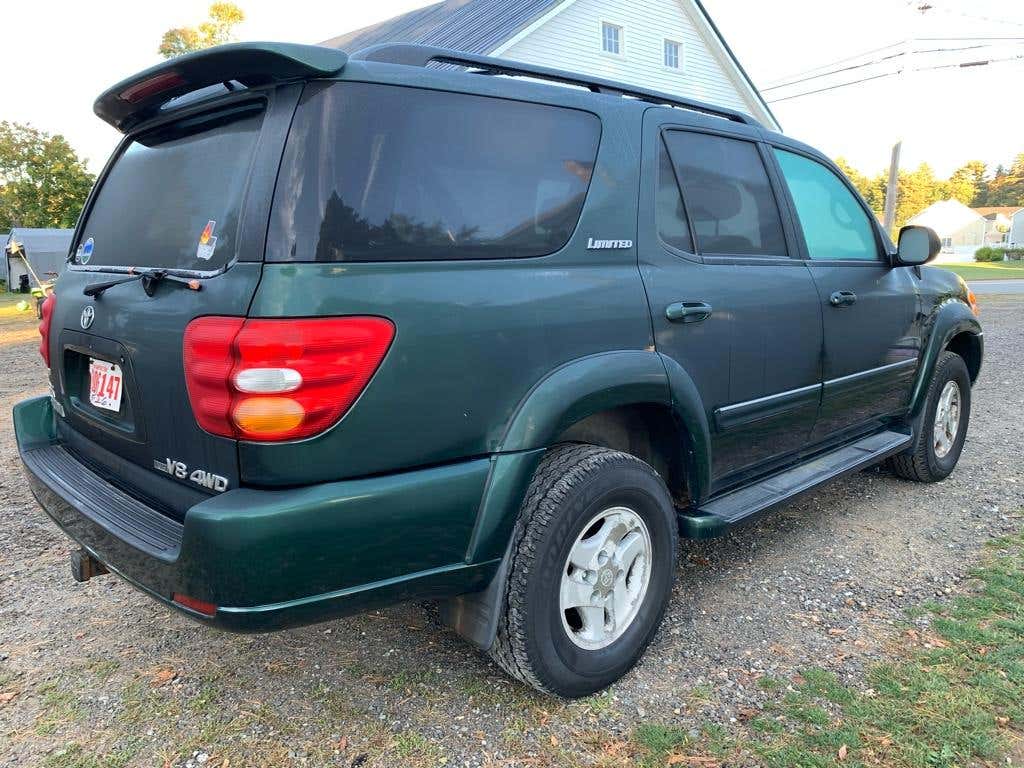
Found a great deal on a 2002 Sequoia Limited. I wanted a Toyota, and wanted something bigger. I did look at a few 4Runners, but was stung on my last 4Runner with frame rot, so it wasn’t hard for me to convince myself to go with a Sequoia (providing it had its frame replaced).
Stats on the rig as is (as purchased).
2002 Sequoia Limited 4WD
183xxx on the clock
Imperial Jade Mica (one fancy name for green...lol)
Tan leather w/heated seats
The good:
Reasonable miles for its age.
Frame replaced in 2013, still looks great (only surface rust).
Runs and drives awesome.
Motor is smooth and quiet.
Trans shifts butter smooth.
4WD shifts in and out (Hi & Low) as it should.
All-stock, un-molested.
All power options (windows/doors/locks/factory fob) work as they should.
The bad (nothing really that bad at all):
Rockers need attention (I’ll be doing custom 2x6 3/16 steel tubing sliders)
Rear end had a leak through the housing, previous owner had it epoxied, not leaking now.
Few interior trim pieces broken, not really an issue but worth mentioning.
Tires are toast (not an issue, I’ll be lifting and going with new wheels &33’s)
Suspension is tired and spongy (see previous comment).
The initial plan:
Full inspection/review of the rig in my shop (happening later today).
Timing belt/water pump/serpentine belt
Choose a lift kit (going for 3”, with a focus on retaining a nice on-road ride).
Choose a wheel with proper offset for a 33x12.5” tire.
Already know the tires I want (Falken WildPeak A/T3’s).
I’ll constantly be modding and tweaking things, working towards a nice capable/comfortable/reliable rig for cruising on the unbeaten path, and a fair mix of hunting and camping.
Anyway, just wanted to say hi, start the build thread from the very beginning. Hope to learn and chat with a bunch of good folks.
![Image]()
![Image]()
![Image]()
![Image]()
Sent from my iPhone using Tapatalk
Found a great deal on a 2002 Sequoia Limited. I wanted a Toyota, and wanted something bigger. I did look at a few 4Runners, but was stung on my last 4Runner with frame rot, so it wasn’t hard for me to convince myself to go with a Sequoia (providing it had its frame replaced).
Stats on the rig as is (as purchased).
2002 Sequoia Limited 4WD
183xxx on the clock
Imperial Jade Mica (one fancy name for green...lol)
Tan leather w/heated seats
The good:
Reasonable miles for its age.
Frame replaced in 2013, still looks great (only surface rust).
Runs and drives awesome.
Motor is smooth and quiet.
Trans shifts butter smooth.
4WD shifts in and out (Hi & Low) as it should.
All-stock, un-molested.
All power options (windows/doors/locks/factory fob) work as they should.
The bad (nothing really that bad at all):
Rockers need attention (I’ll be doing custom 2x6 3/16 steel tubing sliders)
Rear end had a leak through the housing, previous owner had it epoxied, not leaking now.
Few interior trim pieces broken, not really an issue but worth mentioning.
Tires are toast (not an issue, I’ll be lifting and going with new wheels &33’s)
Suspension is tired and spongy (see previous comment).
The initial plan:
Full inspection/review of the rig in my shop (happening later today).
Timing belt/water pump/serpentine belt
Choose a lift kit (going for 3”, with a focus on retaining a nice on-road ride).
Choose a wheel with proper offset for a 33x12.5” tire.
Already know the tires I want (Falken WildPeak A/T3’s).
I’ll constantly be modding and tweaking things, working towards a nice capable/comfortable/reliable rig for cruising on the unbeaten path, and a fair mix of hunting and camping.
Anyway, just wanted to say hi, start the build thread from the very beginning. Hope to learn and chat with a bunch of good folks.
Sent from my iPhone using Tapatalk


