

Spent 8-10 hours getting an aftermarket radio installed in my HL this weekend. The biggest snag was related to the Axxess ASWC, which has some weak installation instructions (for a 2012 HL) and doesn't work with the Bluetooth Phone buttons on the steering wheel. I need to do some more troubleshooting, probably next weekend to try and get at least one BT phone button working (According to Kenwood, 'call pickup' is the only BT-related function their HUs support via the wired remote port).
The majority of the wiring was accomplished with harnesses provided by Crutchfield, but it's essential to know which wires are associated with the backup camera and steering wheel controls if you want either to function (2013 harness/colors are different).
E38 = 28 pin harness
E39 = 16 pin harness
Once you've made the voltage converter (https://www.toyotanation.com/forum/...ion-2003-2009/355342-how-using-factory-rear-view-camera-aftermarket-stereo.html) for the factory backup camera, you'll connect it as follows:
RCA Cable center wire (positive) -> E39 pin 8 (red)
RCA Cable sheilding wire (negative) -> E39 pin 15 (white)
7806 Voltage Converter Input 12v -> E38 pin 2 (red) - also splice Reverse wire from H/U (see below)
7806 Voltage Converter Ground -> H/U ground
7806 Voltage Converter Output 6v -> E39 pin 7 (black)
Other wires not associated with Crutchfield Harness:
Reverse wire from H/U -> E38 pin 2 (red) - also splice 7806 Voltage Converter Input 12v (see above)
Parking Brake Sensor from H/U -> connect to H/U ground
The Axxess install seems straight forward, and would be, had there been a special note to ground the factory harness E38 (it doesn't get connected to anything, so it needs a ground from your radio harness):
Axxess Brown -> Kenwood Blue/Yellow
Axxess Green/Orange -> E38 pin 21 (beige)
Axxess Black/Green -> E38 pin 22 (violet)
E38 pin 23 (black) -> connect to H/U ground
The Sirius/XM and Nav antennas were mounted (magnetic) to the top of the 3.5" Multi-Information Display, which seems to be working fine.
Updated:
I was having SiriusXM reception issues with the antenna on top of the Multi-Information Display, so I bought some zink plated steel at lowes, and built this:
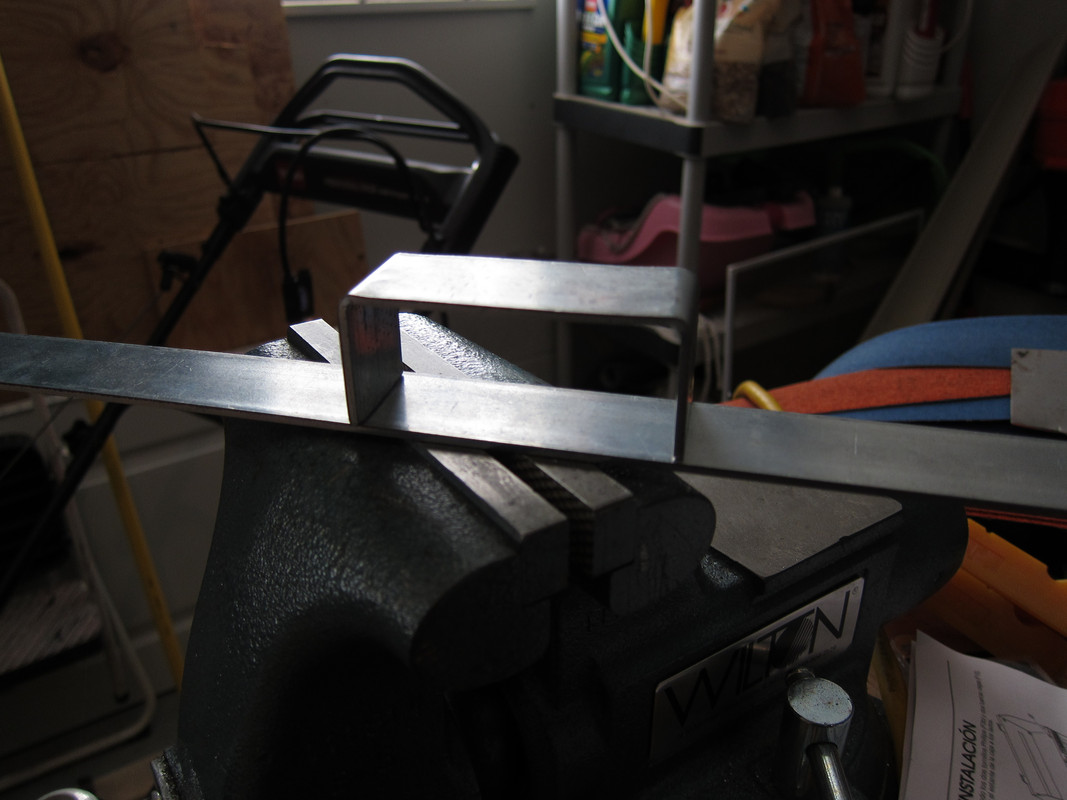
Dimensions are 3.5" x 1 1/4"
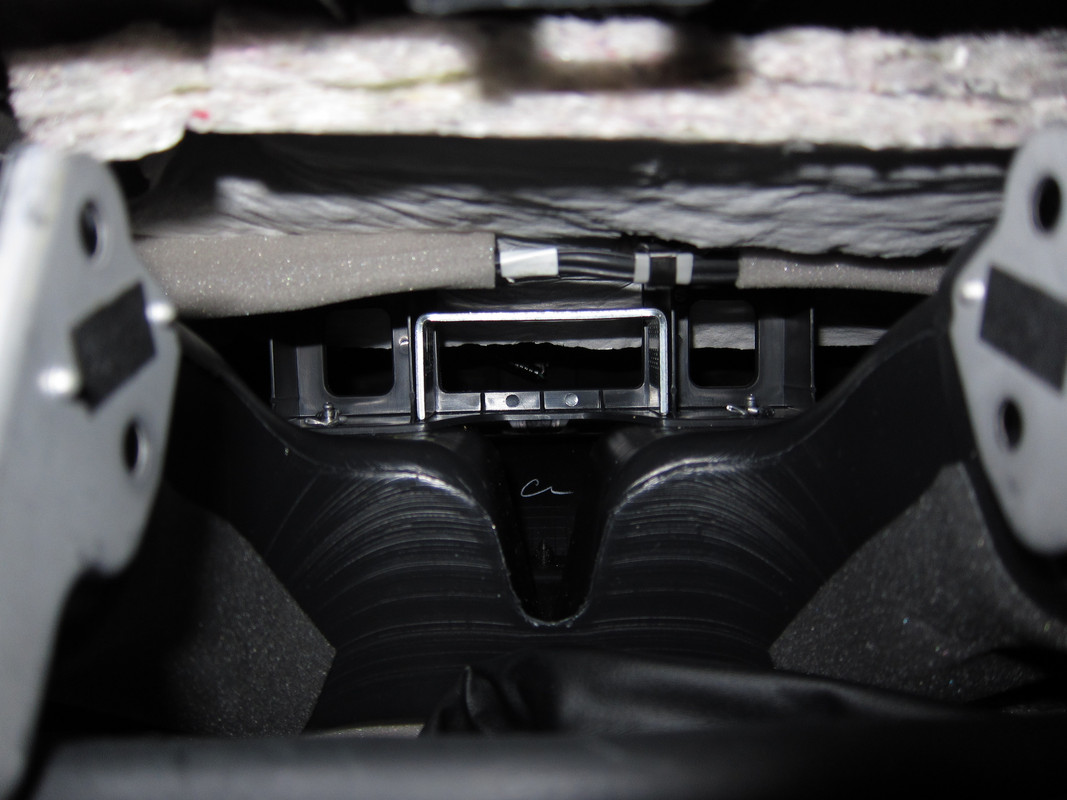
I used zip ties to hold it to the plastic framework above the ducting:
I created this thread last week, which shows how to integrate the factory AUX/USB port into your aftermarket H/U:
https://www.toyotanation.com/forum/...m/forum/122-2nd-generation-2008-2013/438449-2013-usb-aux-aftermarket-radio.html
Also needed is an AM/FM antenna adapter, which Crutchfield includes when you purchase a H/U (not currently displayed for 2013 HL, so you may need to call them to get it added to your order):
http://www.crutchfield.com/p_12040LX11/Toyota-Lexus-Antenna-Adapter.html?tp=2569
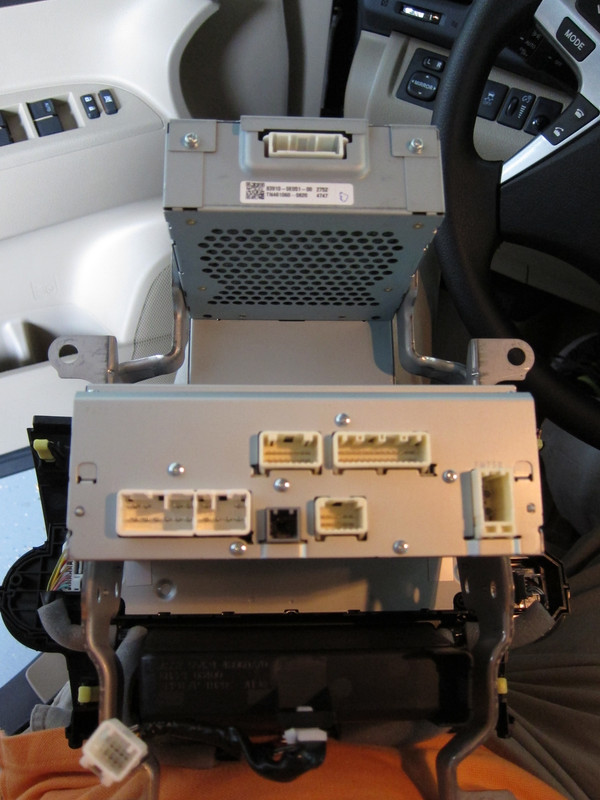
Back of the factory H/U (E38 & E39 are on the top row, next to one another:
Kenwood DNX6990 mounted in factory bracket (note side gaps):
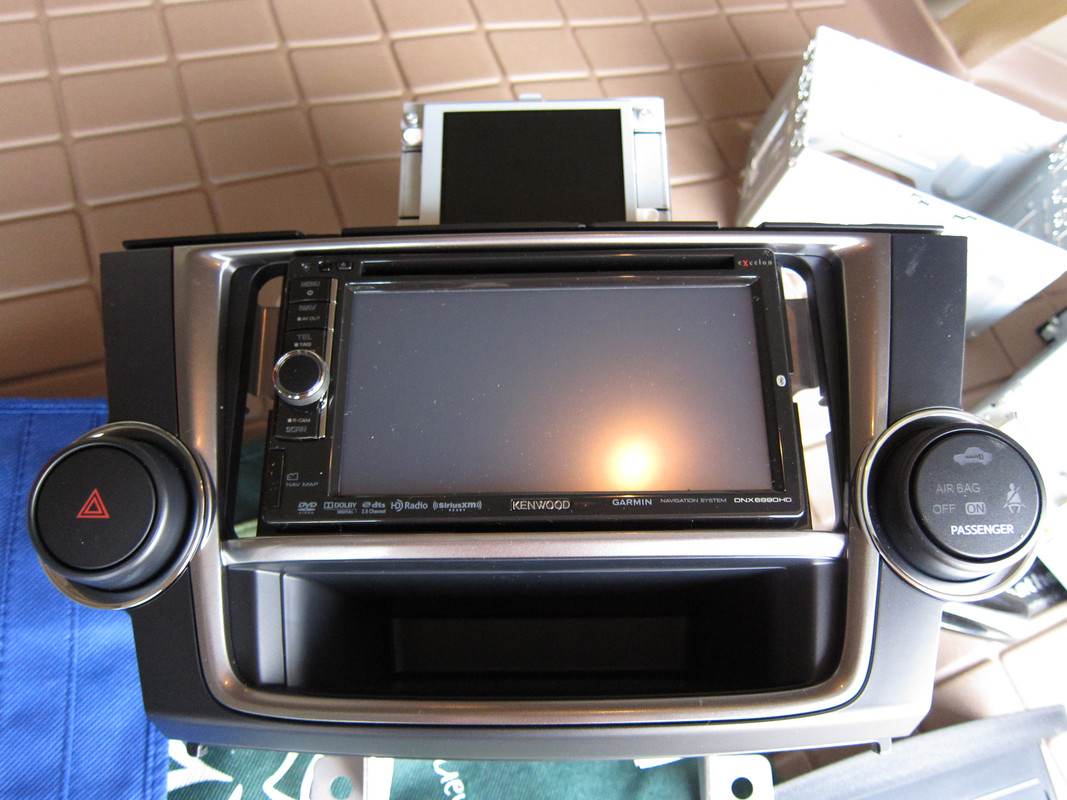
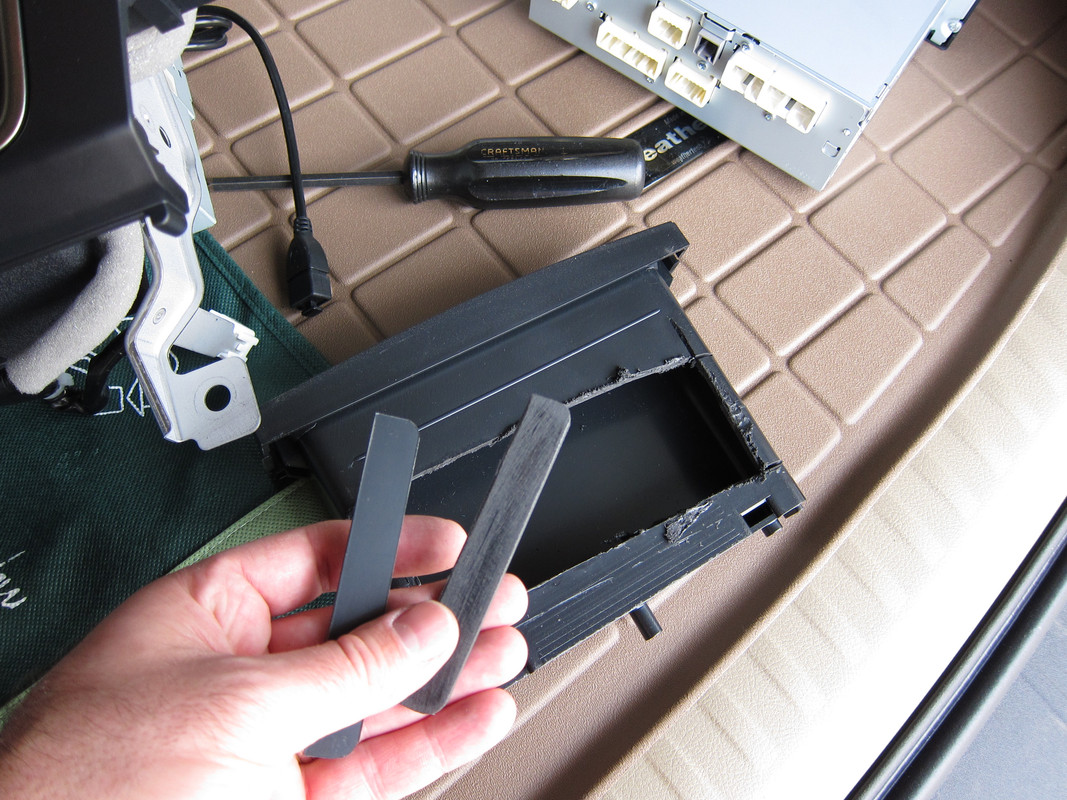
Fabricated some plastic strips from part of the legacy kit that Crutchfield included with my purchase, and hot glued them
to the lip on the side of the Kenwood DNX6990 (see last photo):
Removed factory micorphone, and hot glued Kenwood in it's place:
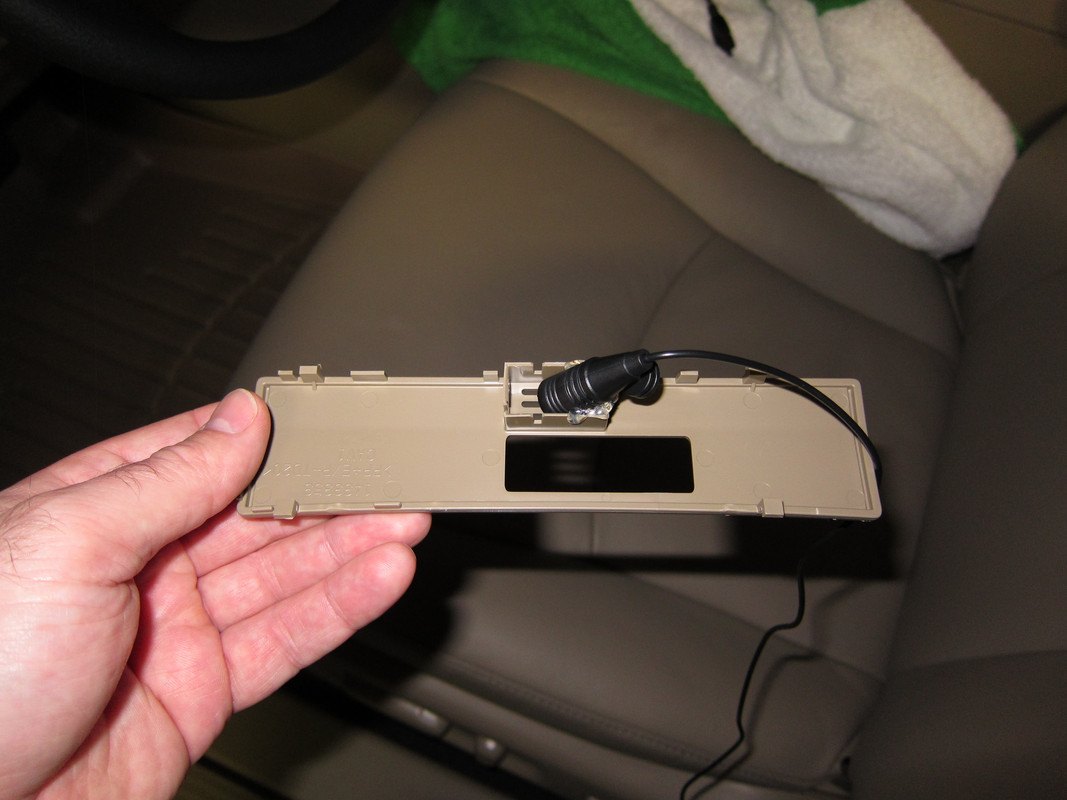
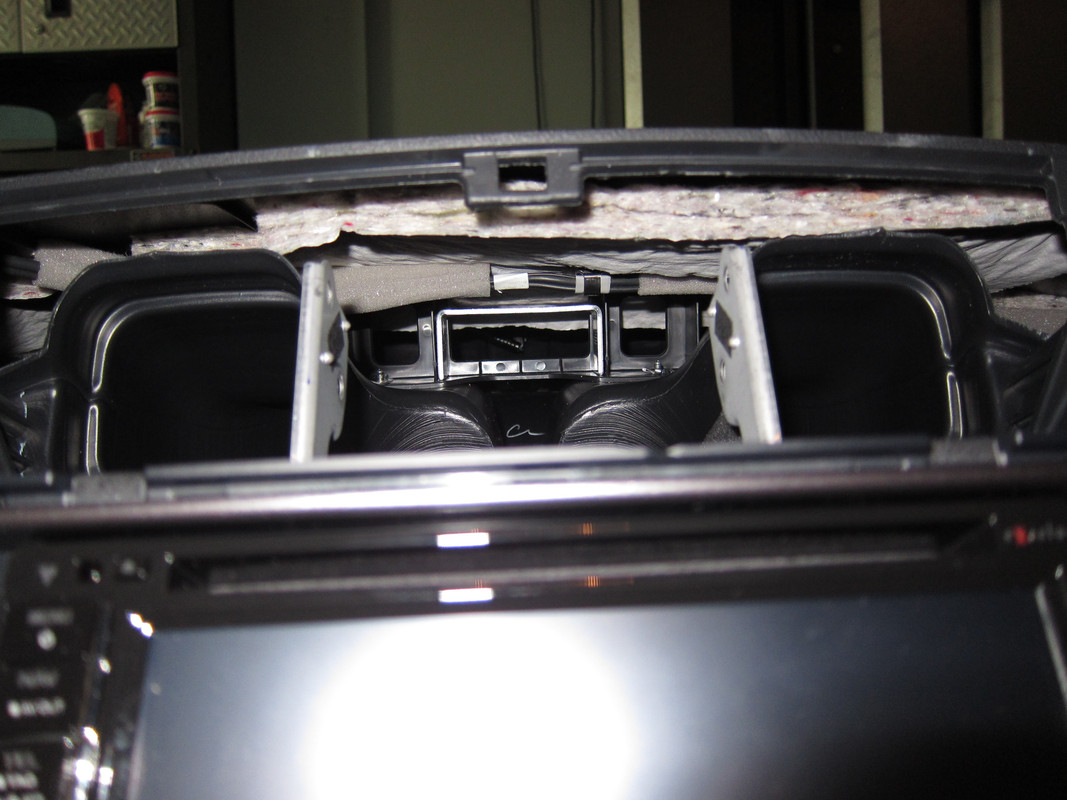
Overhead console with Kenwood mic fitted (note factory mic hot glued to bracket to keep it in place):
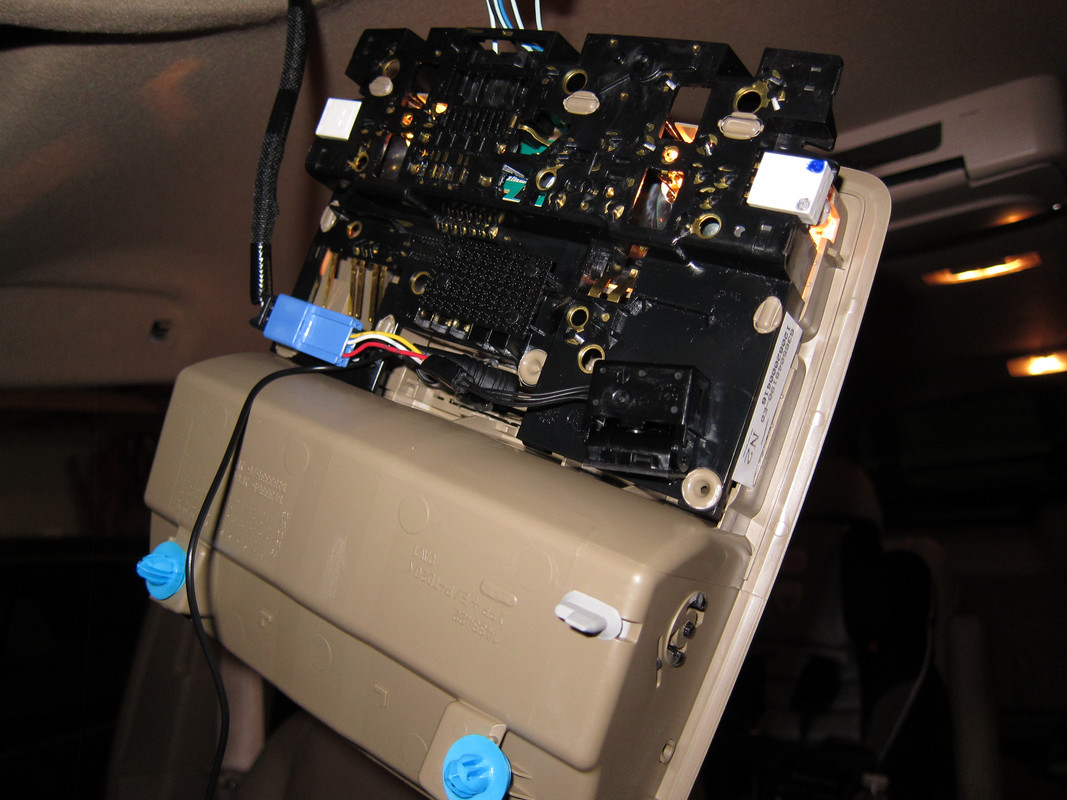
Passenger handle removed to route mic wire into trim (handle removal may not be necessary):
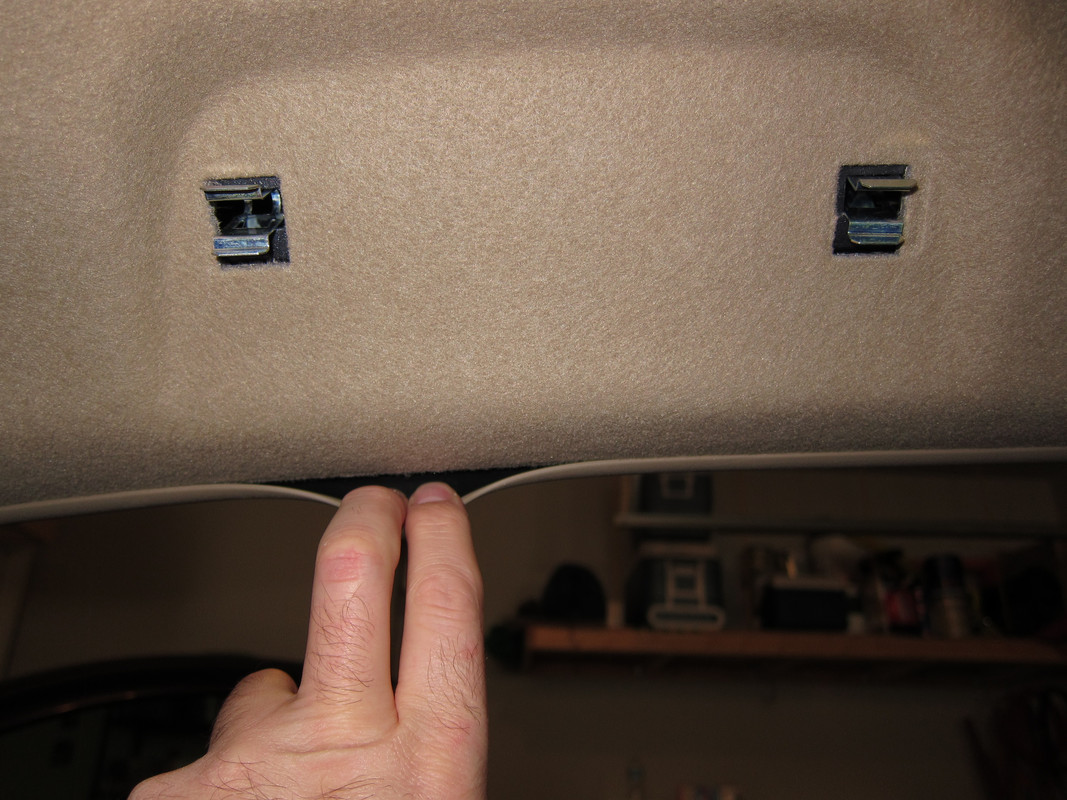
If you remove the handle, use a pair of needle-nose to help get them back on the brackets:

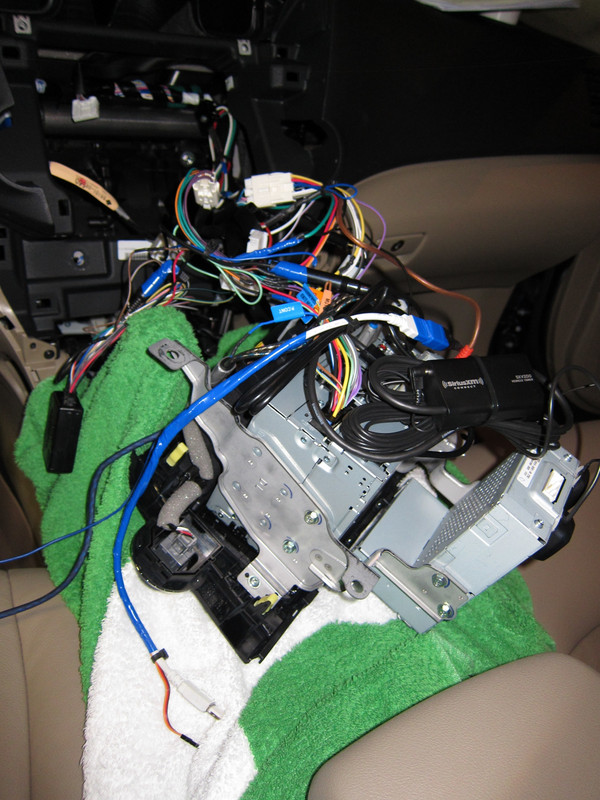
There's now way to get around a rats nest like this. Use lots of zip ties:
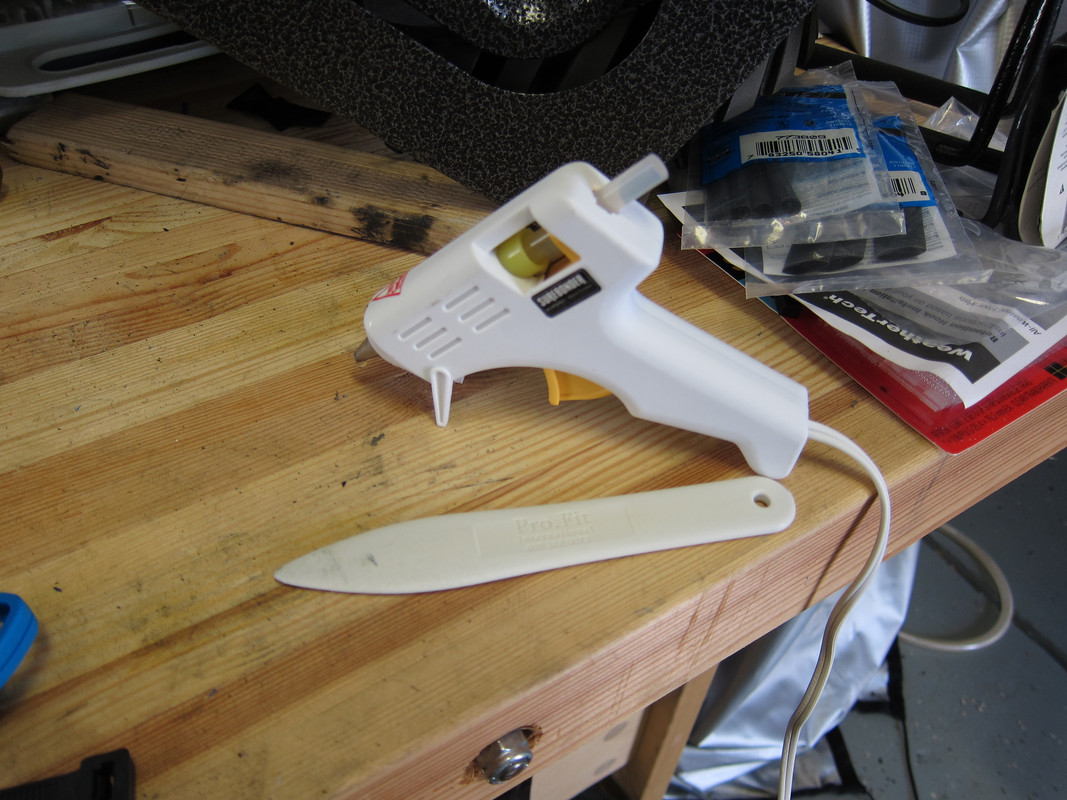
Tools that I couldn't have done without. The first time I'd really used a hot glue gun, and it worked great; the Pro-Fit
tool was great at prying plastic parts apart without destroying them:
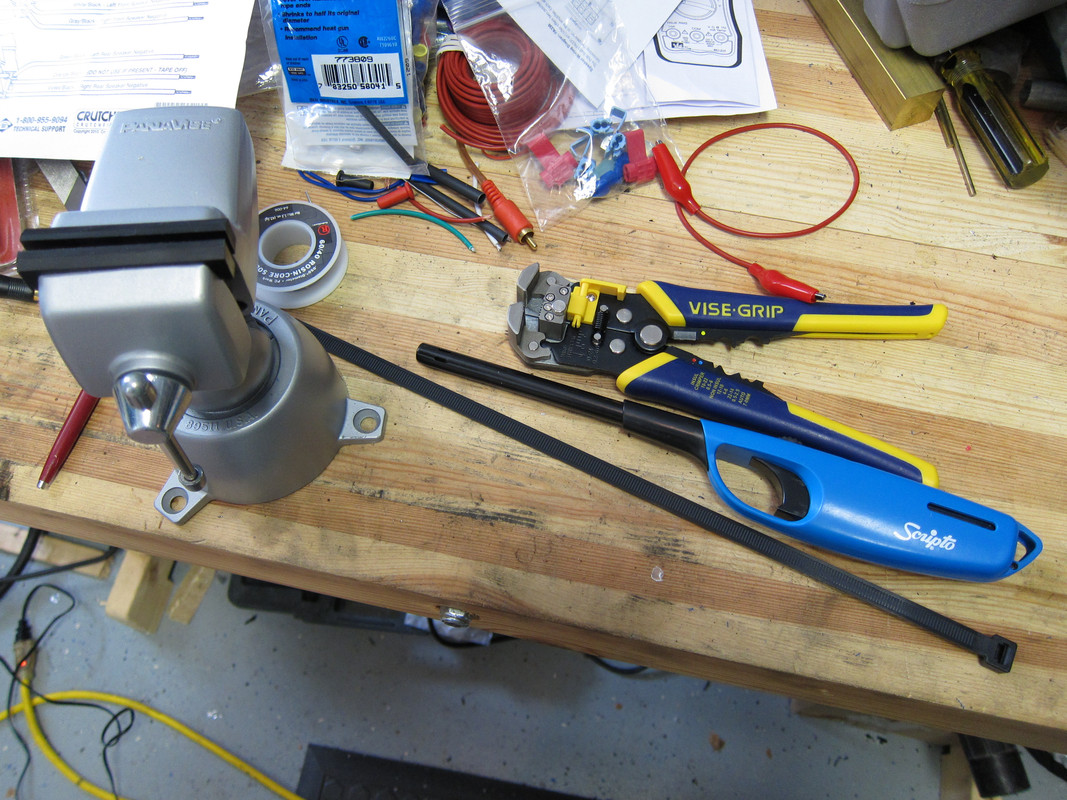
Tools that made the job easier, specifically the Vise-Grip wire stripper (just bought it), and the Panavise, which is like
an extra set of hands:
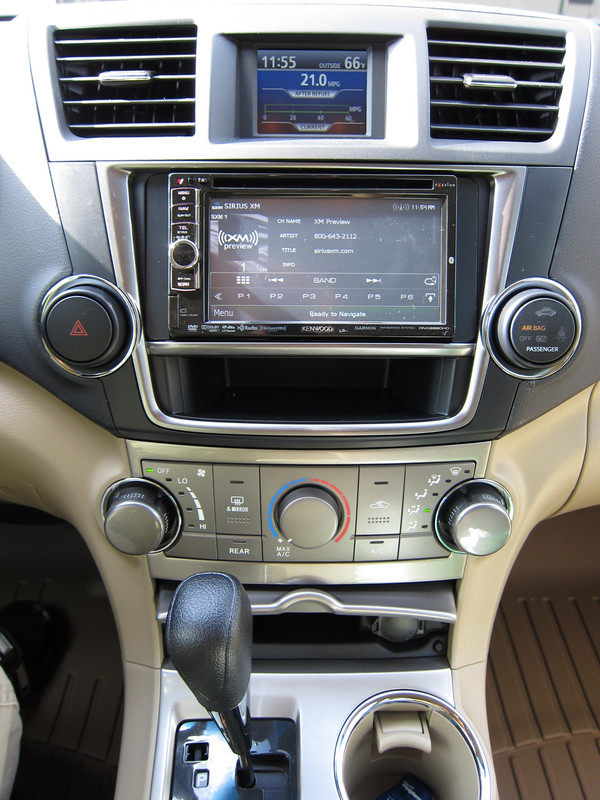
Here's the finished product:
I can't take all of the credit for making this happen. Jared, another TN member helped tremendously with the pin-out info for E38 & E39 and Axxess, as well as the antenna adapter and satellite antenna install location. The backup camera voltage converter and AUX/USB both came from Tacoma Forums (I think).
Steve
The majority of the wiring was accomplished with harnesses provided by Crutchfield, but it's essential to know which wires are associated with the backup camera and steering wheel controls if you want either to function (2013 harness/colors are different).
E38 = 28 pin harness
E39 = 16 pin harness
Once you've made the voltage converter (https://www.toyotanation.com/forum/...ion-2003-2009/355342-how-using-factory-rear-view-camera-aftermarket-stereo.html) for the factory backup camera, you'll connect it as follows:
RCA Cable center wire (positive) -> E39 pin 8 (red)
RCA Cable sheilding wire (negative) -> E39 pin 15 (white)
7806 Voltage Converter Input 12v -> E38 pin 2 (red) - also splice Reverse wire from H/U (see below)
7806 Voltage Converter Ground -> H/U ground
7806 Voltage Converter Output 6v -> E39 pin 7 (black)
Other wires not associated with Crutchfield Harness:
Reverse wire from H/U -> E38 pin 2 (red) - also splice 7806 Voltage Converter Input 12v (see above)
Parking Brake Sensor from H/U -> connect to H/U ground
The Axxess install seems straight forward, and would be, had there been a special note to ground the factory harness E38 (it doesn't get connected to anything, so it needs a ground from your radio harness):
Axxess Brown -> Kenwood Blue/Yellow
Axxess Green/Orange -> E38 pin 21 (beige)
Axxess Black/Green -> E38 pin 22 (violet)
E38 pin 23 (black) -> connect to H/U ground
The Sirius/XM and Nav antennas were mounted (magnetic) to the top of the 3.5" Multi-Information Display, which seems to be working fine.
Updated:
I was having SiriusXM reception issues with the antenna on top of the Multi-Information Display, so I bought some zink plated steel at lowes, and built this:
Dimensions are 3.5" x 1 1/4"
I used zip ties to hold it to the plastic framework above the ducting:
I created this thread last week, which shows how to integrate the factory AUX/USB port into your aftermarket H/U:
https://www.toyotanation.com/forum/...m/forum/122-2nd-generation-2008-2013/438449-2013-usb-aux-aftermarket-radio.html
Also needed is an AM/FM antenna adapter, which Crutchfield includes when you purchase a H/U (not currently displayed for 2013 HL, so you may need to call them to get it added to your order):
http://www.crutchfield.com/p_12040LX11/Toyota-Lexus-Antenna-Adapter.html?tp=2569
Back of the factory H/U (E38 & E39 are on the top row, next to one another:
Kenwood DNX6990 mounted in factory bracket (note side gaps):
Fabricated some plastic strips from part of the legacy kit that Crutchfield included with my purchase, and hot glued them
to the lip on the side of the Kenwood DNX6990 (see last photo):
Removed factory micorphone, and hot glued Kenwood in it's place:
Overhead console with Kenwood mic fitted (note factory mic hot glued to bracket to keep it in place):
Passenger handle removed to route mic wire into trim (handle removal may not be necessary):
If you remove the handle, use a pair of needle-nose to help get them back on the brackets:
There's now way to get around a rats nest like this. Use lots of zip ties:
Tools that I couldn't have done without. The first time I'd really used a hot glue gun, and it worked great; the Pro-Fit
tool was great at prying plastic parts apart without destroying them:
Tools that made the job easier, specifically the Vise-Grip wire stripper (just bought it), and the Panavise, which is like
an extra set of hands:
Here's the finished product:
I can't take all of the credit for making this happen. Jared, another TN member helped tremendously with the pin-out info for E38 & E39 and Axxess, as well as the antenna adapter and satellite antenna install location. The backup camera voltage converter and AUX/USB both came from Tacoma Forums (I think).
Steve


")


