A friend and I set about building and installing the nav override circuit explained here.
Thanks to J.A. for that information. It works on my 2011 Highlander.
I also followed this thread by luck123 to take the dash apart. The only hard part was the AC vents. But that's probably because I just had plastic kitchen spatulas.
Here is a list of the parts from jameco.com:
KS2E-M-DC12 Relay, DIP, DPDT, 12VDC 2A
LMC555CN IC, LMC555CN, CMOS Timer DIP-8
DC.1/25 CAP, CERM, DISC, .1uF, 25V, 20%
3299W-1-104-VP POT, 100k OHM, 3299W-104
RB1/50-R CAP, Radial, 1uF, 50V
CF1/4W102JRC RES, CF, 1k OHM, 1/4 WATT, 5%
CF1/4W134JRC RES, CF, 130k OHM, 1/4 WATT, 5%
OSTTA040161 CONN, Terminal block, 4 position (the one in the picture is the 3.5mm one which doesn't fit properly) This is the part # for the correct 5mm one).
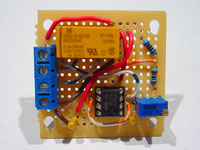
Also the box is the Radio Shack 3x2x1 project enclosure which is not the perfect size for the circuit board. J.A. seems to have expanded the holes of the board with a drill and shaved down the sides of the box. What I did was mount the circuit board upside down. The screwed on top of the box holds the board in place.
Here are some pictures:
Tuning in the 4 HZ on the blue potentiometer while powered by a 9v battery:
![Image]()
Finished circuit:
![Image]()
To adjust the HZ, you just turn that gold screw while you have the meter connected
![Image]()
This is the plug you want. It's grey with 4 wires. The middle one is violet (purple).
![Image]()
Arrow pointing to the purple wire.
![Image]()
Where I put the project box. I just dropped it in there.
![Image]()
Where I tapped the positive and negative from (the connector for the cigarette lighter thing)
![Image]()
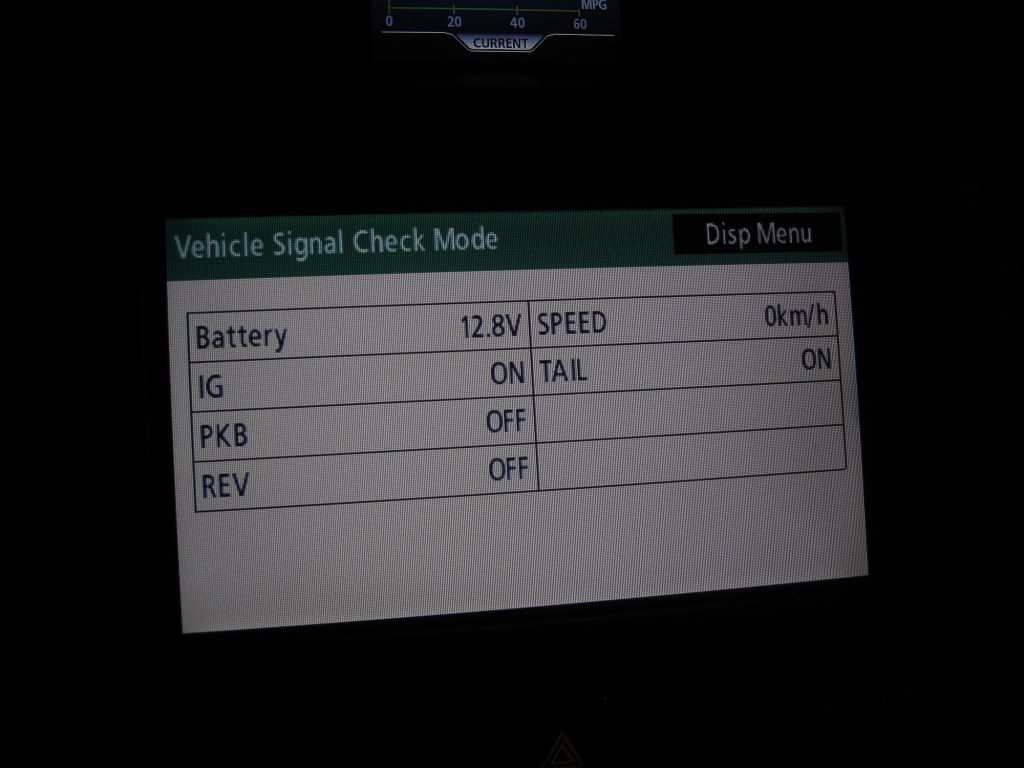
Driving around to test it
![Image]()
Going 20 mph but showing 3 mph
![Image]()
Some notes:
When the box is in, you can test that the power wires (and switch) are connected correctly because you should be able to hear the relay clicking when power is put on or off (have to listen pretty closely).
I mounted a switch in the little change bin thing on the left side of the steering wheel, But I'm wondering if anyone knows how I could connect it to the "snow" button on the center console. I live in Miami so I won't really be using it much anyway. I don't want to disable the button's real job, I just want to use it's switching to also affect my override.
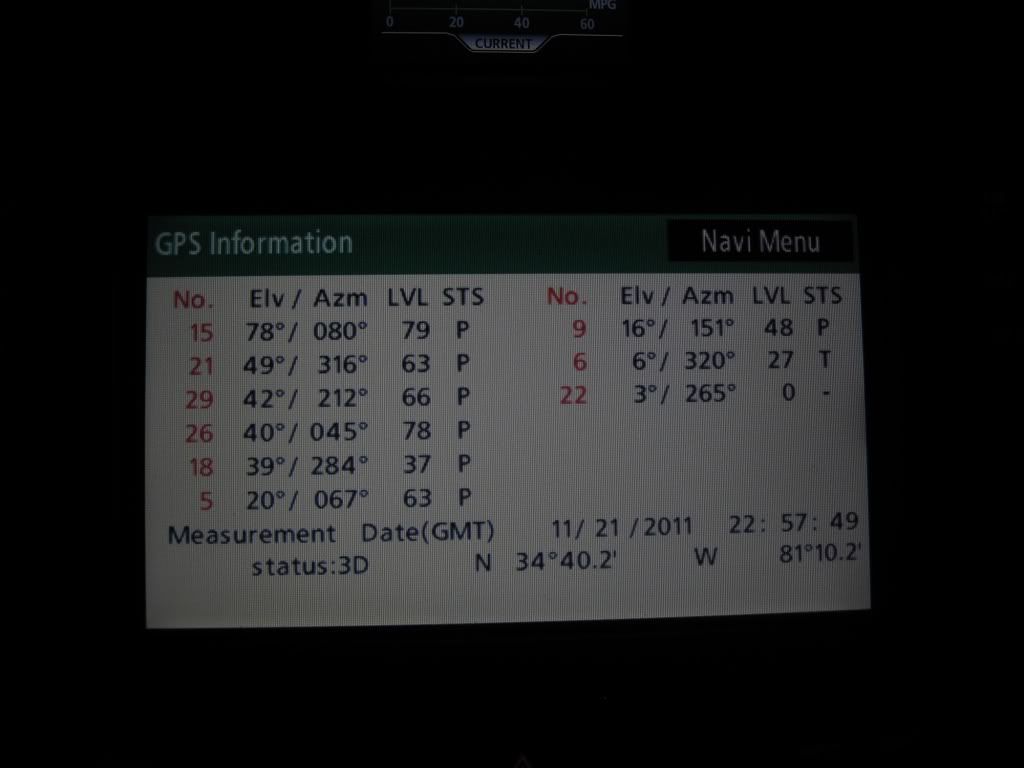
One problem I am having is that the navigation seems to be always a block off on my location with the override off. The whole system had to reboot of course since the power was disconnected from it. I then did the calibration using the menu from the nav setup, but it doesn't seem to keep that when I start moving. I'm hoping it's just that it needs time to get more satellites or something.
Edit: The problem stated in the above paragraph, and the troubleshooting that went on after this post was simply because I didn't plug the GPS antenna back in. It fell down in the back and I didn't see it. Once I found it and connected it, everything worked perfectly. So just make sure you plug everything back in
Thanks again to J.A. for his outstanding schematic and help!
Thanks to J.A. for that information. It works on my 2011 Highlander.
I also followed this thread by luck123 to take the dash apart. The only hard part was the AC vents. But that's probably because I just had plastic kitchen spatulas.
Here is a list of the parts from jameco.com:
KS2E-M-DC12 Relay, DIP, DPDT, 12VDC 2A
LMC555CN IC, LMC555CN, CMOS Timer DIP-8
DC.1/25 CAP, CERM, DISC, .1uF, 25V, 20%
3299W-1-104-VP POT, 100k OHM, 3299W-104
RB1/50-R CAP, Radial, 1uF, 50V
CF1/4W102JRC RES, CF, 1k OHM, 1/4 WATT, 5%
CF1/4W134JRC RES, CF, 130k OHM, 1/4 WATT, 5%
OSTTA040161 CONN, Terminal block, 4 position (the one in the picture is the 3.5mm one which doesn't fit properly) This is the part # for the correct 5mm one).
Also the box is the Radio Shack 3x2x1 project enclosure which is not the perfect size for the circuit board. J.A. seems to have expanded the holes of the board with a drill and shaved down the sides of the box. What I did was mount the circuit board upside down. The screwed on top of the box holds the board in place.
Here are some pictures:
Tuning in the 4 HZ on the blue potentiometer while powered by a 9v battery:

Finished circuit:

To adjust the HZ, you just turn that gold screw while you have the meter connected

This is the plug you want. It's grey with 4 wires. The middle one is violet (purple).

Arrow pointing to the purple wire.

Where I put the project box. I just dropped it in there.

Where I tapped the positive and negative from (the connector for the cigarette lighter thing)

Driving around to test it

Going 20 mph but showing 3 mph

Some notes:
When the box is in, you can test that the power wires (and switch) are connected correctly because you should be able to hear the relay clicking when power is put on or off (have to listen pretty closely).
I mounted a switch in the little change bin thing on the left side of the steering wheel, But I'm wondering if anyone knows how I could connect it to the "snow" button on the center console. I live in Miami so I won't really be using it much anyway. I don't want to disable the button's real job, I just want to use it's switching to also affect my override.
One problem I am having is that the navigation seems to be always a block off on my location with the override off. The whole system had to reboot of course since the power was disconnected from it. I then did the calibration using the menu from the nav setup, but it doesn't seem to keep that when I start moving. I'm hoping it's just that it needs time to get more satellites or something.
Edit: The problem stated in the above paragraph, and the troubleshooting that went on after this post was simply because I didn't plug the GPS antenna back in. It fell down in the back and I didn't see it. Once I found it and connected it, everything worked perfectly. So just make sure you plug everything back in
Thanks again to J.A. for his outstanding schematic and help!


